26
Connect the NVR device to the Internet, otherwise P2P can not run properly.
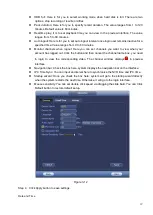
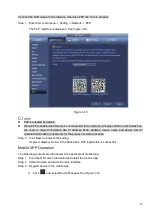
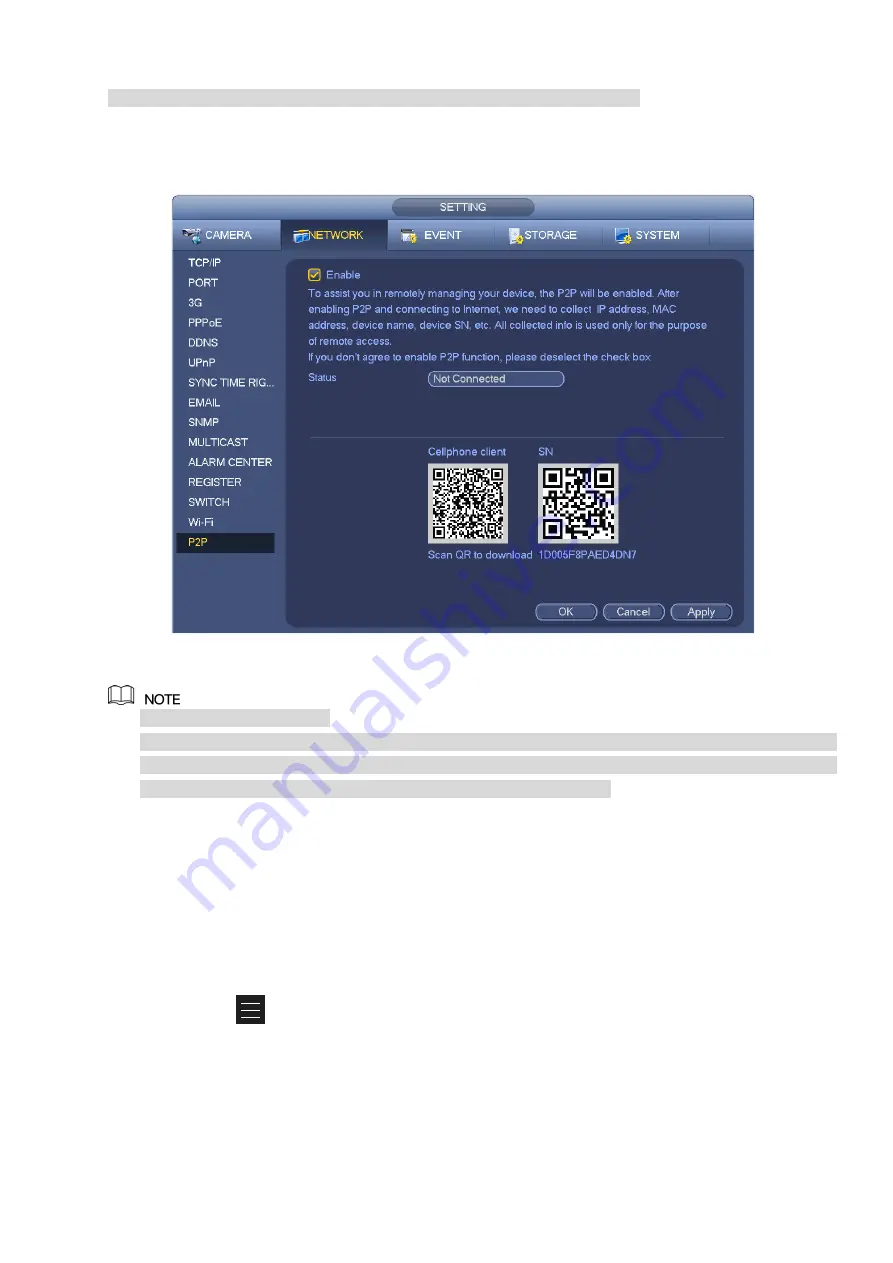
Step 1 Enter from main menu -> Setting -> Network -> P2P.
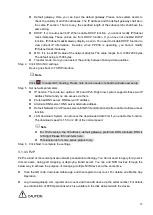
The P2P interface is displayed. See Figure 3-18.
Figure 3-18
⚫
P2P is enbaled by default.
⚫
When P2P is enabled and the device is connected to the Internet, it displays Online in the Status box.
We need to collect information like IP address, MAC address, device name and device SN. All
collected information is used only for the purpose of remote access.
Step 2 Click Next to conplete the setting.
If system displays Online in the Status box, P2P registration is successful.
Mobile APP Operation
The following contents are introduced in the example of mobile App.
Step 1 Scan the QR code to download and install the mobile App.
Step 2 Select Camera and enter the main interface.
Step 3 Register device in the mobile App:
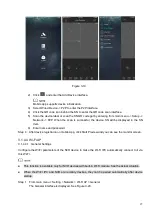
1) Click
and select Device Manager. See Figure 3-19.
Summary of Contents for EmPower NVR
Page 1: ...EmPower NVR User s Manual V4 4 3...
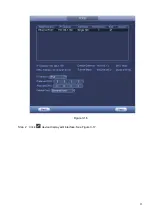
Page 36: ...23 Figure 3 16 Step 2 Click device display edit interface See Figure 3 17...
Page 97: ...84 Figure 3 91 Figure 3 92...
Page 120: ...107 Figure 3 110 Figure 3 111 Figure 3 112...
Page 131: ...118 Figure 3 123 Figure 3 124...
Page 133: ...120 Figure 3 126 Click draw button to draw the zone See Figure 3 127...
Page 137: ...124 Figure 3 130 Click Draw button to draw a zone See Figure 3 131 Figure 3 131...
Page 142: ...129 Figure 3 136 Click draw button to draw the zone See Figure 3 137...
Page 155: ...142 Figure 3 149 Figure 3 150...
Page 156: ...143 Figure 3 151 Figure 3 152...
Page 174: ...161 Figure 3 172 Figure 3 173...
Page 277: ...264 Figure 4 61 Figure 4 62 Figure 4 63...
Page 303: ...290 Figure 4 101 Figure 4 102...
Page 327: ...314 Figure 4 136 Note For admin you can change the email information See Figure 4 137...

