131
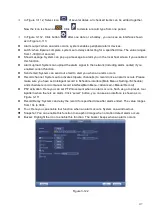
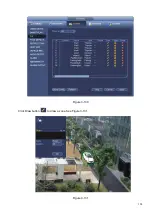
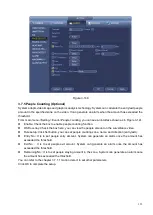
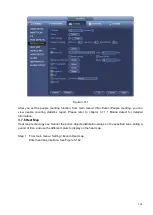
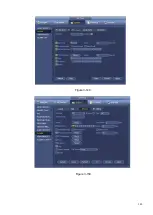
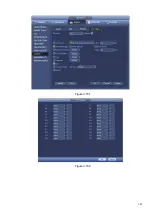
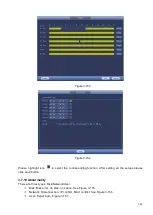
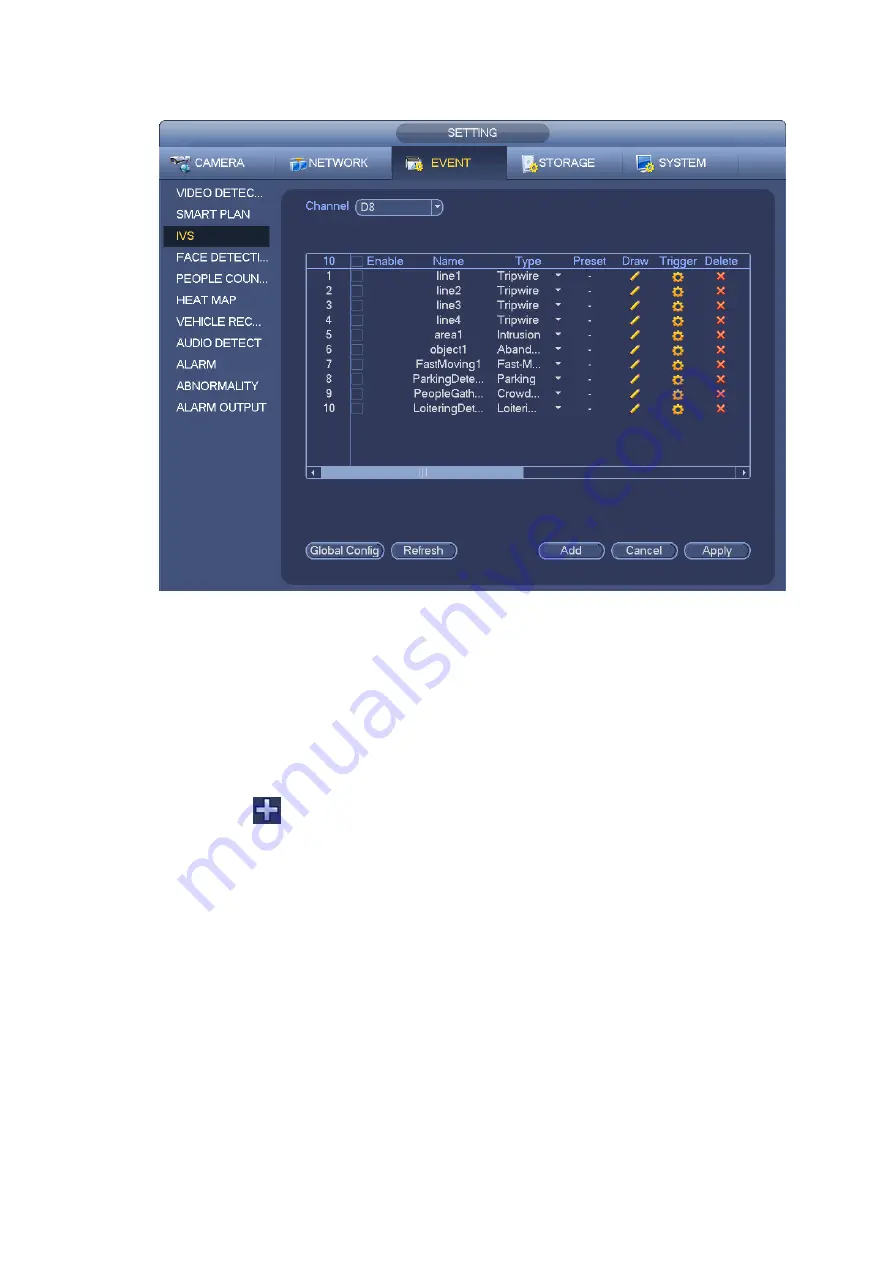
Figure 3-138
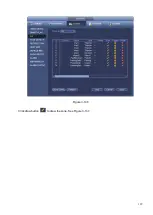
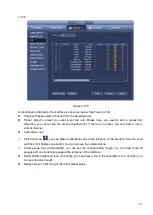
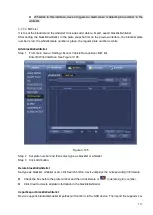
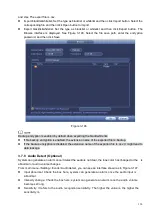
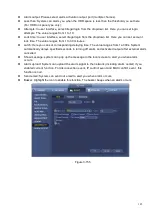
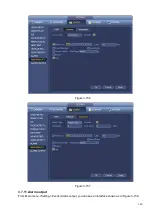
Click Global config button, the interface is shown as below. See Figure 3-139.
⚫
Channel: Please select a channel from the dropdown list.
⚫
Preset: Select a preset you want to set the rule. Please note, you need to add a preset first,
otherwise, you cannot see the preset dropdown list. If there is no preset, you can draw a rule in
current channel.
⚫
Calibration zone:
Click Add zone
, you can draw a calibration zone at the left pane of the interface. Select a zone
and then click Delete zone button; you can remove the selected zone.
Select gauge type (horizontal/tilt), you can set the corresponding length. You can draw three tilt
gauges and one horizontal gauge at the left pane of the interface.
⚫
Select Width/Height and then click Verify, you can draw a line in the calibration zone, and then you
can see its actual length.
⚫
Refresh preset: Click it to get the latest preset setup.
Summary of Contents for EmPower NVR
Page 1: ...EmPower NVR User s Manual V4 4 3...
Page 36: ...23 Figure 3 16 Step 2 Click device display edit interface See Figure 3 17...
Page 97: ...84 Figure 3 91 Figure 3 92...
Page 120: ...107 Figure 3 110 Figure 3 111 Figure 3 112...
Page 131: ...118 Figure 3 123 Figure 3 124...
Page 133: ...120 Figure 3 126 Click draw button to draw the zone See Figure 3 127...
Page 137: ...124 Figure 3 130 Click Draw button to draw a zone See Figure 3 131 Figure 3 131...
Page 142: ...129 Figure 3 136 Click draw button to draw the zone See Figure 3 137...
Page 155: ...142 Figure 3 149 Figure 3 150...
Page 156: ...143 Figure 3 151 Figure 3 152...
Page 174: ...161 Figure 3 172 Figure 3 173...
Page 277: ...264 Figure 4 61 Figure 4 62 Figure 4 63...
Page 303: ...290 Figure 4 101 Figure 4 102...
Page 327: ...314 Figure 4 136 Note For admin you can change the email information See Figure 4 137...

