28
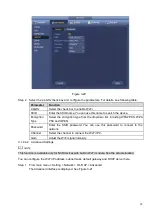
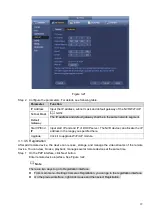
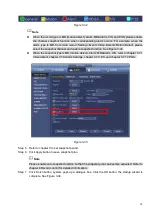
Figure 3-20
Step 2 Select the 2.4GHz check box and configure the parameters. For details, see following table.
Parameter
Function
2.4GHz
Select the check box to enable Wi-Fi.
SSID
Enter the SSID name. You can use this name to search the device.
Encryption
Type
Select the encryption type from the dropdown list, including WPA2 PSK, WPA
PSK and OPEN.
Password
Enter the SSID password. You can use this password to connect to the
network.
Channel
Select the channel to connect the Wi-Fi IPC.
Gain
Adjust the Wi-Fi signal intensity.
3.1.4.4.2 Advanced Settings
This function is available only for NVR devices with built-in Wi-Fi module. See the actual situation.
You can configure the Wi-Fi IP address, subnet mask, default gateway and DHCP derver here.
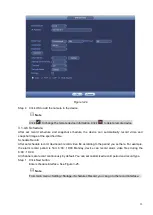
Step 1 From main menu > Setting > Network > Wi-Fi AP > Advanced.
The Advanced interface is displayed. See Figure 3-21.
Summary of Contents for EmPower NVR
Page 1: ...EmPower NVR User s Manual V4 4 3...
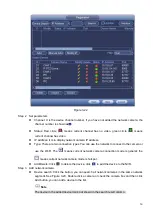
Page 36: ...23 Figure 3 16 Step 2 Click device display edit interface See Figure 3 17...
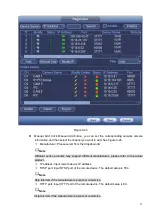
Page 97: ...84 Figure 3 91 Figure 3 92...
Page 120: ...107 Figure 3 110 Figure 3 111 Figure 3 112...
Page 131: ...118 Figure 3 123 Figure 3 124...
Page 133: ...120 Figure 3 126 Click draw button to draw the zone See Figure 3 127...
Page 137: ...124 Figure 3 130 Click Draw button to draw a zone See Figure 3 131 Figure 3 131...
Page 142: ...129 Figure 3 136 Click draw button to draw the zone See Figure 3 137...
Page 155: ...142 Figure 3 149 Figure 3 150...
Page 156: ...143 Figure 3 151 Figure 3 152...
Page 174: ...161 Figure 3 172 Figure 3 173...
Page 277: ...264 Figure 4 61 Figure 4 62 Figure 4 63...
Page 303: ...290 Figure 4 101 Figure 4 102...
Page 327: ...314 Figure 4 136 Note For admin you can change the email information See Figure 4 137...


