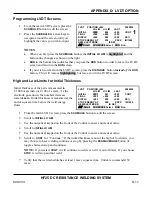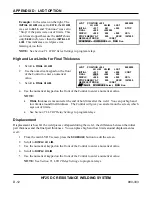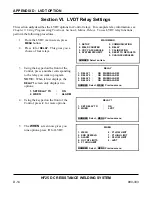
APPENDIX D: LVDT OPTION
HF25 DC RESISTANCE WELDING SYSTEM
990-333
D-15
NOTE:
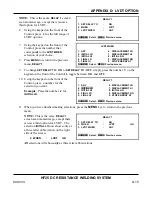
This is the same
RELAY 1
screen
seen moments ago, except there is now a
third option for LVDT.
6
Using the keypad on the front of the
Control, press
3
for the full range of
LVDT options.
RELAY 1
1. SET RELAY TO
:
ON
2. WHEN
:
LVDT
3. LVDT WHEN
:
ANY
NUMBER Select, MENU Previous menu
7
Using the keypad on the front of the
Control, press the number that
corresponds to the
LVDT WHEN
selection of your choice.
8
Press
MENU
to return to the previous
menu,
RELAY 1
.
LVDT WHEN
1.
ANY
6.
DISPLACEMENT
LO
2. INITIAL LO
7. DISPLACEMENT HI
3. INITIAL HI
8. INITIAL NG
4. FINAL LO
9. DISPLACEMENT NG
5. FINAL HI
0. STOP ENERGY AT
NUMBER Select, MENU Previous menu
9
To change
SET RELAY TO : ON
to
SET RELAY TO : OFF
,
simply press the number
1
on the
keypad on the front of the Control to toggle between
ON
and
OFF
.
10
Using the keypad on the front of the
Control, press a number for the
selection you want.
Example
: Press the number
2
for
INITIAL LO.
RELAY 1
1.
ANY
6.
DISPLACEMENT
LO
2. INITIAL LO
7. DISPLACEMENT HI
3. INITIAL HI
8. INITIAL NG
4. FINAL LO
9. DISPLACEMENT NG
5. FINAL HI
0. STOP ENERGY AT
NUMBER Select, MENU Previous menu
11
When you have finished making selections, press the
MENU
key to return to the previous
menu.
NOTE:
This is the same
RELAY 1
screen seen moments ago, except there
is now a third option for LVDT. The
selection
INITIAL LO
now shows only as
a three letter abbreviation on the right
side of the screen.
2. WHEN
:
LVDT
ILO
RELAY 1
1. SET RELAY TO
:
ON
2.
WHEN : LVDT ILO
3. LVDT WHEN
:
ANY
NUMBER Select, MENU Previous menu
All
selections will show
only
as three letter abbreviations.
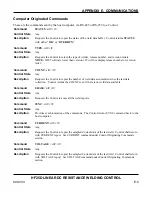
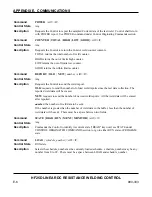
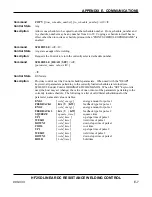
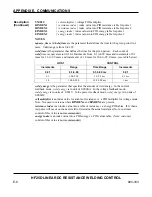
Summary of Contents for HF25A
Page 9: ...HF25D DC RESISTANCE WELDING SYSTEM 990 333 ix ...
Page 10: ......
Page 20: ......
Page 84: ...CHAPTER 6 CALIBRATION HF25D DC RESISTANCE WELDING SYSTEM 990 333 6 4 Final Calibration Setup ...
Page 113: ......
Page 129: ......
Page 153: ......
Page 171: ......

