HF25 DC RESISTANCE WELDING SYSTEM
990-333
3-1
CHAPTER 3
USING PROGRAMMING FUNCTIONS
Section I: Menus
Overview
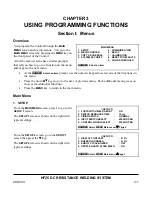
You program the Control through the
MAIN
MENU
screen and its sub-menus. You go to the
MAIN MENU
screen by pressing the
MENU
key on
the front panel of the Control.
All of the menu screens have similar prompts
that tell you how to go to a function on the menu
and/or get to the next menu.
MAIN MENU
1. SETUP
5. COMMUNICATION
2. WELD COUNTER
6. RELAY
3. COPY A SCHEDULE
7. CALIBRATION
4. SYSTEM SECURITY
8. RESET TO DEFAULTS
9.
CHAIN
SCHEDULES
NUMBER Select an item
•
At the
NUMBER Select an item
prompt, use the numeric keypad to select one of the functions on
the menu.
•
Press the down
keys to go to the next or previous menu. Each additional menu gives you
choices for additional functions.
•
Press the
MENU
key to return to the main menu.
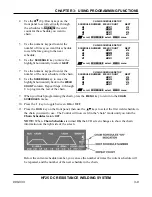
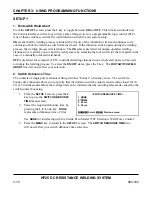
Main Menu
1. SETUP
From the
MAIN MENU
screen, press
1
to go to the
SETUP 1
screen.
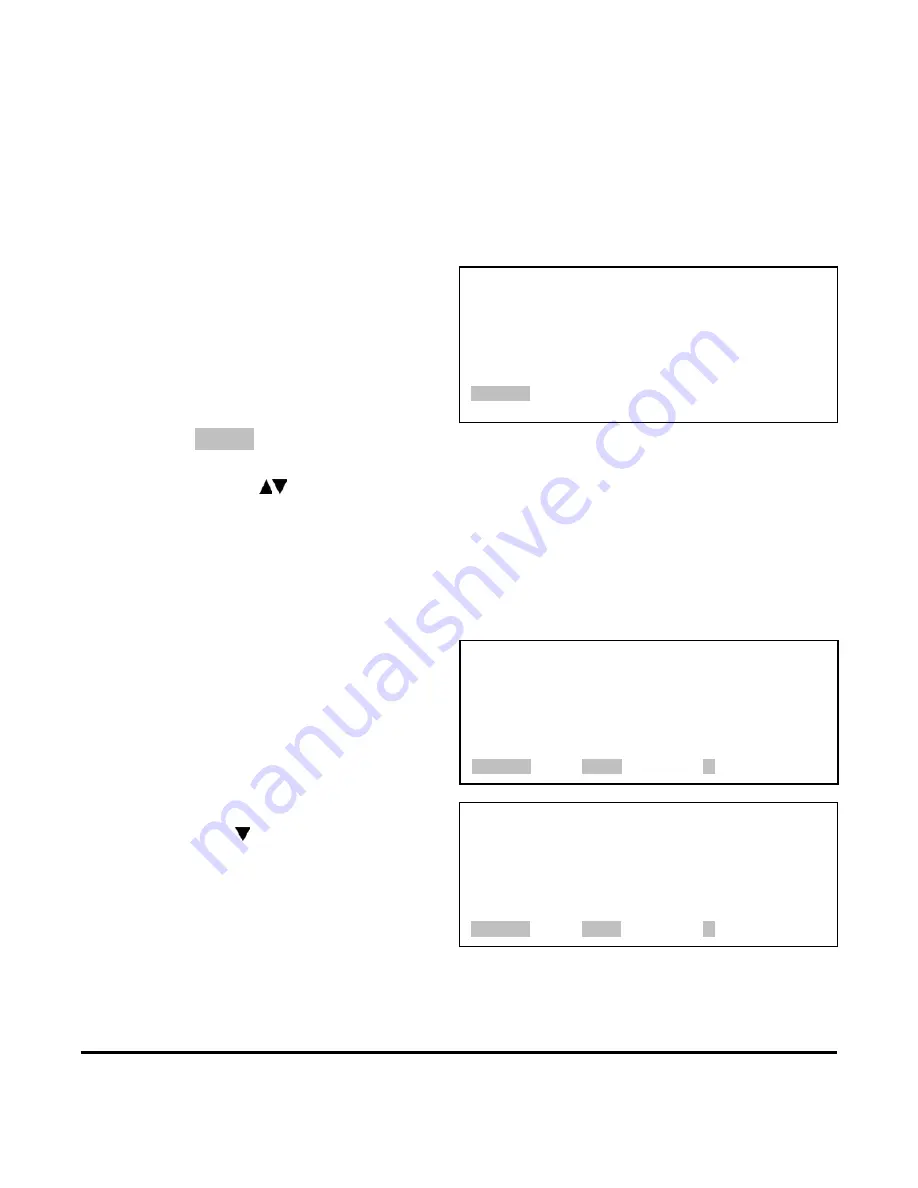
The
SETUP 1
screen is shown on the right with
typical settings.
<SETUP 1>
1. FOOTSWITCH WELD ABORT :
ON
2. SWITCH DEBOUNCE TIME
:
10 ms
3. FIRING SWITCH
:
NORMAL
4. INPUT SWITCH SELECT
:
MECH OPEN
5. CONTROL SIGNALSEL ECT :
MECH OPEN
NUMBER Select, MENU Main menu,
W
Page 2
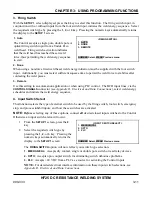
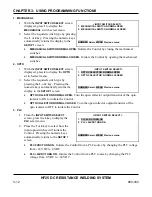
From the
SETUP 2
screen, go to the
SETUP 1
screen then press the key.
The
SETUP 2
screen is shown on the right with
typical settings.
<SETUP 2>
1. DISPLAY CONTRAST
: 075%
2. BUZZER LOUDNESS
: 015%
3. END OF CYCLE BUZZER
: OFF
4. UPDATE GRAPH AFTER WELD
: ON
NUMBER Select, MENU Main menu,
V
Page 1
Summary of Contents for HF25A
Page 9: ...HF25D DC RESISTANCE WELDING SYSTEM 990 333 ix ...
Page 10: ......
Page 20: ......
Page 84: ...CHAPTER 6 CALIBRATION HF25D DC RESISTANCE WELDING SYSTEM 990 333 6 4 Final Calibration Setup ...
Page 113: ......
Page 129: ......
Page 153: ......
Page 171: ......

