CHAPTER 3: USING PROGRAMMING FUNCTIONS
HF25 DC RESISTANCE WELDING SYSTEM
3-12
990-333
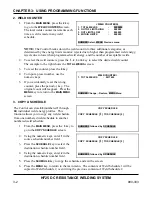
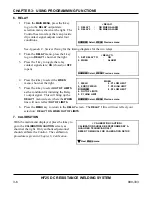
1. MECHANICAL
1.
With the
INPUT SWITCH SELECT
screen
displayed, press
1
to display the
MECHANICAL
switch select menu.
2.
Select the required switch type by pressing
the
1
, or
2
key. Pressing the numeric keys
automatically returns the display to the
SETUP 1
screen.
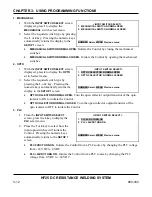
<INPUT SWITCH SELECT>
1. MECHANICAL SWITCH NORMAL OPEN
2. MECHANICAL SWITCH NORMAL CLOSED
NUMBER Select, MENU Previous menu
•
MECHANICAL SWITCH NORMAL OPEN.
Initiate the Control by closing the mechanical
switches.
•
MECHANICAL SWITCH NORMAL CLOSED.
Initiate the Control by opening the mechanical
switches.
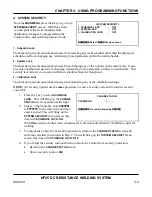
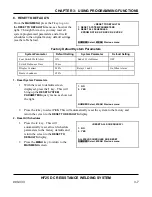
2. OPTO
1.
With the
INPUT SWITCH SELECT
screen
displayed, press
2
to display the
OPTO
switch select menu.
2.
Select the required switch type by
pressing the
1
, or
2
key. Pressing the
numeric keys automatically returns the
display to the
SETUP 1
screen.
<INPUT SWITCH SELECT>
1. OPTO COLLECTOR NORMAL OPEN
2. OPTO COLLECTOR NORMAL CLOSED
NUMBER Select, MENU Previous menu
•
OPTO COLLECTOR NORMAL OPEN.
Turn the open collector output transistor of the opto
isolator to ON to initiate the Control.
•
OPTO COLLECTOR NORMAL CLOSED.
Turn the open collector output transistor of the
opto isolator to OFF to initiate the Control.
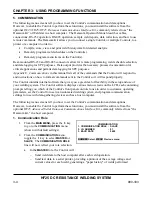
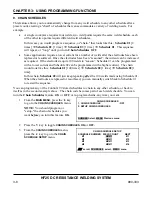
3. PLC
1.
From the
INPUT SWITCH SELECT
screen, press the
3
key to display the
PLC
select menu.
2.
Press the
1
or
2
key to select how the
input opto switches will initiate the
Control. Pressing the numeric keys
automatically returns to the
SETUP 1
screen.
<INPUT SWITCH SELECT>
1. PLC 0VDC TURN ON
2. PLC +24VDC TURN ON
NUMBER Select, MENU Previous menu
•
PLC 0VDC TURN ON
. Initiate the Control from a PLC source by changing the PLC voltage
from +24 VDC to 0 VDC.
•
PLC +24VDC TURN ON.
Initiate the Control from a PLC source by changing the PLC
voltage from 0 VDC to +24 VDC.
Summary of Contents for HF25A
Page 9: ...HF25D DC RESISTANCE WELDING SYSTEM 990 333 ix ...
Page 10: ......
Page 20: ......
Page 84: ...CHAPTER 6 CALIBRATION HF25D DC RESISTANCE WELDING SYSTEM 990 333 6 4 Final Calibration Setup ...
Page 113: ......
Page 129: ......
Page 153: ......
Page 171: ......

