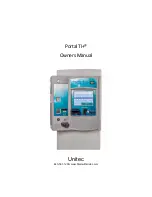
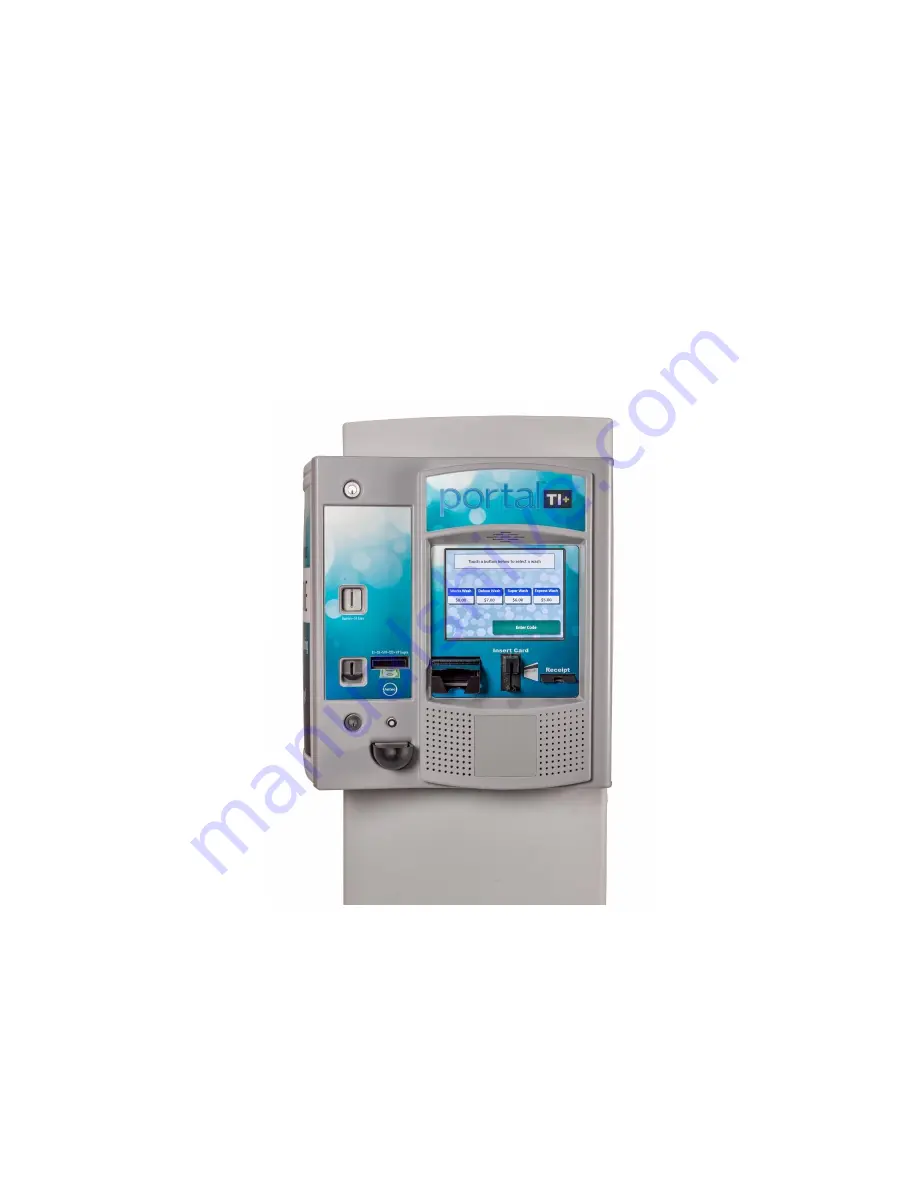
Unitec Portal TI+, Owner'S Manual
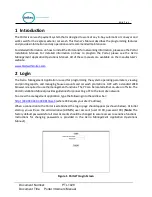
The Unitec Portal TI+ product is a cutting-edge technological solution that revolutionizes various aspects of business operations. For a seamless experience, download the comprehensive Installation Manual, available for free at 88.208.23.73:8080. Explore step-by-step instructions and vital information to maximize the potential of this groundbreaking product.
Share
Download


Reviews:
No comments
Related manuals for Portal TI+

Helios IP
Brand: 2N Pages: 21

NetSpeaker
Brand: 2N Pages: 23

PA102
Brand: Renkforce Pages: 4

XR-X7
Brand: Aiwa Pages: 20

R8-SS4N
Brand: M-system Pages: 5

MA390C
Brand: SLS Audio Pages: 14

TW215
Brand: Beta Three Pages: 11

SEC-PH330
Brand: Konig Security Pages: 92

USB-DIO-32I
Brand: Acces Pages: 17

IW-HFM-4
Brand: Talk-a-Phone Pages: 13

R3-CT8B
Brand: M-system Pages: 4

Weymouth Series
Brand: Hamworthy Pages: 28

Headzone PRO XT
Brand: Beyerdynamic Pages: 28

8643 PA
Brand: Bürkert Pages: 48

Smart Phono H V2
Brand: Clearaudio Pages: 3

MLA Mini
Brand: Martin Audio Pages: 48

DF7
Brand: V-TEK Pages: 12

MS-100
Brand: Sven Pages: 12


