


6
EN
Important Notes for Operation
Get Ready
Press the main power switch to power on the unit. Then the
little red STANDBY indicator on the front panel comes
on.(Stand-by mode)
Turn on the unit with
STANDBY-ON/
y
when the unit is in
Stand-by mode.
• If you press
PLAY
B
/
K
,
STOP
C
/
p
,
PROG +
/
-
,
D
/
B
,
E
/
{
or the
number buttons
while the unit is in Stand-by
mode, the power will be automatically turned on.
• The
number buttons
will be inactive for about 5 seconds
just after having turned the unit off.
Power failure/no power
Channel information remains saved for up to 10 years, the
time and timer information is saved for up to 1 minute.
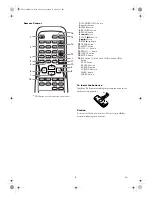
Navigation in the screen menu
You can check/change many functions and settings of your
unit via on-screen menu. The individual functions are
selected, via the remote control as follows:
To call up the menu
, press
MENU
.
To select
, press
PLAY
B
/
K
STOP
C
/
p
.
To enter or change your selection
, press the
number buttons
or with
PLAY
B
/
K
STOP
C
/
p
.
To save or confirm
, press
D
/
B
.
To cancel
, press
CLEAR
.
To end
, press
MENU
.
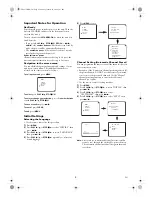
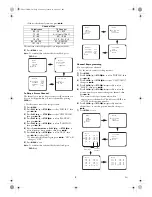
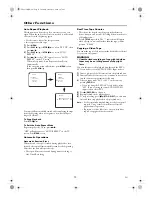
Initial Settings
Selecting the Language
• Use the remote control for this procedure.
1)
Press
MENU
.
2)
Press
PLAY
B
/
K
or
STOP
C
/
p
to select “INITIAL”, then
press
D
/
B
.
3)
Press
PLAY
B
/
K
or
STOP
C
/
p
to select “LANGUAGE”,
then press
D
/
B
.
4)
Press
PLAY
B
/
K
or
STOP
C
/
p
repeatedly to
select your
desired language.
5)
Press
MENU
to
exit.
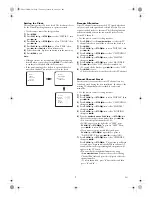
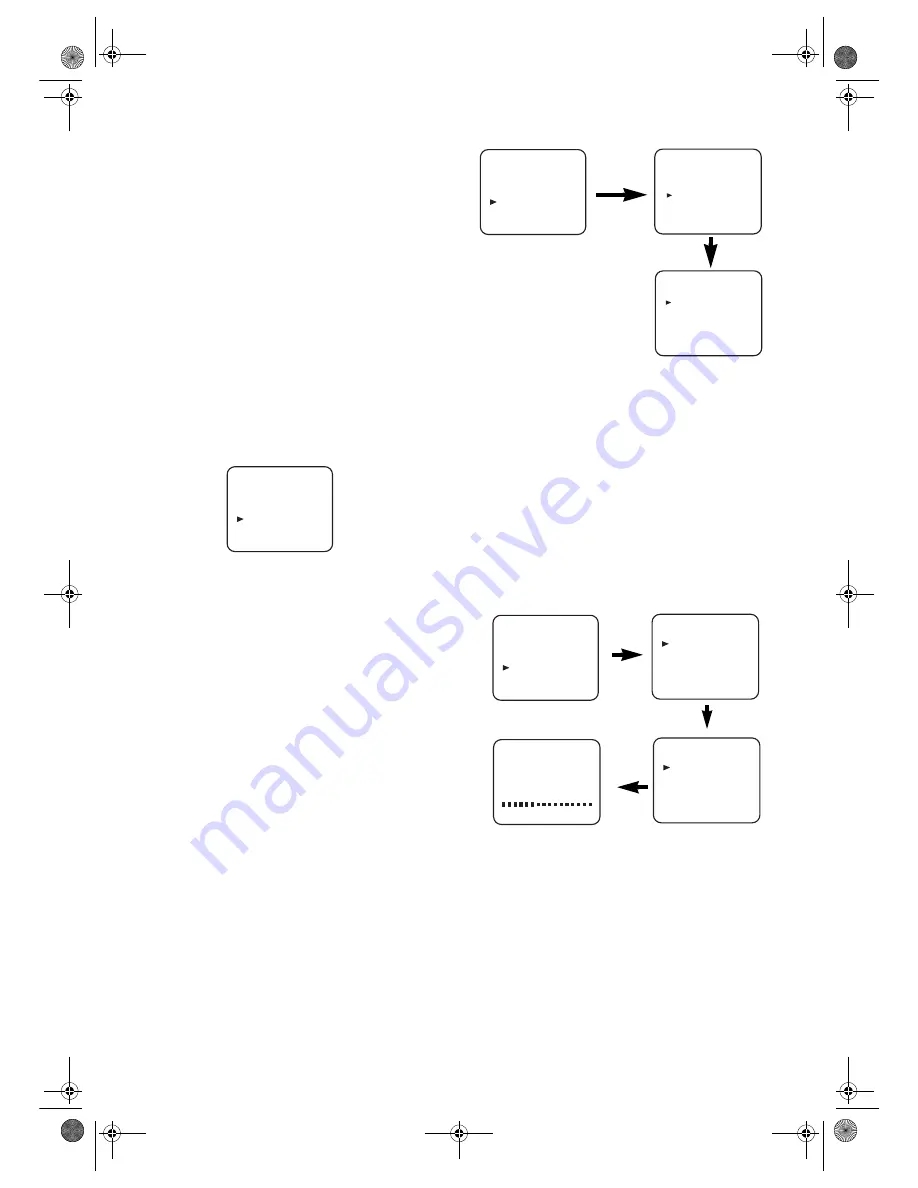
Channel Setting (Automatic Channel Preset)
You can programme the tuner to scan all the channels that you
can receive in your area.
• Execution of the “Automatic” channel presetting cancels all
the preset channels. DO NOT use this feature if you intend
to use some of the pre-tuned channels. Use the “Manual”
channel presetting function to tune in the additional
channels you require.
• Use the remote control for this procedure.
1)
Press
MENU
.
2)
Press
PLAY
B
/
K
or
STOP
C
/
p
to select “INITIAL”, then
press
D
/
B
.
3)
Press
PLAY
B
/
K
or
STOP
C
/
p
to select
“CH TUNING”, then press
D
/
B
.
4)
Press
PLAY
B
/
K
or
STOP
C
/
p
to select “AUTO”, then
press
D
/
B
.
Note:
After you have connected additional devices (satellite
receiver, etc.) through the aerial cable, power them on.
The automatic channel search will recognize them and
save them.
MENU
TIMER
PICTURE
SET UP
INITIAL
MENU
TIMER
PICTURE
SET UP
INITIAL
INITIAL
CH TUNING
CLOCK
LANGUAGE
LANGUAGE
DEUTSCH
ENGLISH
ESPAÑOL
FRANÇAIS
ITALIANO
NEDERLANDS
SVENSKA
[ ]
MENU
TIMER
PICTURE
SET UP
INITIAL
INITIAL
CH TUNING
CLOCK
LANGUAGE
CH TUNING
AUTO
MANUAL
MOVE
AUTO
START
FINISH
T6627SH(EN).fm Page 6 Thursday, January 22, 2004 1:27 PM


