


7
EN
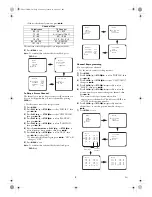
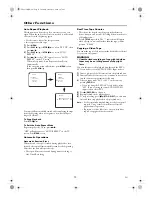
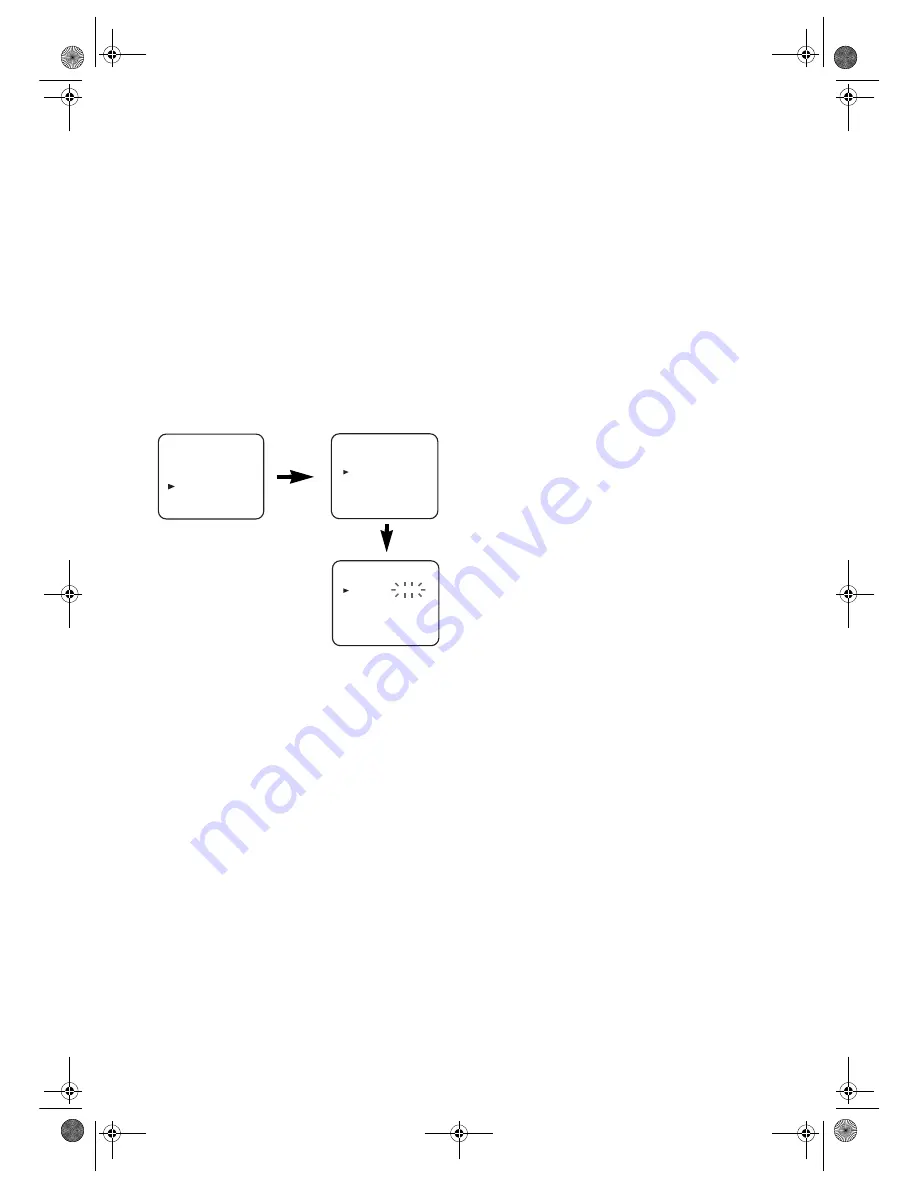
Setting the Clock
This unit incorporates a 24-hour clock. The clock must be set
for the Timer Recording function to operate correctly.
• Use the remote control for this procedure.
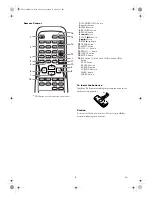
1)
Press
MENU
.
2)
Press
PLAY
B
/
K
or
STOP
C
/
p
to select “INITIAL”, then
press
D
/
B
.
3)
Press
PLAY
B
/
K
or
STOP
C
/
p
to select “CLOCK”, then
press
D
/
B
.
4)
Press
PLAY
B
/
K
or
STOP
C
/
p
to select “YEAR”, then
press
D
/
B
or
h
/
{
to select relevant year.
5)
Select the month, day, hour and minute in the same way.
6)
Press
MENU
to
exit.
Note:
• Although seconds are not displayed, they begin counting
from 00 when you exit by pressing
MENU
. Use this feature
to synchronize the clock with the correct time.
• If the unit is unplugged or if there is a power failure for
more than 1minute, you may have to reset the clock.
Decoder Allocation
Some TV channels transmit encoded TV signals which can
only be viewed with a purchased or hired decoder. You can
connect such a decoder to this unit. The following function
will automatically activate the connected decoder for the
desired TV channel.
• Use the remote control for this procedure.
1)
Press
PROG +/-
or the
number buttons
to select the TV
channel which you would like to allocate the decoder to.
2)
Press
MENU
.
3)
Press
PLAY
B
/
K
or
STOP
C
/
p
to select “INITIAL”, then
press
D
/
B
.
4)
Press
PLAY
B
/
K
or
STOP
C
/
p
to select “CH TUNING”,
then press
D
/
B
.
5)
Press
PLAY
B
/
K
or
STOP
C
/
p
to select “MANUAL”,
then press
D
/
B
.
6)
Press
PLAY
B
/
K
or
STOP
C
/
p
to select “DECODER”.
7)
Press
D
/
B
to select “ON” (Decoder switched on).
•To switch off the decoder, press
D
/
B
to select “OFF”.
8)
Press
MENU
to
exit.
•The decoder has now been allocated to this TV channel.
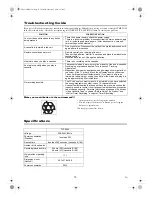
Manual Channel Preset
In some cases it can occur that some TV channels are not
found and saved during the first installation. In this case, the
missing TV channels must be searched for and stored
manually.
• Use the remote control for this procedure.
1)
Press
MENU
.
2)
Press
PLAY
B
/
K
or
STOP
C
/
p
to select “INITIAL”, then
press
D
/
B
.
3)
Press
PLAY
B
/
K
or
STOP
C
/
p
to select “CH TUNING”,
then press
D
/
B
.
4)
Press
PLAY
B
/
K
or
STOP
C
/
p
to select “MANUAL”,
then press
D
/
B
.
5)
Press
PLAY
B
/
K
or
STOP
C
/
p
to select “POSITION”,
then press
D
/
B
.
6)
Press the
number buttons
,
PLAY
B
/
K
, or
STOP
C
/
p
to
select your desired position number, then press
D
/
B
.
•You can select position number 01-99.
•If [ON] appears on the right side of “SKIP”, press
PLAY
B
/
K
or
STOP
C
/
p
to point to “SKIP”. Then,
press
D
/
B
to select [OFF].
•If you want to remove scrambled signals, press
PLAY
B
/
K
or
STOP
C
/
p
repeatedly to point to
“DECODER”. Then, press
D
/
B
to select [ON].
7)
Press
PLAY
B
/
K
or
STOP
C
/
p
to select “CHANNEL”,
then press
D
/
B
.
Press
PLAY
B
/
K
or
STOP
C
/
p
. The unit tuner will begin
to search up or down automatically. When a channel is
found, the unit will stop searching and the picture will
appear on the TV Screen.
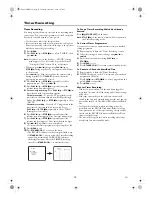
•You can select desired channel number by using
the
number buttons
. You must refer to the following
Channel Plan table and press three digits to select the
channel number.
(To select channel 24, press “
0
” button first and then
press “
2
” and “
4
”.)
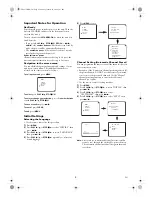
MENU
TIMER
PICTURE
SET UP
INITIAL
INITIAL
CH TUNING
CLOCK
LANGUAGE
CLOCK
YEAR
2 0 0 4
MONTH
_ _
DAY
_ _ _ _
HOUR
_ _
MINUTE
_ _
T6627SH(EN).fm Page 7 Thursday, January 22, 2004 1:27 PM


