


9
EN
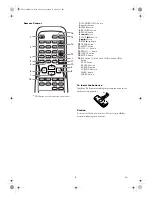
TV Functions
To Select a Desired Channel
You can select a desired channel by using
PROG +/-
, or directly
pressing the
number buttons
on the remote control.
• Enter a channel numbers as a two-digit number for the
quickest results. For example, to select channel 6, press
0
and
6
. If you only press
6
, channel 6 will be selected after a
brief delay.
You can only select channels 1–99.
Selection of the EXT1/AV1 Scart Socket
To select the EXT1/AV1 scart socket, enter 0,0,1, with the
number buttons
on the remote control. “AV1” appears on the
screen.
Using the Satellite Receiver
You can receive channels from the satellite receiver via the
EXT1/AV1 scart socket.
To do this, select the channel number “AV1” by pressing
0,0,1, with the
number buttons
on the remote control. You
will have to select the channel you want to receive on the sat-
ellite receiver itself.
Selection of the Front AUDIO/VIDEO Input
Sockets
To select the front AUDIO/VIDEO input sockets, enter
0,0,2, with the
number buttons
on the remote control. “AV2”
appears on the screen.
Volume Control
You can adjust the volume using
VOL +/-
on the remote
control.
Note: •
If you want to change the volume on the machine,
press
VOL
+/-
on the unit.
•
If you want to mute the sound temporarily (e.g.:
during a telephone call), press
MUTE
on the remote
control. When you press
MUTE
again, the sound will
return at its original volume level.
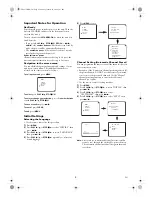
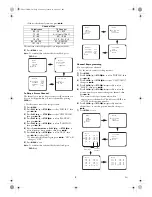
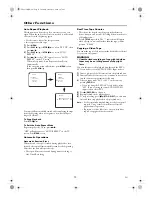
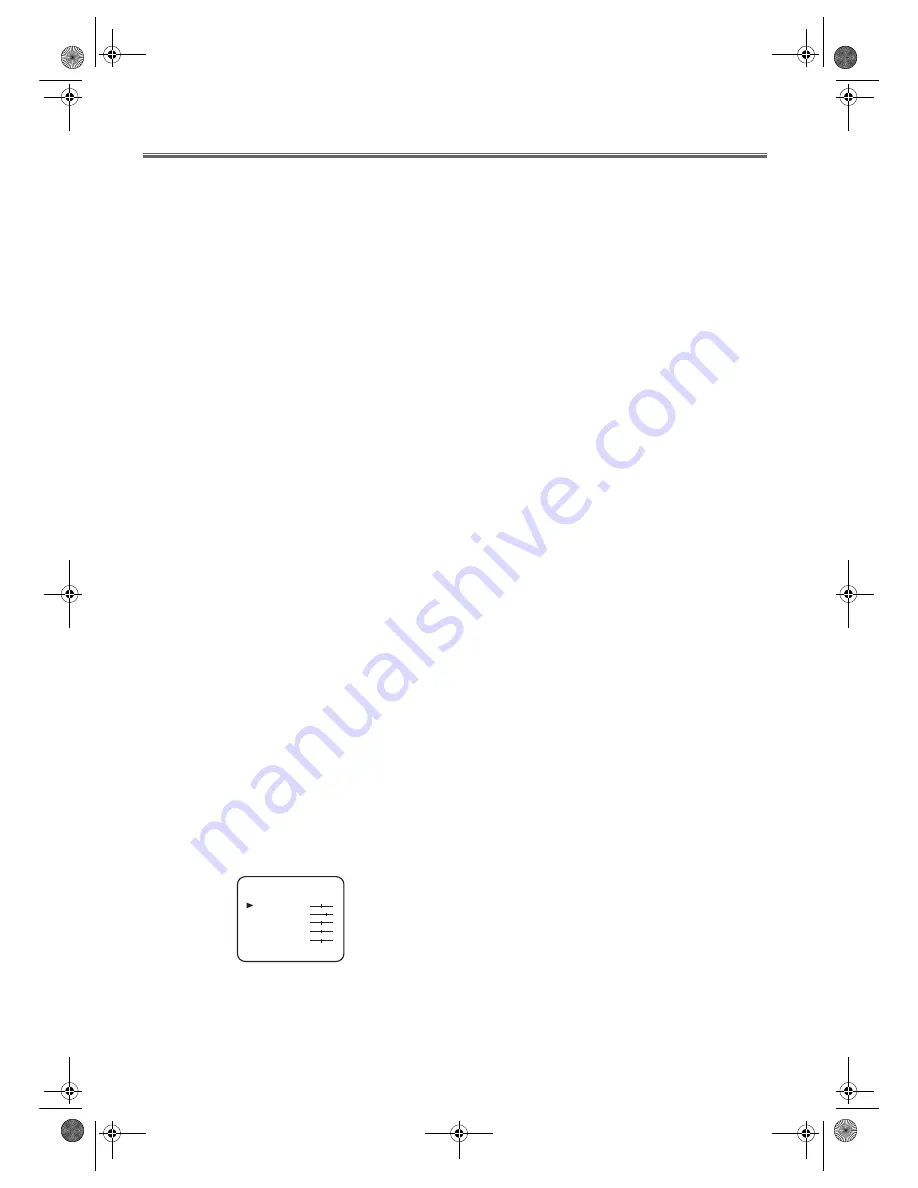
Picture Settings
The picture can be adjusted according to your personal
preferences. These settings are automatically stored after
exiting the main menu.
• Use the remote control for this procedure.
1)
Press
MENU
.
2)
Press
PLAY
B
/
K
or
STOP
C
/
p
to select “PICTURE”,
then press
D
/
B
.
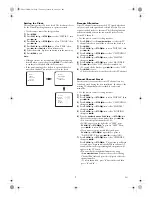
3)
Press
PLAY
B
/
K
or
STOP
C
/
p
to select an item, and
then modify with
h
/
s
or
D
/
B
.
4)
Press
MENU
to exit.
“TINT” appears only when receiving NTSC signals from an
additional device connected by either EXT1/AV1 scart socket
or front AUDIO/VIDEO input sockets.
Teletext Reception
Many TV channels transmit Teletext information along with
their TV channels. With this unit, you can retrieve and display
it on the screen using the built-in Teletext decoder.
• Use the remote control for this procedure.
1)
Press
TEXT
to switch the Teletext decoder on. Your unit
now shows Teletext for the TV channel you have
selected. Press
TEXT
again to show Teletext in
transparent mode.
2)
If you want to select another page, type in the number of
the page with the
number buttons
.
Note: •
To enlarge fonts, press
EXPAND
.
•
To select Teletext subpages, press
SUBCODE
.
•
To directly select the page numbers shown at the
bottom of the TV screen, use a colour button.
•
To call up the hidden information, press
REVEAL
.
•
To stop turning pages, press
HOLD
.
•
To go back to the start page, press
INDEX
.
3)
Press
TEXT
to switch the Teletext decoder off.
Sleep Timer
This unit can be turned off automatically after a
predetermined period.
• Use the remote control for this procedure.
1)
Press
SLEEP
.
2)
Press
SLEEP
repeatedly to extend the duration by 30-
minute increment.
The screen will show the remaining time, e.g.: “+0:30”.
• The machine now counts backwards until the power is
down.
Note: •
The maximum to be set is 2 hours.
•
To set this function off, press
SLEEP
on the remote
control several times until “--:--” appears on the
screen.
•
To check the remaining time, press
SLEEP
on the
remote control.
•
If a recording is in process, this function will be
cancelled.
BRIGHTNESS
CONTRAST
COLOUR
SHARPNESS
TINT
_
+
_
+
_
+
_
+
_
+
T6627SH(EN).fm Page 9 Thursday, January 22, 2004 1:27 PM


