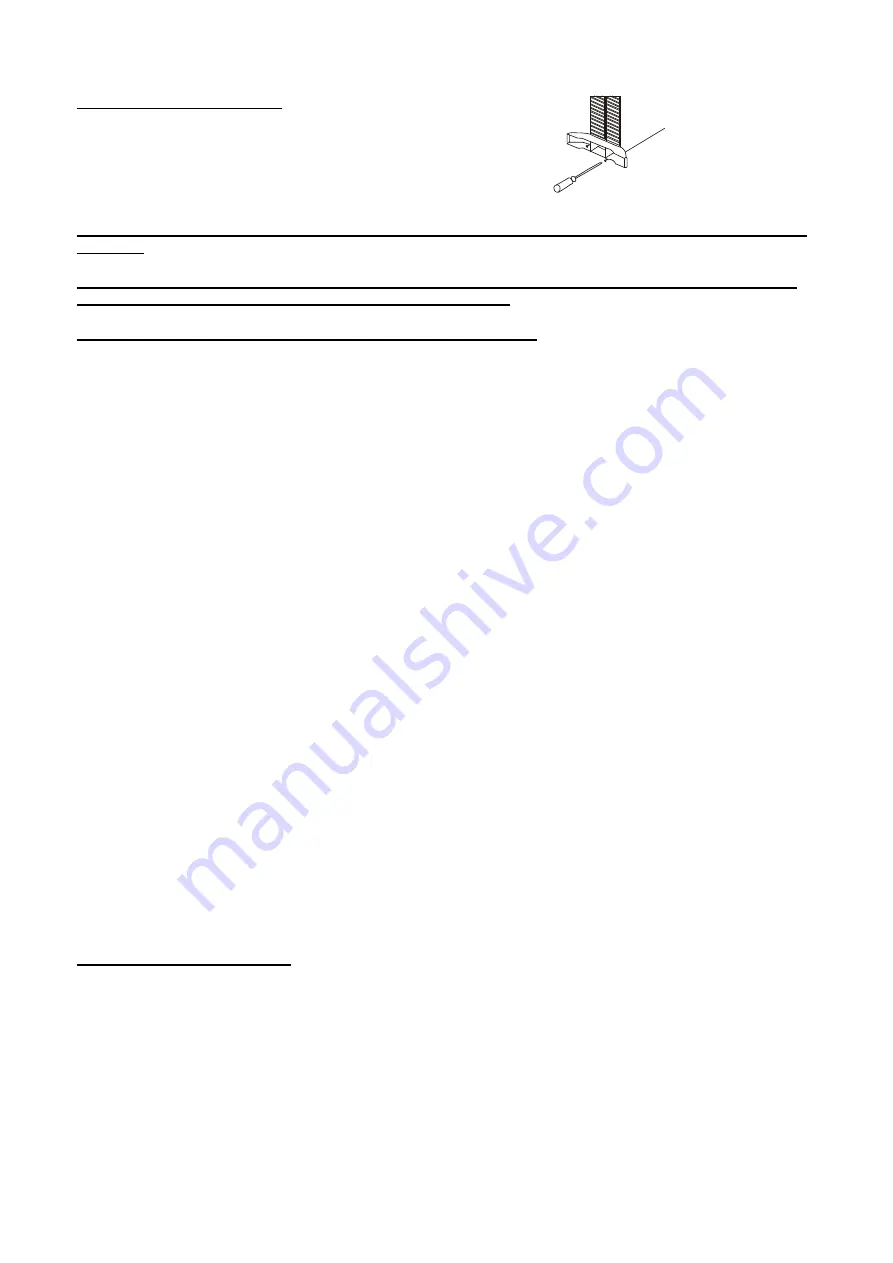
ASSEMBLY OF THE HEATER
Before using the heater, the feet (supplied separately in the carton),
must be fitted to the unit. These are to be attached to the base of
the heater using the 4 self-tapping screws provided, taking care to
ensure that they are located correctly in the bottom ends of the
heater side moldings
IMPORTANT Read these instructions fully before using the heater. Retain these instructions for future
reference
NOTE: THESE HEATERS ARE INTENDED FOR DOMESTIC USE ONLY. THEY CAN BE USED AS BOTH
PORTABLE APPLIANCE AND WALL MOUNTING APPLIANCE
.
SAFETY INSTRUCTIONS (to be read before operating the heater)
1) Do not use the heater unless the feet are correctly attached if the heater is used as portable appliance.
2) Ensure the power supply to the socket into which the heater is plugged is in accordance with the rating
label on the heater and that the socket is earthed.
3) Keep the mains lead away from the hot body of the heater.
4) The heater is not intended for use in bathrooms, laundry areas or similar indoor locations. Never place
the heater where it may fall into a bathtub or other water container.
5) Do not use outdoors.
6) Do not cover or obstruct any of the heat outlet grilles or the air intake openings of the heater.
7) Do not place the heater on carpets having a very deep pile.
8) Always ensure that the heater is placed on a firm level surface. Ensure that the heater is not
positioned close to curtains or furniture as this could create a fire hazard.
9) Do not position the heater in front of, or immediately below, a wall socket.
10) Do not insert any object through the heat outlet or air intake grilles of the heater.
11) Do not use the heater in areas where flammable liquids are stored or where flammable fumes may be
present.
12) Particular care should be taken when the heater is situated in areas occupied by children or invalids.
13) Always unplug the heater when moving it from one location to another.
14) Do not use the heater if the power cord is damaged. If the power cord is damaged it must be replaced
by a recognised service agent or other qualified person. If the plug is damaged, see Plug
Replacement details below.
15) Young children should be supervised to ensure that they do not play with the appliance.
16) This appliance is not intended for use by persons (including children) with reduced physical,
sensory or mental capabilities, or lack of experience and knowledge, unless they have been given
supervision or instruction concerning use of the appliance by a person responsible for their safety.
CAUTION
: In order to avoid a hazard due to inadvertent resetting of the thermal cut-out this appliance must
not be supplied through an external switching device such as a timer or connected to a circuit that is
regularly switched on and off by the utility
OPERATION OF THE HEATER
NOTE: It is normal when the heaters are turned on for the first time or when they are turned on after having
not been used for a long period of time the heaters may emit some smell and fumes. This will disappear when
the heater has been on a short while.
Choose a suitable location for the heater, taking into account the safety instructions above.
Insert the plug of the heater into a suitable socket.
Turn the thermostat knob fully in a clockwise direction to the maximum setting.
Turn on the heating elements by means of the rocker switches on the side panel. When the heating elements
are on the switches will illuminate. For maximum heat output both switches should be on.
When the desired room temperature has been reached, the thermostat knob should be turned slowly anti-
clockwise until the thermostat is heard to click off and the lights on the element switches are seen to go out.


