


CHAPTER 3: OPERATING INSTRUCTIONS
9100 SERIES REFLOW SOLDERING SYSTEM
990-606
3-5
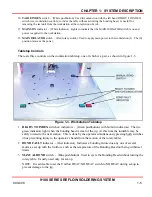
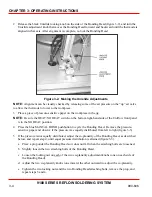
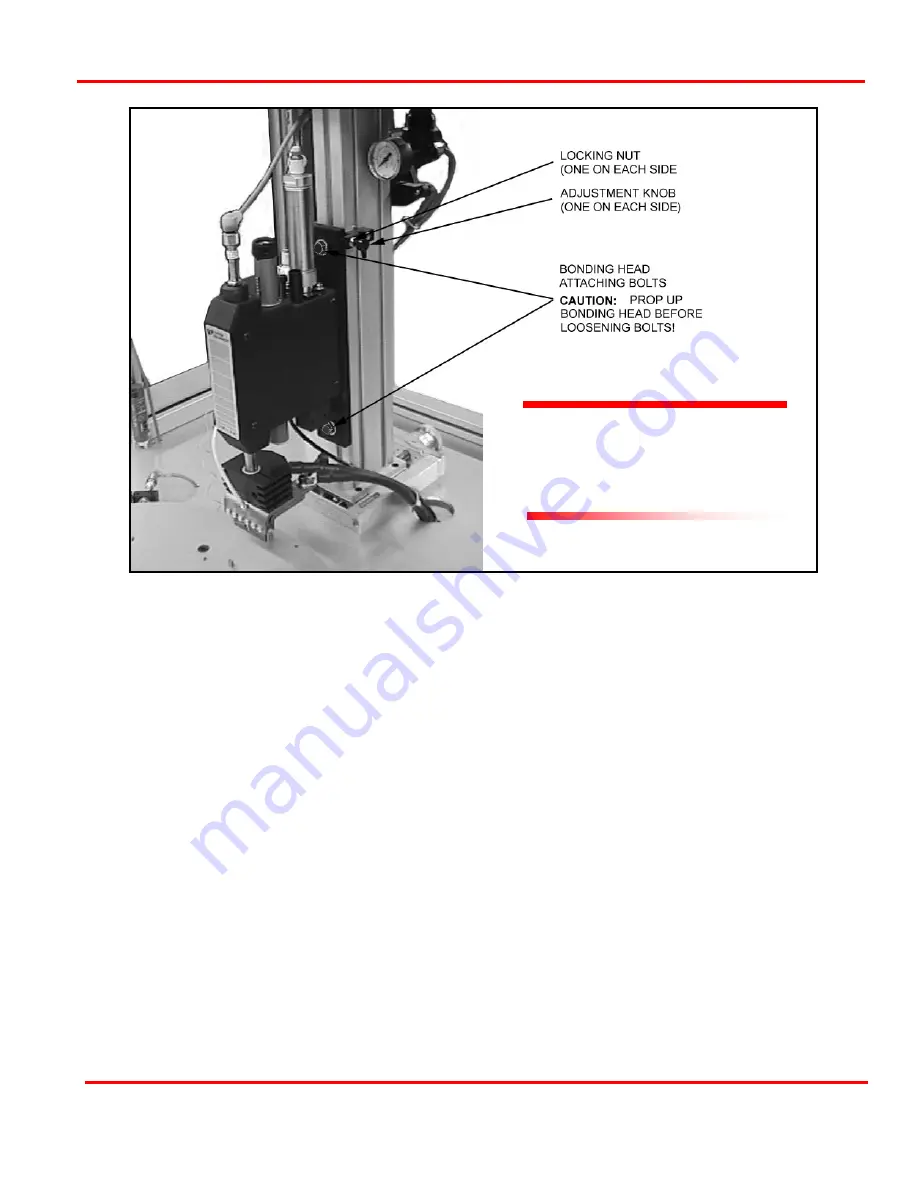
Figure 3-3. Making Co-Planarity Adjustment
Establishing the Reflow Schedule
The reflow heating schedule is found in the Uniflow User’s Manual, cited in table 1-1 of this manual.
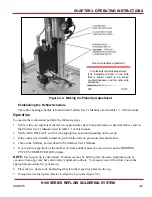
Operation
To operate the workstation, perform the following steps:
1
Verify with your supervisor that all set-up procedures have been performed, as described above and in
the Uniflow User’s Manual, cited in table 1-1 of this manual.
2
Set the JIGS IN PLACE switch to the appropriate position depending on the set-up.
3
If the unit is not currently turned-on, perform the turn-on procedure described above.
4
Turn on the Uniflow, as described in the Uniflow User’s Manual.
5
If you wish to keep track of the number of items bonded, press the reset switch on the BONDING
CYCLES COMPLETED LCD display.
NOTE:
Each jig set up is customized. Workpieces may be held in place by nests, alignment pins, or
vacuum. Some jigs may have micrometer alignment controls. Your supervisor will instruct you on the
appropriate procedure for your set-up.
6
Place the two items to be bonded together into the respective places in the jig.
7
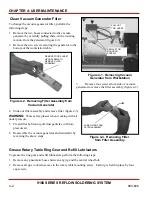
If required, use the jig micrometer to align the two items (figure 3-4).
Co-planarity requires adjustment
(The Adjustment Knob on the side
that is lighter needs to be turned
counterclockwise, and the other side
clockwise.)
CW
CCW
Good co-planarity adjustment
Summary of Contents for 9100 Series
Page 14: ......
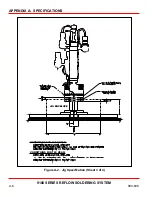
Page 25: ...9100 SERIES REFLOW SOLDERING SYSTEM 990 606 A 1 APPENDIX A SPECIFICATIONS...
Page 32: ......