Installation & Set-up Guide
24
Finalizing the Connections
Make the following connections in the order described, otherwise static electricity can potentially
damage the computer and/or the laser systems electronics.
Connect the 3-inch (76.5 mm) flexible rubber exhaust system to the rear of the laser system if
1.
you have not already done so.
Connect the laser system’s power cord and your computer’s power cord to a grounded
2.
electrical outlet.
Note:
International users may need to connect an adapter to the power cord to be able to plug
it into their power source.
CAUTION:
Make sure that you attach the adapter correctly to the power cord and that your
power source is properly grounded (earthed).
Do not power on the laser system at this time.
3.
Note:
A properly installed 9-volt battery is necessary to operate the laser system. The laser
system will not function without a charged battery installed. Keep a spare 9-volt battery on
hand at all times.
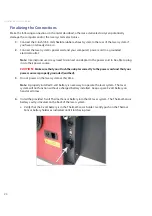
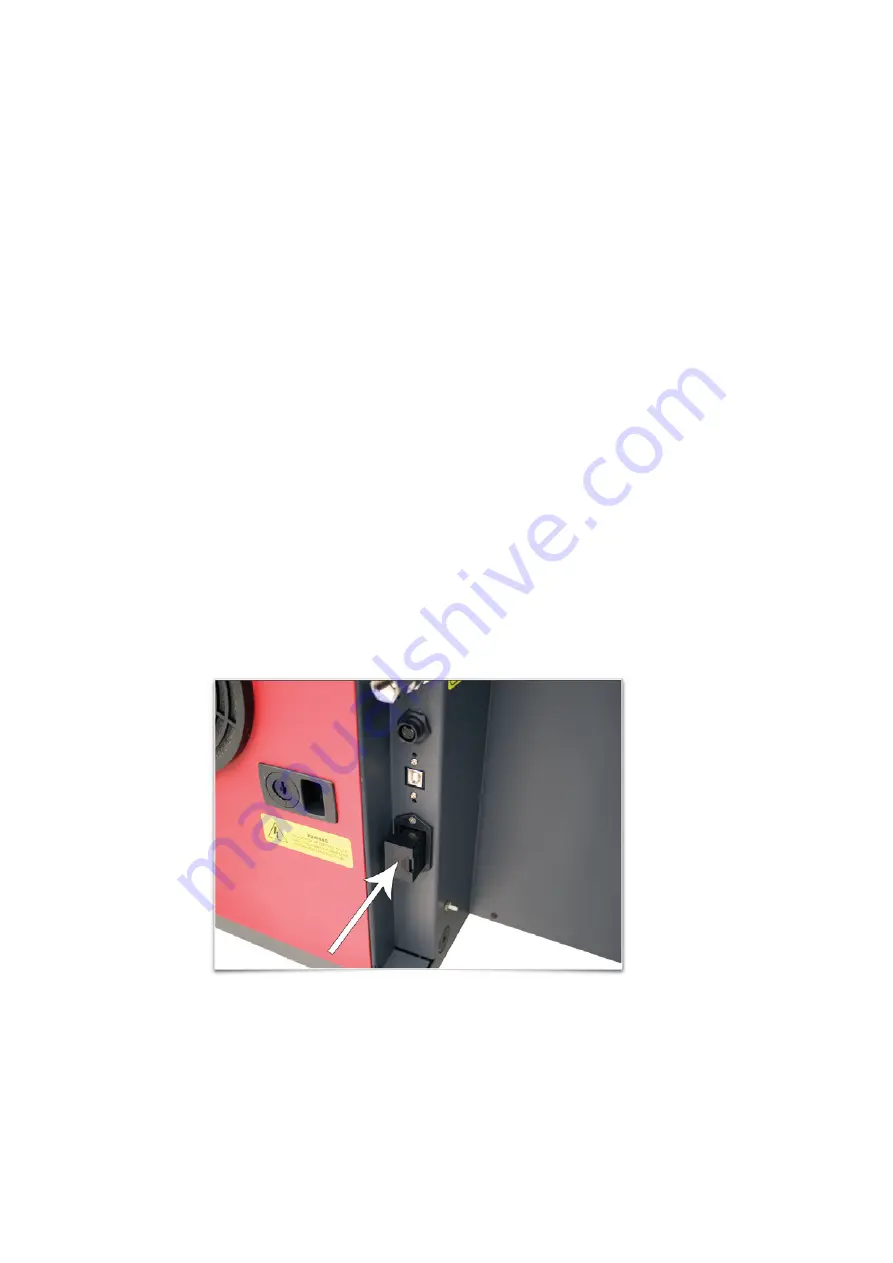
Install the provided 9-volt Thermal Sensor battery into the ILS laser system. The Thermal Sensor
4.
battery cavity is located on the back of the laser system.
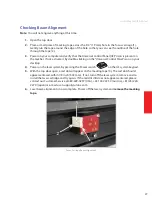
Verify that the 9-volt battery is in the Thermal Sensor holder. Gently push on the Thermal
a.
Sensor battery holder as indicated until it latches in place.
Summary of Contents for Industrial ILS12.150D
Page 1: ...www ulsinc com Installation Set up Guide ILS9 75 ILS9 150D ILS12 75 ILS12 150D...
Page 2: ......
Page 8: ......
Page 28: ......
Page 32: ...Notes...
Page 33: ...Notes...
Page 35: ......


