Assembling Your ILS System
27
Checking Beam Alignment
Note:
You will not engrave anything at this time.
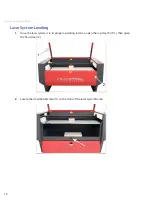
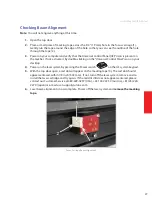
Open the top door.
1.
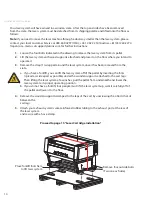
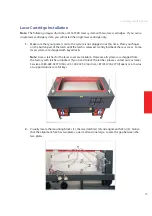
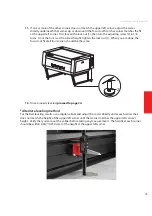
Place a small piece of masking tape across the 3/4” (19 mm) hole in the focus carriage (1).
2.
Gently rub the tape around the edge of the hole so that you can see the outline of the hole
through the tape (2).
Power on your computer and verify that the Universal Control Panel (UCP) icon is present on
3.
the taskbar. If not, activate it by double-clicking on the “Universal Control Panel” icon on your
desktop.
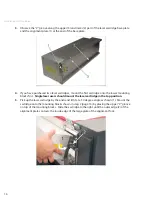
Power on the laser system by pressing the Power switch
4.
on the ILS system keypad.
With the top door open, a red dot will appear on the masking tape (3). The red dot should
5.
appear centered, within 1/8 inch (3.18 mm). If not, turn off the laser system, remove and re-
install the laser cartridge and try again. If the red dot still does not appear centered, please
contact our Customer Service at 480-609-0297 (USA), +43 1 402 22 50 (Austria), +81 (45) 224-
2270 (Japan) or e-mail us at support@ulsinc.com.
Laser beam alignment is now complete. Power off the laser system and
6.
remove the masking
tape.
Focus Carriage Beam Alignment
Summary of Contents for Industrial ILS12.150D
Page 1: ...www ulsinc com Installation Set up Guide ILS9 75 ILS9 150D ILS12 75 ILS12 150D...
Page 2: ......
Page 8: ......
Page 28: ......
Page 32: ...Notes...
Page 33: ...Notes...
Page 35: ......


