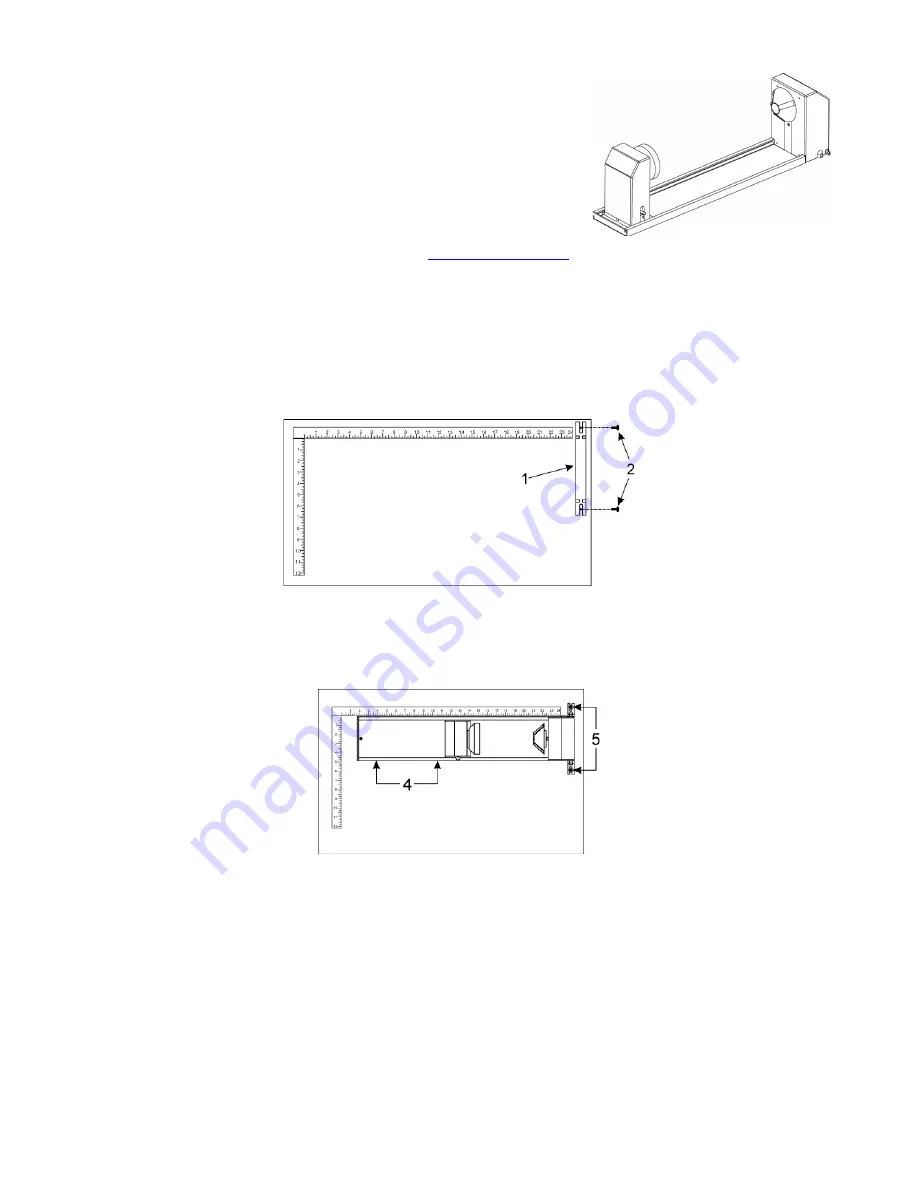
Rotary Fixture
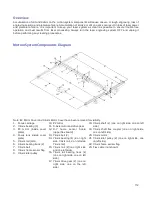
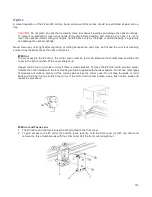
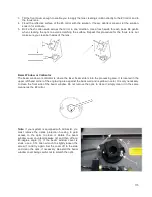
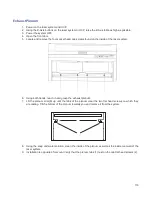
The Rotary Fixture allows the laser system to engrave and mark on
cylindrical objects. The Rotary fixture is equipped with an external cone
shaped fixture mounted to the fixed, motorized end and an internal cone
shaped fixture attached to the adjustable end allowing the fixture to hold a
variety of objects such as wine glasses, mugs, cups, etc. Additional
internal and external cone fixtures can be purchased by contacting the
ULS Customer Service Team at 480-609-0297 (USA), +43 1 402 22 50
(Austria), +81 (45) 224-2270 (Japan) or e-mail us at
support@ulsinc.com.
Installation
1.
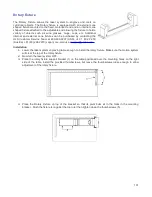
Lower the laser system engraving table enough to install the rotary fixture. Make sure the motion system
will clear the top of the rotary fixture.
2.
Now turn the laser system OFF.
3.
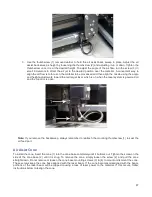
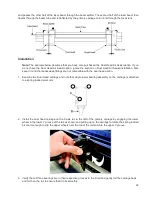
Place the rotary fixture support bracket (1) on the table positioned over the mounting holes on the right
side of the table. Install the provided thumbscrews, but leave the thumbscrews loose enough to allow
adjustment of the rotary fixture.
4.
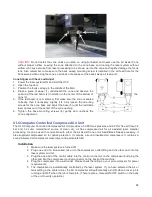
Place the Rotary Fixture on top of the bracket so that its pivot bolts sit in the forks in the mounting
bracket. Push the fixture (4) against the top ruler then tighten down the thumbscrews (5).
101
Summary of Contents for PLS4.75
Page 1: ...PLS User Guide PLS4 75 PLS6 75 PLS6 150D PLS6MW www ulsinc com Revision August 2012...
Page 5: ...Chapter 1 Specifications 5...
Page 8: ...Chapter 2 Safety 8...
Page 14: ...Tamper Proof Labels Safety Labels...
Page 15: ...ULS Fiber Laser Cartridge Labels 15...
Page 16: ......
Page 17: ...PLS4 Back View 17...
Page 18: ...PLS6 Front View 18...
Page 19: ......
Page 22: ...Chapter 3 Installation 22...
Page 40: ......
Page 48: ...Chapter 4 Operation 48...
Page 83: ...Chapter 5 Accessories 83...
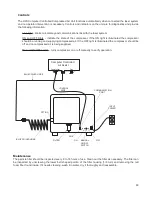
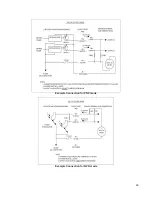
Page 99: ...Example Connection for PNP mode Example Connection for NPN mode 99...
Page 111: ...Chapter 6 Maintenance 111...
Page 119: ...www ulsinc com...

