Exhaust Plenum
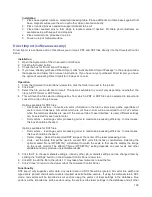
1. Power on the laser system and UCP.
2. Using the Z-Axis buttons on the laser system or UCP, raise the Z-Axis table as high as possible.
3. Power the system OFF.
4. Open the front door.
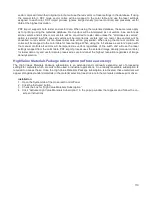
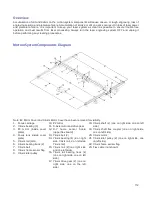
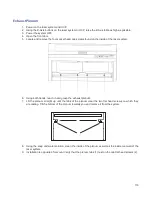
5. Locate and remove the four socket head cap screws found on the inside of the laser system.
6. Using both hands, reach in and grasp the exhaust plenum.
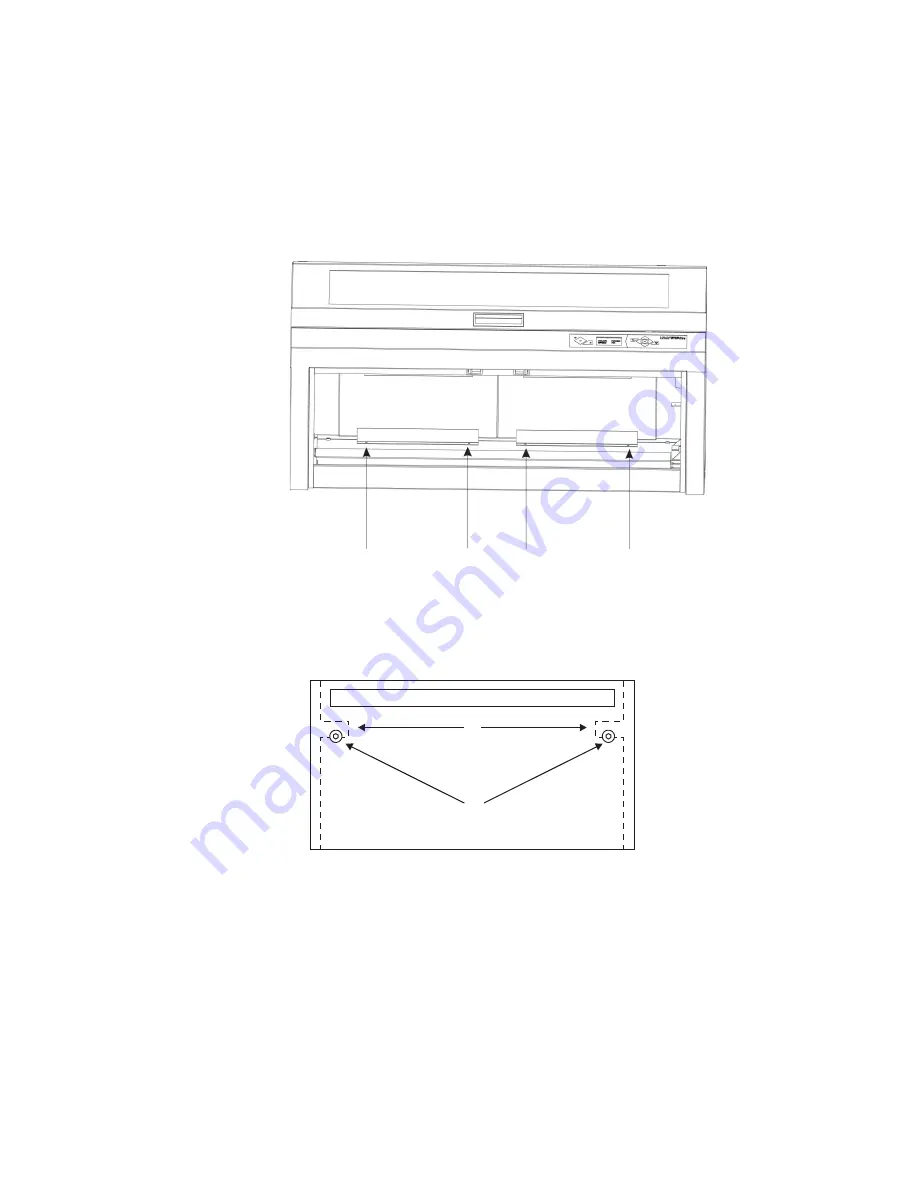
7. Lift the plenum straight up until the tabs of the plenum clear the two flat head screws on which they
are resting. Tilt the bottom of the plenum towards you and remove it from the system.
8. Using the soap and water solution, clean the inside of the plenum as well as the inside rear wall of the
laser system.
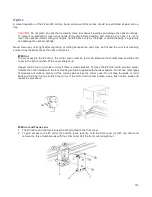
9. Installation is opposite of removal. Verify that the plenum tabs (1) rest on the two flat head screws (2).
116
Summary of Contents for PLS4.75
Page 1: ...PLS User Guide PLS4 75 PLS6 75 PLS6 150D PLS6MW www ulsinc com Revision August 2012...
Page 5: ...Chapter 1 Specifications 5...
Page 8: ...Chapter 2 Safety 8...
Page 14: ...Tamper Proof Labels Safety Labels...
Page 15: ...ULS Fiber Laser Cartridge Labels 15...
Page 16: ......
Page 17: ...PLS4 Back View 17...
Page 18: ...PLS6 Front View 18...
Page 19: ......
Page 22: ...Chapter 3 Installation 22...
Page 40: ......
Page 48: ...Chapter 4 Operation 48...
Page 83: ...Chapter 5 Accessories 83...
Page 99: ...Example Connection for PNP mode Example Connection for NPN mode 99...
Page 111: ...Chapter 6 Maintenance 111...
Page 119: ...www ulsinc com...


