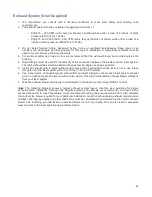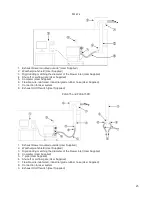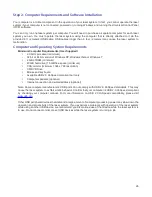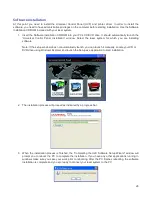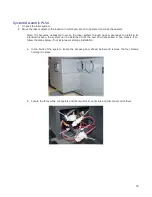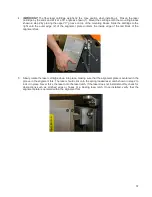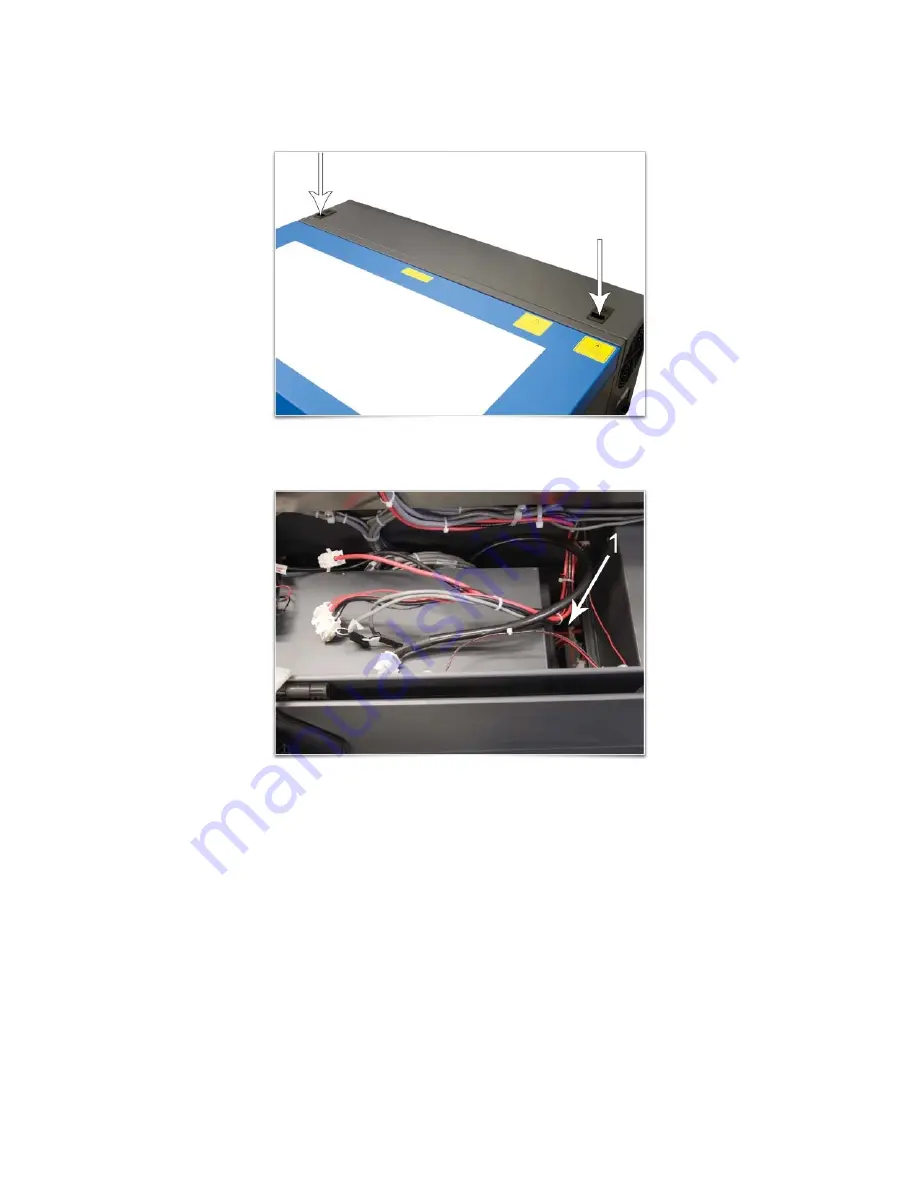
c. Open the rear cover of the laser system.
d. Locate the pocket (1) where the cables disconnected in step b reside. Gently pull the cables up
and rest them on top of the sheet metal as shown below.
e. Close and latch the rear cover.
f.
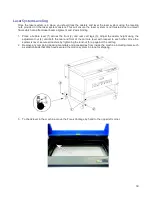
Tape the front and top doors closed using strong shipping tape, prior to lifting the laser system off
the cart, to ensure they stay closed.
31
Summary of Contents for PLS4.75
Page 1: ...PLS User Guide PLS4 75 PLS6 75 PLS6 150D PLS6MW www ulsinc com Revision August 2012...
Page 5: ...Chapter 1 Specifications 5...
Page 8: ...Chapter 2 Safety 8...
Page 14: ...Tamper Proof Labels Safety Labels...
Page 15: ...ULS Fiber Laser Cartridge Labels 15...
Page 16: ......
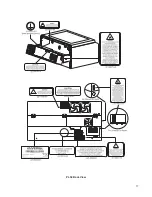
Page 17: ...PLS4 Back View 17...
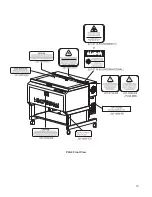
Page 18: ...PLS6 Front View 18...
Page 19: ......
Page 22: ...Chapter 3 Installation 22...
Page 40: ......
Page 48: ...Chapter 4 Operation 48...
Page 83: ...Chapter 5 Accessories 83...
Page 99: ...Example Connection for PNP mode Example Connection for NPN mode 99...
Page 111: ...Chapter 6 Maintenance 111...
Page 119: ...www ulsinc com...

