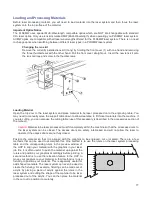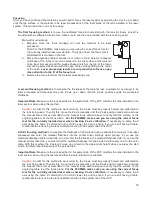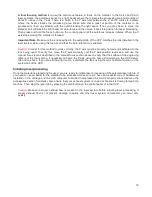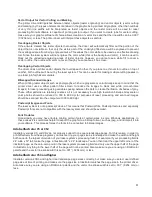
Control Panel
The control panel on your laser system provides the functions necessary to setup and run jobs on your laser
system.
Safety Interlock Status
A Red LED on the control panel provides an indication of the status of the interlock system.
Indication
Condition
On
All access doors to the laser system are closed. If a laser job is initiated in this state, the
CO
2
laser will fire.
Flashing
One or more of the access doors to the laser system is open and the safety interlock system
has disabled the CO
2
laser. If a laser job is initiated in this state, the CO
2
laser will not fire
and the red target pointer will be on instead.
Keys
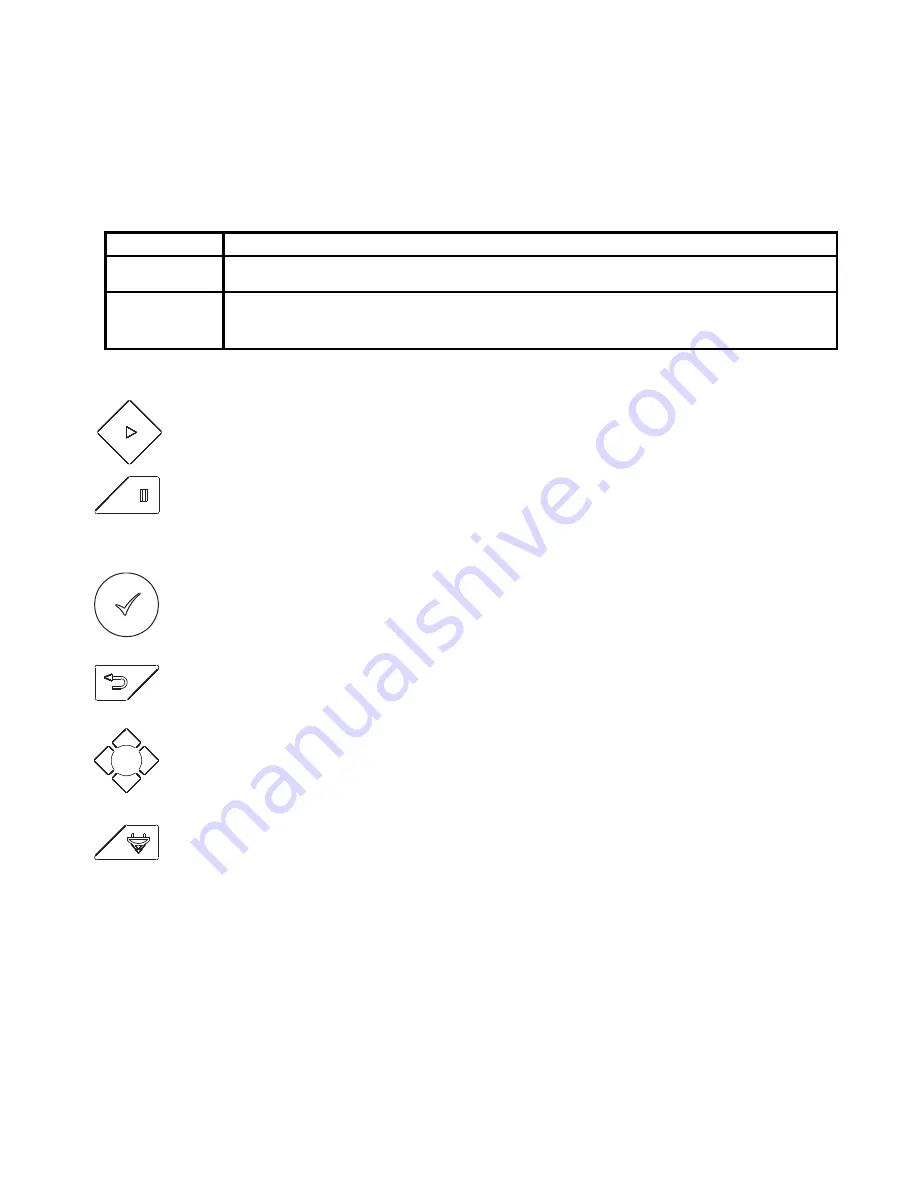
START: Initiates processing of the laser job currently selected and visible in the preview screen of
the Universal Control Panel on your PC.
PAUSE: If a laser job is in process, the Pause button stops job execution and moves the focus
carriage to its home position in the upper right corner of the engraving area. If the Pause button is
pressed again, it will resume job execution at the point where the motion system was paused. If
the Start button is pressed while the machine is in a paused state, it will restart processing at the
beginning of the laser job.
SELECT: This button activates the currently highlighted menu item on the display.
ESCAPE: This button exits from the currently selected menu item.
Navigation: The navigation buttons perform different functions depending on the display screen
selected. See the display section for more details.
FOCUS: This button has two functions: Manual Focus and Auto-Focus. Momentarily pressing the
Focus button will move the focus carriage to a pre-stored position for manually focusing on
materials using a focus tool. This pre-stored position is defaulted to 2” down and 2” over from
zero-zero position in the machine, however, you can change this pre-stored position using the
focus position setting in the system tab of the UCP. Holding the Focus button for one second or
more will initiate the Auto Focus routine which will automatically lower the table and then raise the
table until the auto-focus sensor in the machine has located the top surface of the material. Auto
focusing is complete once the table stops moving. To stop the Auto-Focus routine at any point
during execution, press the Escape button.
75
Summary of Contents for PLS4.75
Page 1: ...PLS User Guide PLS4 75 PLS6 75 PLS6 150D PLS6MW www ulsinc com Revision August 2012...
Page 5: ...Chapter 1 Specifications 5...
Page 8: ...Chapter 2 Safety 8...
Page 14: ...Tamper Proof Labels Safety Labels...
Page 15: ...ULS Fiber Laser Cartridge Labels 15...
Page 16: ......
Page 17: ...PLS4 Back View 17...
Page 18: ...PLS6 Front View 18...
Page 19: ......
Page 22: ...Chapter 3 Installation 22...
Page 40: ......
Page 48: ...Chapter 4 Operation 48...
Page 83: ...Chapter 5 Accessories 83...
Page 99: ...Example Connection for PNP mode Example Connection for NPN mode 99...
Page 111: ...Chapter 6 Maintenance 111...
Page 119: ...www ulsinc com...

