Display
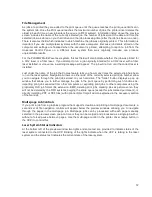
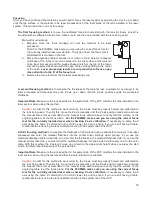
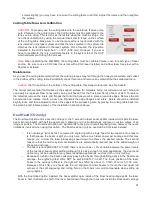
Main Menu: When your laser system is initially powered up the
laser system model name will appear on the displayed. This
screen will remain until the laser system establishes
communication over the USB port with the Universal Control
Panel running in the task bar on your PC. If the UCP is not
running in the task bar or the laser system is not connected to a
USB port on the PC, the laser system will not be able to function.
Once communication is established, the Main Menu screen will
appear giving you access to three sub menus: File, XY and Z.
Use the UP/DOWN navigation buttons to highlight a sub menu and the SELECT key to enter it.
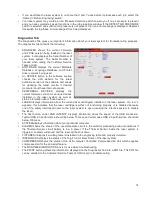
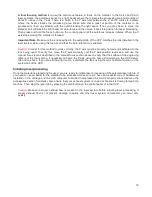
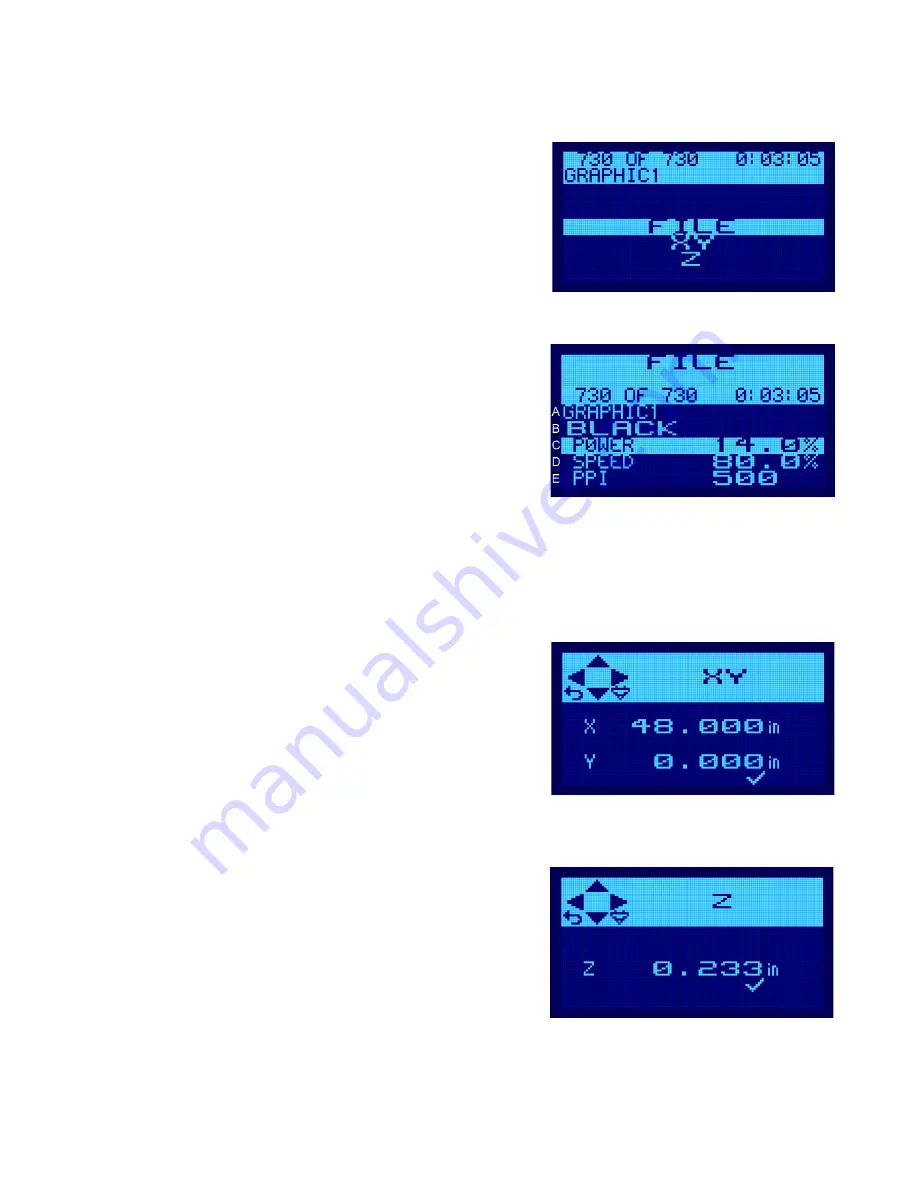
File Menu: This menu displays the name of the laser job
currently selected for laser processing. You can scroll through
the laser jobs stored in the queue in the UCP using the
LEFT/RIGHT navigation buttons while the job name is
highlighted by the cursor. As you scroll through the laser jobs the
preview screen in the UCP on your computer will also update to
show the laser job selected. Pressing the START button will
begin processing the selected job. While a particular laser job is
selected, you can use the DOWN navigation button to highlight
row B which allows you to view the laser settings assigned to the various colors in the selected laser job. With
the cursor highlighting row B, use the LEFT/RIGHT navigation buttons to scroll through the colors and Power,
Speed and PPI settings will update. If you want to change a laser setting for a particular color in the selected
job, move the cursor to row C, D or E using the UP/DOWN navigation buttons and then use the RIGHT/LEFT
navigation buttons to change the setting. Pressing the SELECT button after making changes to a setting will
cause the change to be permanently saved in the laser job.
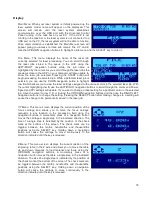
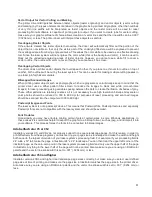
XY Menu: This menu screen displays the current position of the
focus carriage and allows you to move the focus carriage
manually to any location in the processing field using the
navigation buttons. A momentary press of a navigation button
moves the carriage a single step in the indicated direction. The
size of a single step is indicated by the position of the check
mark at the bottom of the screen. The check mark can be
toggled between the tenths, hundredths and thousandths
positions using the SELECT key. Holding down a navigation
button will cause the carriage to move continuously in the
direction indicated until the key is released.
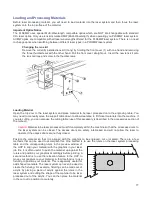
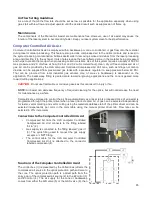
Z Menu: This menu screen displays the current position of the
engraving table in the Z axis and allows you to move the table
up and down manually to load material and focus using the
UP/DOWN navigation buttons. A momentary press of a
navigation button moves the table a single step in the indicated
direction. The size of a single step is indicated by the position of
the check mark at the bottom of the screen. The check mark can
be toggled between the tenths, hundredths and thousandths
positions using the SELECT key. Holding down a navigation
button will cause the carriage to move continuously in the
direction indicated until the key is released.
76
Summary of Contents for PLS4.75
Page 1: ...PLS User Guide PLS4 75 PLS6 75 PLS6 150D PLS6MW www ulsinc com Revision August 2012...
Page 5: ...Chapter 1 Specifications 5...
Page 8: ...Chapter 2 Safety 8...
Page 14: ...Tamper Proof Labels Safety Labels...
Page 15: ...ULS Fiber Laser Cartridge Labels 15...
Page 16: ......
Page 17: ...PLS4 Back View 17...
Page 18: ...PLS6 Front View 18...
Page 19: ......
Page 22: ...Chapter 3 Installation 22...
Page 40: ......
Page 48: ...Chapter 4 Operation 48...
Page 83: ...Chapter 5 Accessories 83...
Page 99: ...Example Connection for PNP mode Example Connection for NPN mode 99...
Page 111: ...Chapter 6 Maintenance 111...
Page 119: ...www ulsinc com...

