17
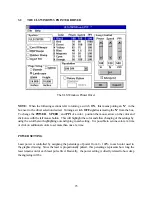
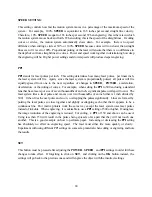
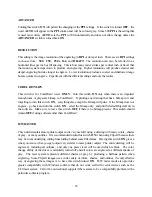
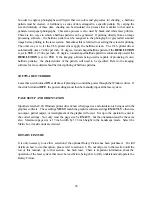
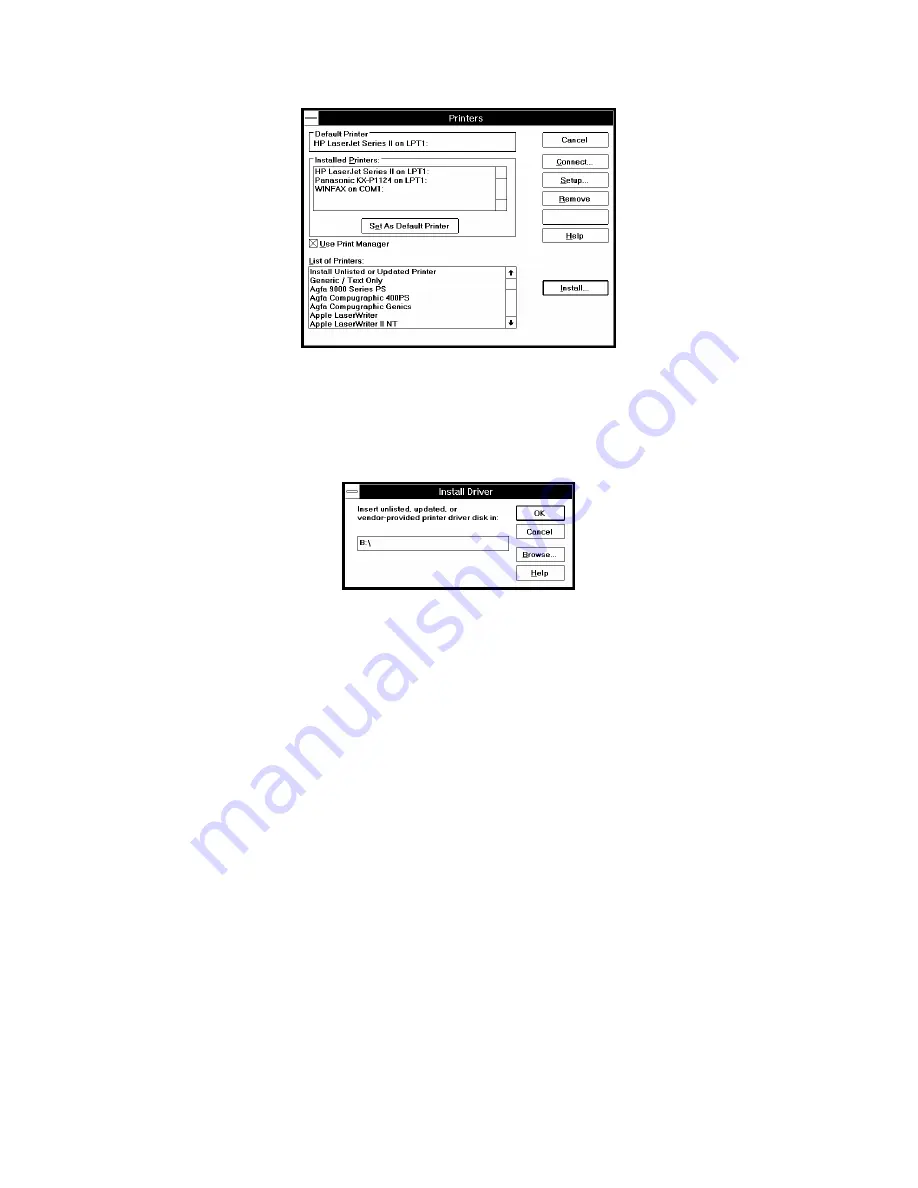
Printers Dialogue Box
4.
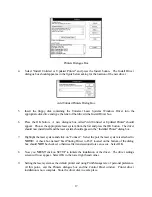
Select "Install Unlisted or Updated Printer" and press the Install button. The Install Driver
dialogue box should appear as in the figure below asking for the location of the new driver.
Add Unlisted Printers Dialog Box
5.
Insert the floppy disk containing the Universal Laser Systems Windows Driver into the
appropriate disk drive and type the letter of that drive in the Install Driver box.
6.
Press the OK button. A new dialogue box called "Add Unlisted or Updated Printer" should
appear. Choose the appropriate laser system from the list and press the OK button. The driver
should now install itself and the laser system should appear in the “Installed Printer” dialog box.
7.
Highlight the laser system and click on “Connect”. Select the port the laser system is attached to.
NOTE:
A check box named “Fast Printing Direct to Port” located on the bottom of the dialog
box should
NOT
be checked, otherwise file transmission errors can occur. Select OK.
8.
Now you
MUST
click on SETUP to initiate the installation of the driver. The driver settings
screen will now appear. Select OK in the lower right hand corner.
9.
Setting the laser system as the default printer and using Print Manager are of personal preference.
At this point, exit the Printers dialogue box and the Control Panel window. Printer driver
installation is now complete. Store the driver disk in a safe place.
Summary of Contents for ULS-25
Page 3: ...3 APPENDIX E SOFTWARE ANOMALIES E...
Page 14: ...14 Sample Exhaust System Layouts...
Page 62: ...62...
Page 82: ...A APPENDIX A WARRANTY...


