26
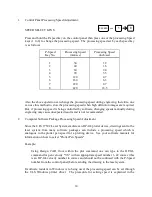
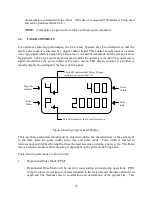
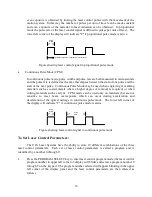
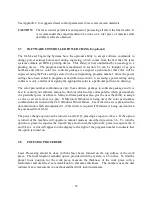
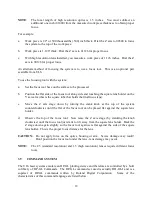
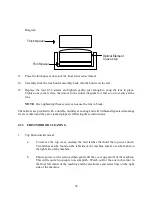
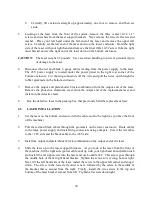
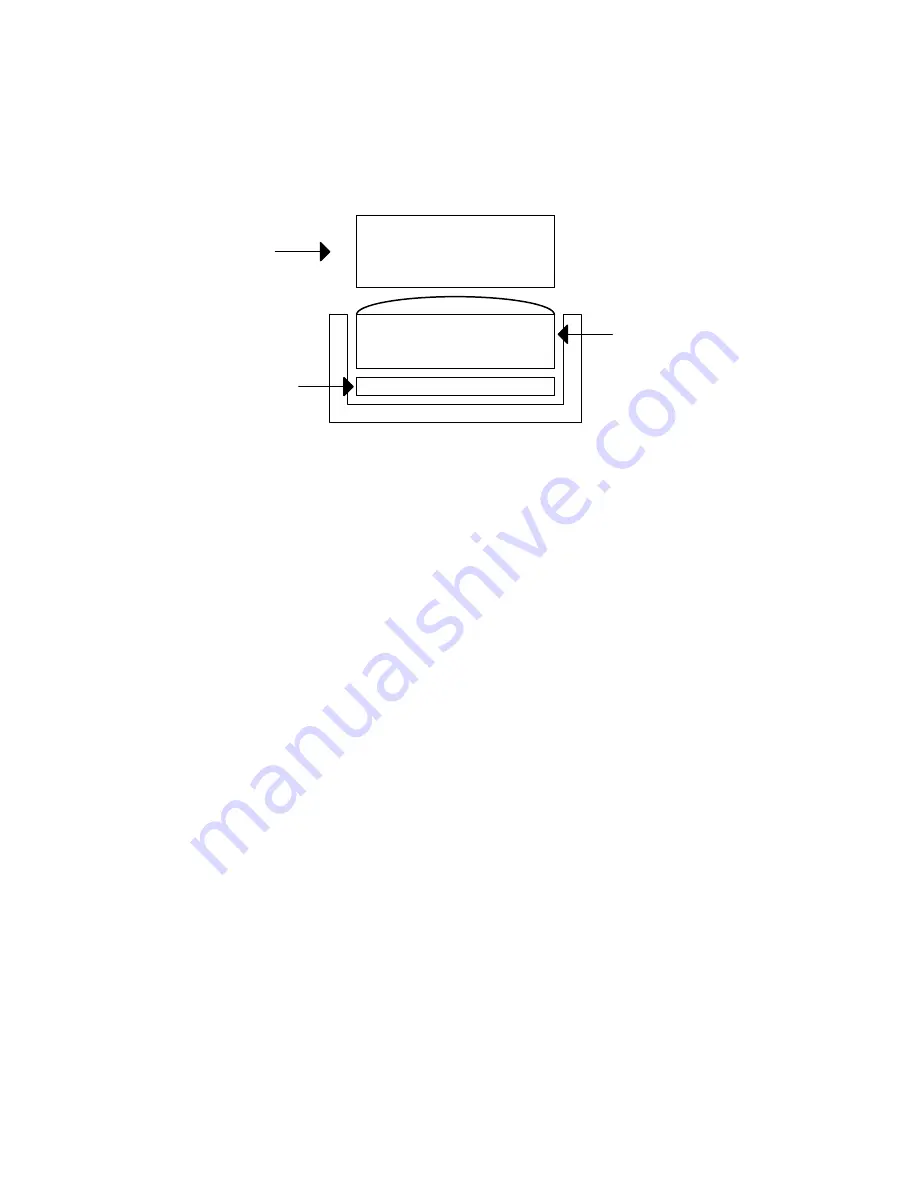
Diagram:
Thick Spacer
Thin Spacer
Optical Element
Convex Up
13. Place the thick spacer on top of the final focus lens element.
14. Carefully slide the lens holder assembly back into the holder on the rail.
15. Replace the four 2-56 screws and tighten gently, just enough to snug the lens in place.
Tighten one corner screw, then move to the corner diagonal to it and so on to evenly set the
lens.
OTE:
Over-tightening these screws can cause the lens to break.
The mirrors are provided with a durable, multilayer coating and will withstand repeated cleanings
if care is taken and they are cleaned properly following these instructions:
4.3.3 FIRST MIRROR CLEAIG
1.
Top Enclosure Removal:
a.
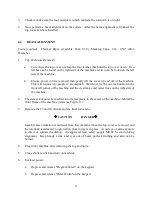
To remove the top cover, unclasp the four latches that hold the top cover down.
Two latches can be found on the left side of the machine and two can be found on
the right side of the machine.
b.
Ensure power cord is removed then gently lift the cover up and off of the machine.
This will require two people to accomplish. Watch out for the one inch mirror in
the front left corner of the machine and the electronics and water lines on the right
side of the machine.


