Checking Beam Alignment
As a final step in the installation process you need to check your beam alignment. You do this using the red
pointer beam.
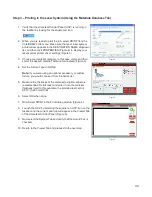
1. Open the top door and rotate the x axis arm cover up and out of the way.
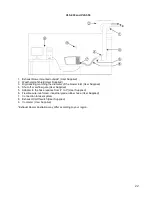
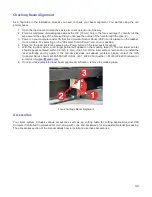
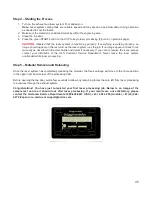
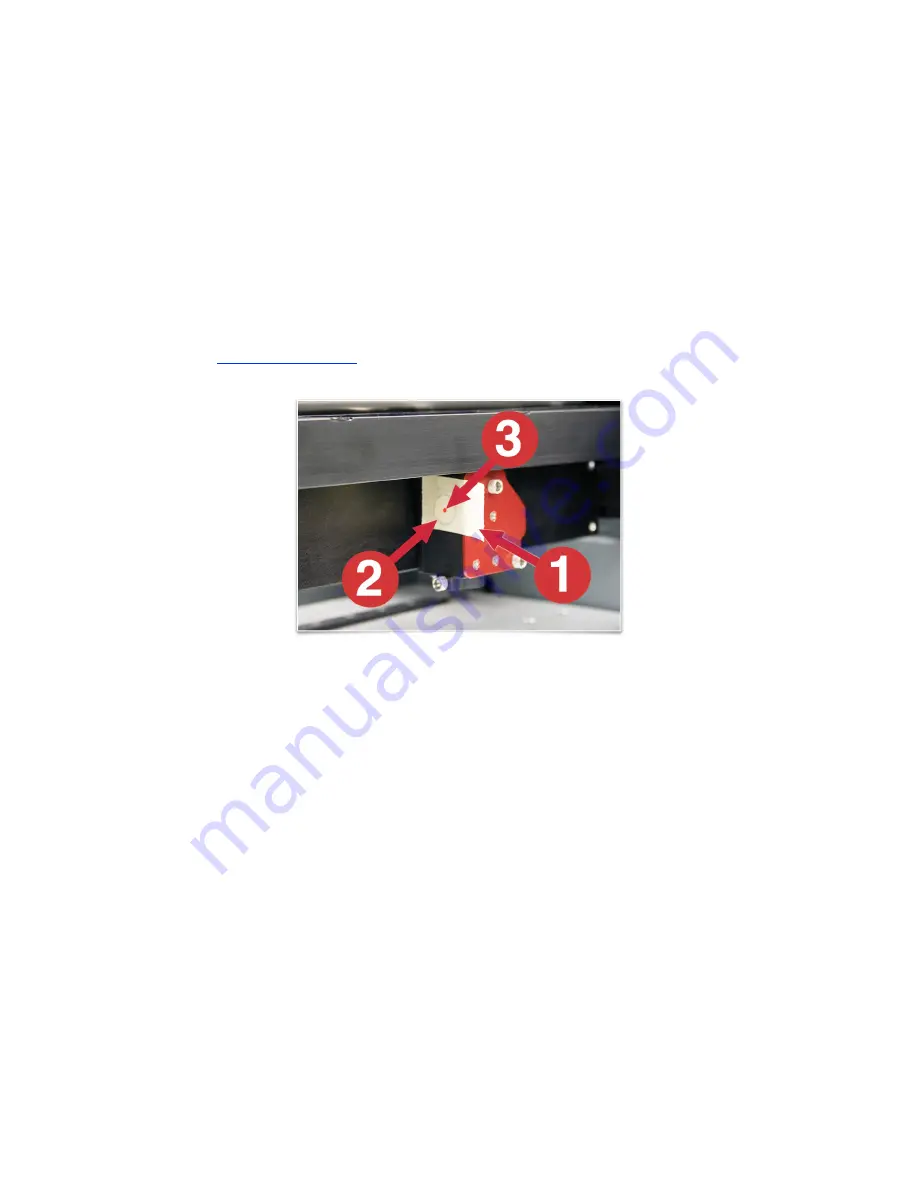
2. Place a small piece of masking tape across the 3/4” (19 mm) hole in the focus carriage (1). Gently rub the
tape around the edge of the hole so that you can see the outline of the hole through the tape (2).
3. Power on your computer and verify that the Universal Control Panel (UCP) icon is present on the taskbar.
If not, activate it by selecting on the “Universal Control Panel” icon on your desktop.
4. Power on the laser system by pressing the Power button on the laser system keypad.
5.
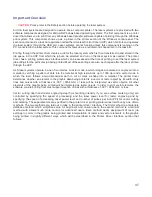
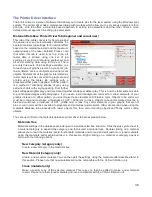
With the top door open, a red target pointer will appear on the masking tape (3). The red target pointer
should appear centered, within 1/8 inch (3 mm). If not, turn off the laser system, remove and re-install the
laser cartridge and try again. If the red dot still does not appear centered, please contact the ULS
Customer Service Team at 480-609-0297 (USA), +43 1 402 22 50 (Austria), +81 (45) 224-2270 (Japan) or
e-mail us at
support@ulsinc.com.
6. Once you have completed laser beam alignment verification, remove the masking tape.
Focus Carriage Beam Alignment
Accessories
Your laser system includes various accessories such as an cutting table for cutting applications and ULS
Computer Controlled Compressed Air Unit, along with cone and backsweep for air assisted material processing.
The accessories section of the manual details how to install and use these accessories.
32
Summary of Contents for VLS2.30
Page 1: ...VLS Desktop User Guide VLS2 30 VLS3 50 www ulsinc com Revision 2012 08...
Page 5: ...Chapter 1 Specifications 5...
Page 8: ...Chapter 2 Safety 8...
Page 9: ......
Page 15: ......
Page 16: ......
Page 19: ...Chapter 3 Installation 19...
Page 36: ...Chapter 4 Operation 36...
Page 62: ......
Page 68: ...Chapter 5 Accessories 68...
Page 80: ...Example Connection for PNP mode Example Connection for NPN mode 80...
Page 92: ...Chapter 6 Maintenance 92...
Page 99: ...www ulsinc com...


