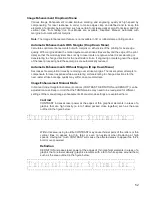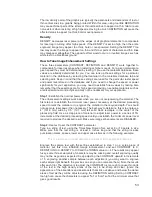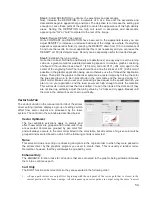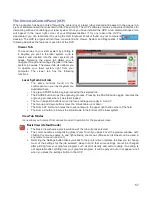
Focus View
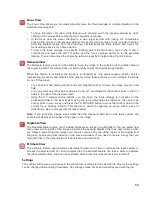
The Focus View allows you to quickly manually move the focus carriage to a desired position in the
material processing field.
•
To have full range of motion, verify that you are zoomed out in the preview window by right-
clicking on the mouse before entering the manual focus window.
•
In the focus view the cursor changes to a blue target symbol with trailing X-Y coordinates.
Clicking the mouse in the preview window moves the focus carriage to the selected position.
Selecting another feature from the drop down list terminates the focus feature and moves the
focus carriage back to the home position.
•
To move the focus carriage to a specific location, select the GO button. Type in the X and Y
coordinates and press the GO TO button and the focus carriage will move to the specified
location. You can also move the engraving table to a specific Z-height using the GO feature.
Relocate View
The Relocate feature gives you the ability to move the image in the selected job to another area of
the engraving field. This feature does not permanently modify the original image location.
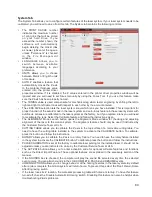
When this feature is activated, the image is surrounded by nine small squares (anchor points)
representing the center and extents of the graphic. Using these anchors you can relocate the image
in one of three ways:
•
You can select and hold an anchor point and drag that anchor to move the image around in the
field.
•
You can select an anchor point and type a new X-Y coordinate for that anchor point in the X-Y
fields to the right of the preview screen.
•
Using the X-Y manual motion buttons, you can move the focus carriage to a location on the
processing table in the laser system using the red pointer diode as reference, then select an
anchor point in your image and press the TO POINTER button to move that anchor point to the
current focus carriage location. This feature is useful for aligning an image with a piece of
material you plan to process with the laser system.
Note:
If you print with a page size smaller than the maximum field size of the laser system, the
anchors will display at the edges of the page on the image.
Duplicate View
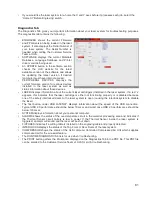
The Duplicate feature gives you the ability duplicate an image in a grid pattern. You can select how
many rows and columns of the image as well as the spacing between the rows and columns. After
you create a grid of duplicate images you can also remove any one of the copies or the original from
the group by selecting that instance in the preview window. If you need to restore a copy that you
removed, click in the general area of that instance and it will return.
Estimate View
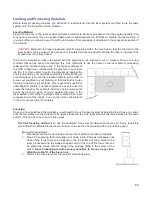
The estimate feature approximately calculates the amount of time it will take the laser system to
process the selected job. For more complex jobs, the estimate feature can take a while to estimate
the job completion time.
A job can be estimated while a machine is disconnected or turned off.
Settings
The settings button gives you access to the printer driver settings for the selected job. Most of the settings
can be changed after printing if necessary. Any changes made will be permanently saved with the job.
58
Summary of Contents for VLS2.30
Page 1: ...VLS Desktop User Guide VLS2 30 VLS3 50 www ulsinc com Revision 2012 08...
Page 5: ...Chapter 1 Specifications 5...
Page 8: ...Chapter 2 Safety 8...
Page 9: ......
Page 15: ......
Page 16: ......
Page 19: ...Chapter 3 Installation 19...
Page 36: ...Chapter 4 Operation 36...
Page 62: ......
Page 68: ...Chapter 5 Accessories 68...
Page 80: ...Example Connection for PNP mode Example Connection for NPN mode 80...
Page 92: ...Chapter 6 Maintenance 92...
Page 99: ...www ulsinc com...


