File Management
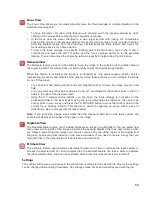
As jobs are printed, they are added to the print queue until the queue reaches the print queue limit set in
the system tab. Once the Print queue reaches the maximum number of jobs, the printer driver deletes the
oldest job each time a new job enters the queue (a FIFO system). Information listed above the preview
screen includes the name of the currently selected job, the number of jobs stored, the date and time the
selected job was stored on your hard drive and the job processing time (after the job has been run once).
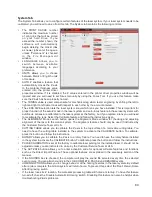
Just under the name of the job the Copies feature tells you how many times the selected job has been
run on the laser system. Navigation Arrows on either side of the currently selected print job number allow
you to navigate through the print jobs stored on your hard drive. The “folder” button displays a pop up
window that allows you to further manage the jobs in the print queue by performing such functions as:
importing print jobs exported from other computers or exporting print jobs to other computers using the
proprietary ULS job format (file extension .EMF), deleting print jobs, marking jobs as permanent so they
will not be deleted by the FIFO systems, purging the entire queue (except for jobs marked permanent), or
directly importing PDF or DXF files (with optional Direct Import add-on explained in the accessory section
of the manual).
Multi-page Job Controls
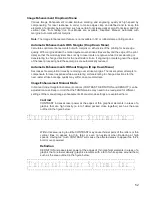
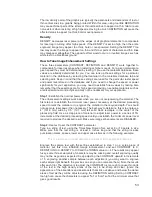
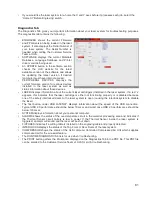
If you print a job from a graphics program that supports creation and printing of multi-page documents, a
second set of file navigation controls will appear below the preview windows allowing you to navigate
through the pages in the multi-page job. Multi-page jobs can by processed with each page manually
selected in the preview screen one at a time or they can be merged and processed as a single job with or
without a forced pause between pages. Use the multi-page control in the printer driver (setup button in
the UCP) to control this.
Laser System Status Indicators
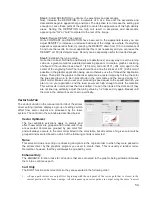
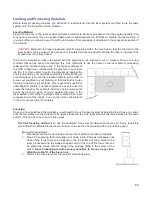
At the bottom left of the preview window two lights and some text are provided to indicate status of the
laser system connected to the UCP. Blinking of the lights indicate when the UCP is talking to the laser
system and the status text indicates the current state of the laser system.
59
Summary of Contents for VLS2.30
Page 1: ...VLS Desktop User Guide VLS2 30 VLS3 50 www ulsinc com Revision 2012 08...
Page 5: ...Chapter 1 Specifications 5...
Page 8: ...Chapter 2 Safety 8...
Page 9: ......
Page 15: ......
Page 16: ......
Page 19: ...Chapter 3 Installation 19...
Page 36: ...Chapter 4 Operation 36...
Page 62: ......
Page 68: ...Chapter 5 Accessories 68...
Page 80: ...Example Connection for PNP mode Example Connection for NPN mode 80...
Page 92: ...Chapter 6 Maintenance 92...
Page 99: ...www ulsinc com...

