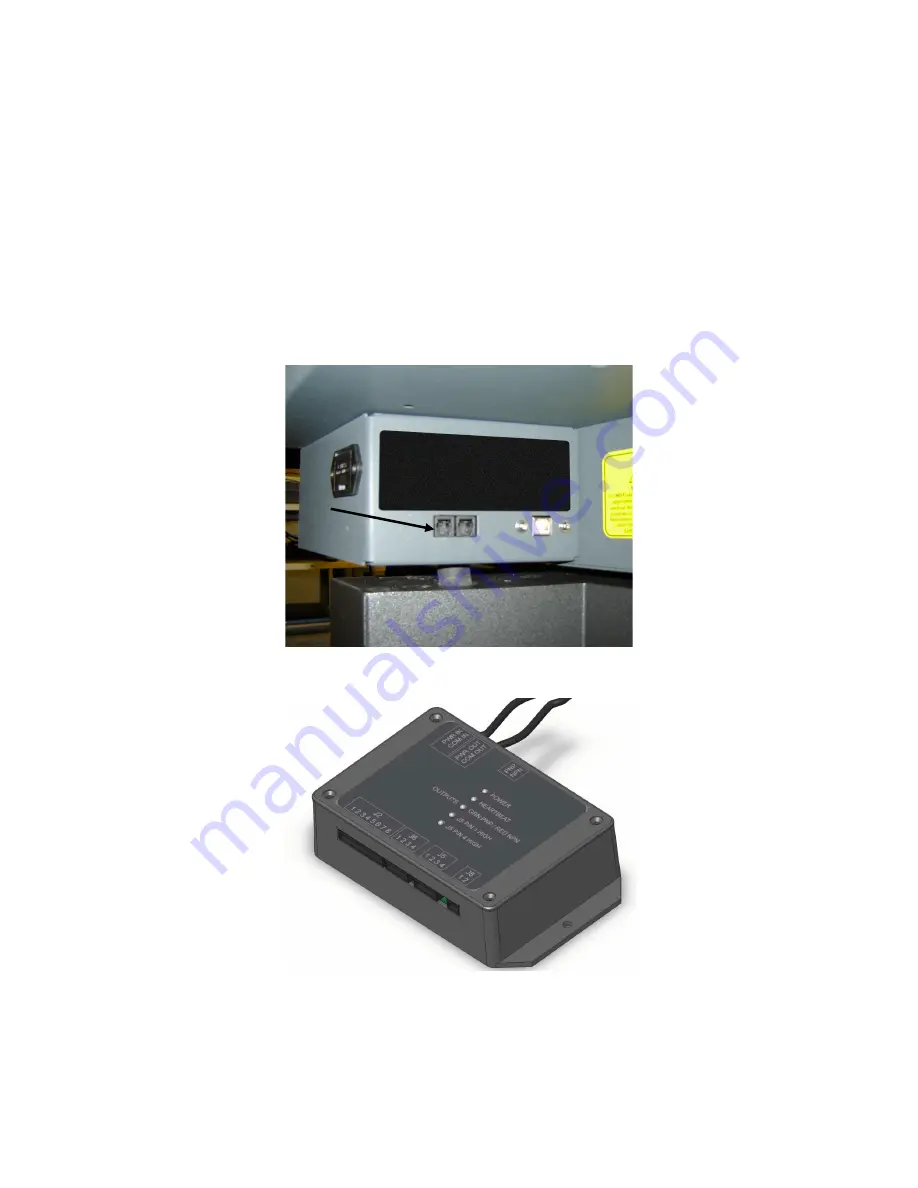
Automation Kit
The Automation Kit provides six inputs to initiate various laser system functions using signals from external
devices, such as PLCs and provides two outputs for polling laser system status. The automation kit is
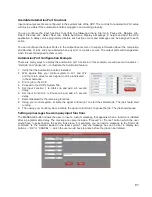
automatically detected upon power-up, and is configured from the System Tab in the UCP. If the automation kit is
not present, the controls for the automation kit on the systems tab of the UCP will not be visible.
CAUTION
:
ULS does not authorize or support third party safety devices via the Automation Kit. Outputs are
intended to be used for informational purposes such as to indicate error conditions; they are not intended to
drive external devices.
Installation
1. Insure power is off to the engraver and any accessories such as the compressor.
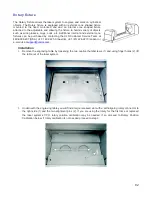
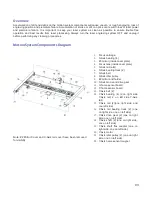
2. Using the supplied patch cable, plug into either one of the laser system accessory ports shown below.
3. Then connect the other end of the patch cable to the PWR/COM IN RJ9 connector at top of Automation
Kit.
4. (Optional) If you are using an ULS Computer Controlled Compressed Air Unit for air assisted laser
processing, use the included RJ9-to-RJ9 cable to connect the compressor to the unused RJ9 PWR/COM
OUT jack on the automation kit.
78
Summary of Contents for VLS2.30
Page 1: ...VLS Desktop User Guide VLS2 30 VLS3 50 www ulsinc com Revision 2012 08...
Page 5: ...Chapter 1 Specifications 5...
Page 8: ...Chapter 2 Safety 8...
Page 9: ......
Page 15: ......
Page 16: ......
Page 19: ...Chapter 3 Installation 19...
Page 36: ...Chapter 4 Operation 36...
Page 62: ......
Page 68: ...Chapter 5 Accessories 68...
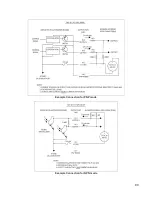
Page 80: ...Example Connection for PNP mode Example Connection for NPN mode 80...
Page 92: ...Chapter 6 Maintenance 92...
Page 99: ...www ulsinc com...

