Rotary Fixture
The Rotary Fixture allows the laser system to engrave and mark on cylindrical
objects. The Rotary fixture is equipped with an external cone shaped fixture
mounted to the fixed, motorized end and an internal cone shaped fixture
attached to the adjustable end allowing the fixture to hold a variety of objects
such as wine glasses, mugs, cups, etc. Additional internal and external cone
fixtures can be purchased by contacting the ULS Customer Service Team at
480-609-0297 (USA), +43 1 402 22 50 (Austria), +81 (45) 224-2270 (Japan) or
e-mail us at
support@ulsinc.com.
Installation
1.
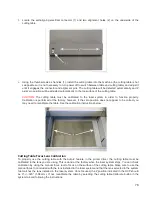
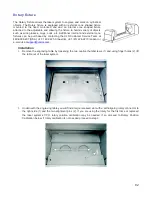
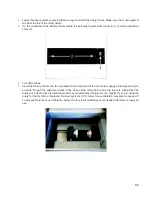
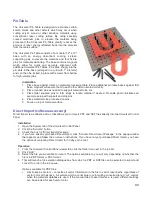
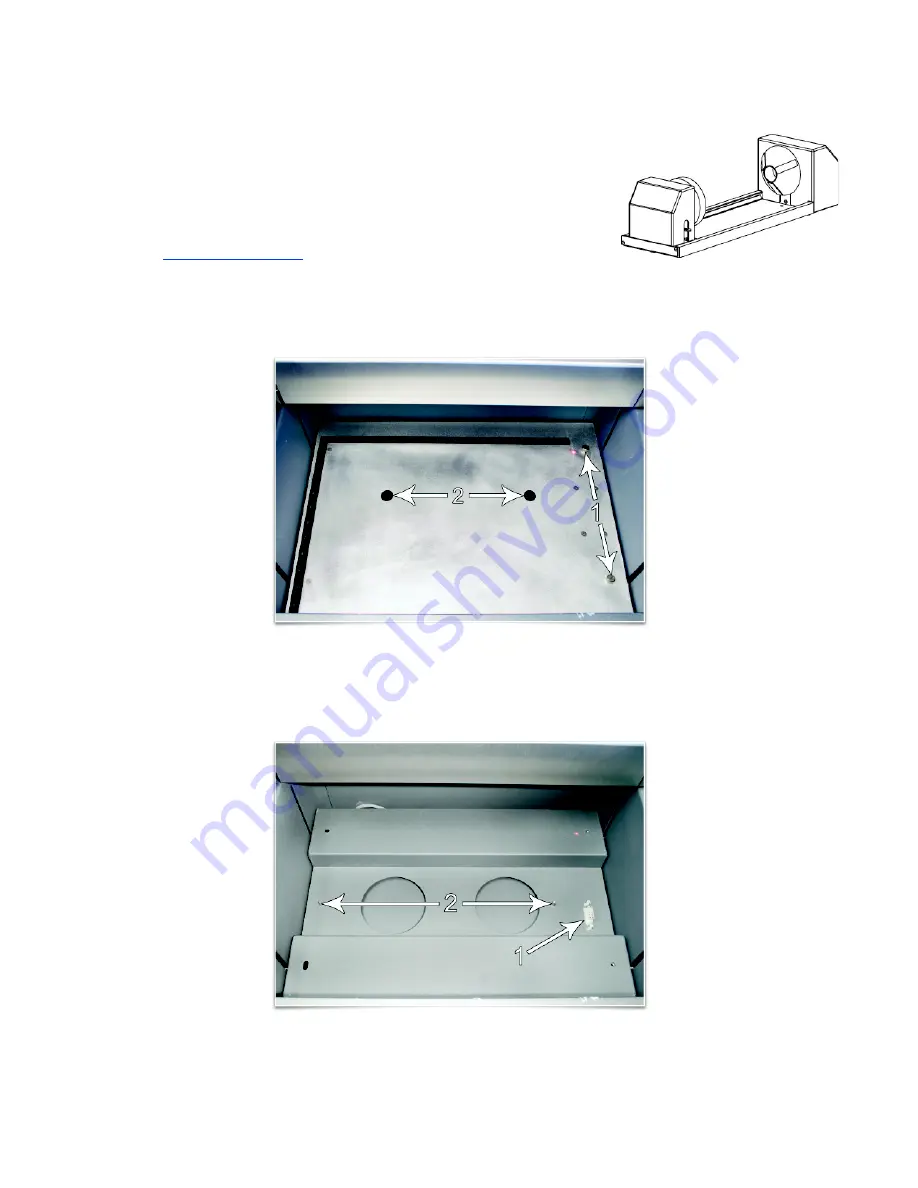
Remove the engraving table by loosening the two captive thumbscrews (1) and using finger holes (2) lift
the table out of the laser system.
2.
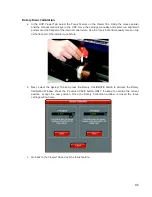
Underneath the engraving table you will find a large recessed slot with a self-aligning rotary connector to
the right side (1) and the two alignment pins (2). If you are using the rotary for the first time or replaced
the laser system’s CPU, rotary position calibration may be needed, if so proceed to Rotary Position
Calibration below. If rotary calibration is not needed proceed to step 3
82
Summary of Contents for VLS2.30
Page 1: ...VLS Desktop User Guide VLS2 30 VLS3 50 www ulsinc com Revision 2012 08...
Page 5: ...Chapter 1 Specifications 5...
Page 8: ...Chapter 2 Safety 8...
Page 9: ......
Page 15: ......
Page 16: ......
Page 19: ...Chapter 3 Installation 19...
Page 36: ...Chapter 4 Operation 36...
Page 62: ......
Page 68: ...Chapter 5 Accessories 68...
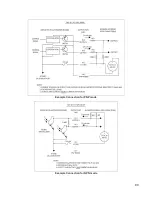
Page 80: ...Example Connection for PNP mode Example Connection for NPN mode 80...
Page 92: ...Chapter 6 Maintenance 92...
Page 99: ...www ulsinc com...


