11
QUICK START
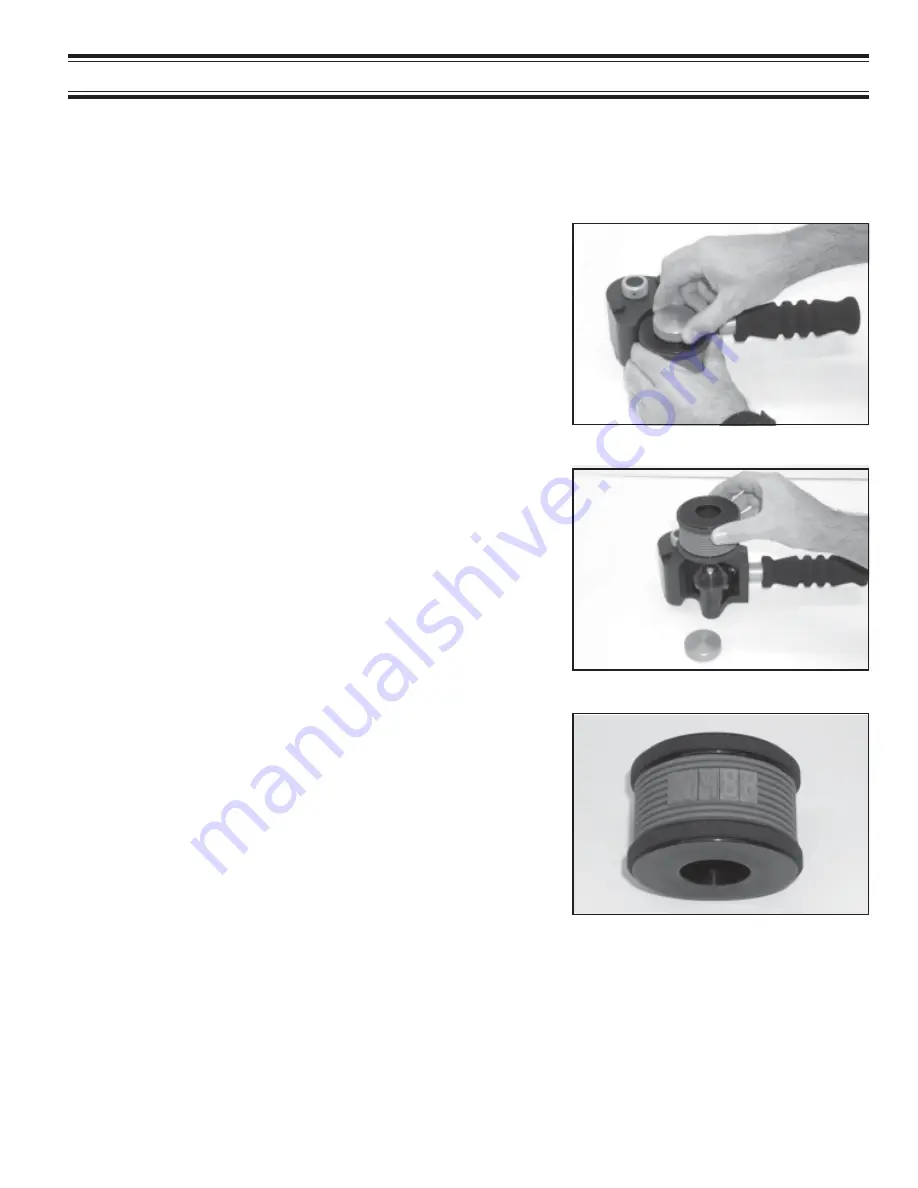
1 - To remove the Print Drum from the coder, grip the Print
Drum to prevent it from turning and remove the Print Drum
Knurled Nut by rotating it counterclockwise.
2 - Lift the Print Drum off the Bearing Hub Assembly.
INSTALLING THE PRINTING DIES
Individual character codes or text messages are installed in a
mirror image of normal written text. In other words, install in a
right to left direction as shown. When printed, codes or text in-
stalled in this orientation will print in normal left to right order.
Note: Do not apply silicone, oil or any other lubricating agent to the rib backing or the dies will not hold
properly during printing. Some lubricants will permanently damage the Drum Covering and Printing
Dies.
To make die installation easier, moisten a sponge with water containing a small amount of liquid detergent.
Lightly moisten the back of the printing die and then immediately press the die into the drum cover. Note: Do not
apply too much liquid or the dies will slip during printing.
FIGURE 18
Printing Dies can be installed on your new printer with the print drum in place or for more convenient installation,
the print drum can be removed from the coder.
FIGURE 17
FIGURE 19
3 - Align the ribbed backing on the Printing Dies with the mat-
ing Print Drum covering and press firmly until they are com-
pletely engaged. It is best to install the dies as close to the
middle of the print area on the Print Drum as possible.
Summary of Contents for HPNP-100
Page 25: ...25 ...


