13
QUICK START
3 - Apply a test print on a scrap of material and inspect the
impression. Make further adjustments as necessary until
a clear mark is applied with each test print. As soon as
you are satisfied with the print quality, the unit is ready
for production printing.
FIGURE 25
ADJUSTING THE INK ROLL ECCENTRIC
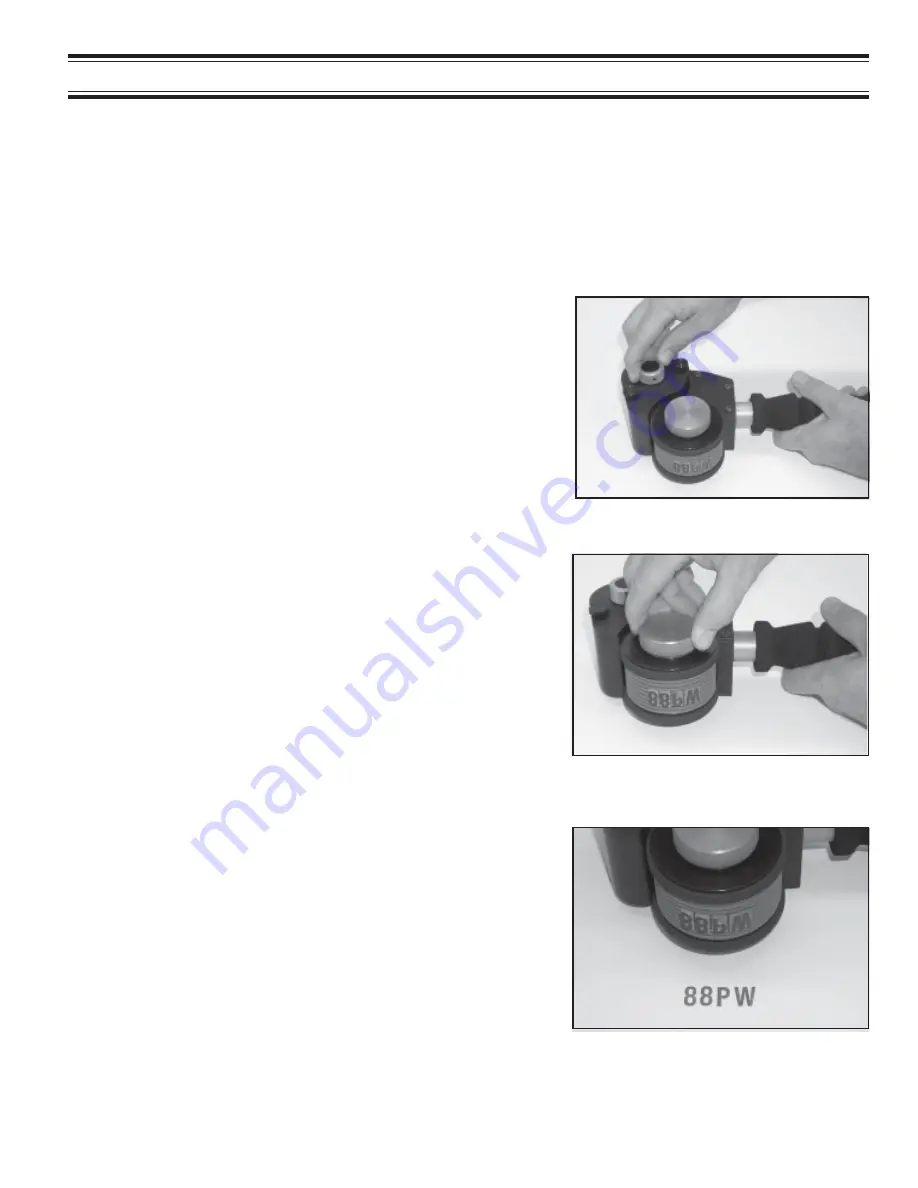
The Ink Roll is mounted on an axle which is position adjustable by rotating the Ink Roller Eccentric Adjusting
Knob. This feature is designed to provide compensation for slight variations in Ink Roll diameters. With the Ink
Roller Eccentric set at the “MIN” position, the Ink Roller will not make contact with the Anilox Roll. The position of
the Ink Roll needs to be adjusted so that it makes adequate contact with the Anilox Roll in order for it to transfer
ink properly. Too light a contact will result in the printing die not receiving enough ink to print and too heavy a
contact will apply excessive ink to the printing die.
1 - To find the proper position for the Ink Roll, rotate the
Eccentric Adjusting Knob from the “MIN” to the “1” posi-
tion.
FIGURE 24
2 - Rotate the Print Drum and examine the face of the print-
ing dies for signs of ink. If no ink has been applied to the
die faces, rotate the Eccentric Knob a little more towards
the “MAX” position. Repeat this procedure, examining
the die faces each time, until the dies are fully coated
with ink. Typically, the ink roll will make proper contact
with the Anilox Roll when the Eccentric is near the “2”
position.
FIGURE 23
Summary of Contents for HPNP-100
Page 25: ...25 ...


