8512
REPAIR INSTRUCTIONS
(including disassembly, replacement and reassembly)
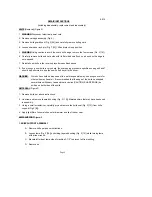
KNIFE
(Removal) (Figure 3)
1.
WARNING
Disconnect electrical power cord.
2. Remove carriage assembly (Fig. 6).
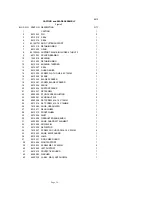
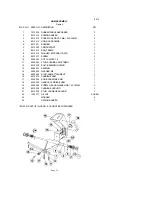
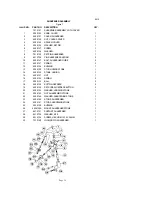
3. Remove knife guard knob (Fig. 3 [35]) and carefully remove knife guard.
4. Loosen sharpener lock pin (Fig. 7 [13]), lift and relock in up position.
5.
WARNING
Using caution to avoid the sharp knife edge, remove the four screws (Fie. 3 [ 15]).
6. Carefully remove knife and set aside with its flat side down flush on a bench so the edge is
not exposed.
7. Reinstall new knife in the reverse procedures outlined above.
8. Even though a new knife is very sharp, the sharpening procedure specified on pages 6 and 7
should be performed to true the new knife's bevel to the slicer.
WARNING:
Worn knife should be disposed of in a safe responsible way, showing concern for
others who may handle it. It recommended that the edge of the knife be wrapped
several times with heavy tape and that a caution (CAUTION, SHARP EDGE) be
written on both sides of the knife.
KMFE SEAL
(Figure 3)
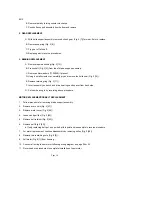
1. Remove knife per above instructions.
2. Unscrew and remove tapered bushing (Fig. 3 [ 12]). Maintain shims that may have been used
in assembly.
3. Using a small screwdriver, carefully pry and remove the knife seal (Fig. 3 [13]) from knife
support (Fig.3 [8]).
4. Apply light film of mineral oil on outer diameter and lip of rubber seal.
KNIFE SUPPORT
Figure 3
1. KNIFE SUPPORT ASSEMBLY
A. Remove knife per above instructions.
B. Loosen lama (Fig. 3 [36]) by holding tapered bushing (Fig. 3 [12]) while turning lama
with allen wrench.
C. Elevate left side or lama side of machine 3-1/2" to prevent oil from spilling.
D. Remove oil.
Page 9


