H. FITTING ORS02
Fitting the Solo Rear Combined Webbing System - Wheelchair Tie-down:
1. The Solo floor anchors will have been installed in
the vehicle, in accordance with our own and the
vehicle converters instruction. A front wheelchair
tie-down should be secured first, before any rear
restraints are fitted.
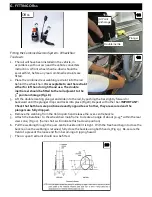
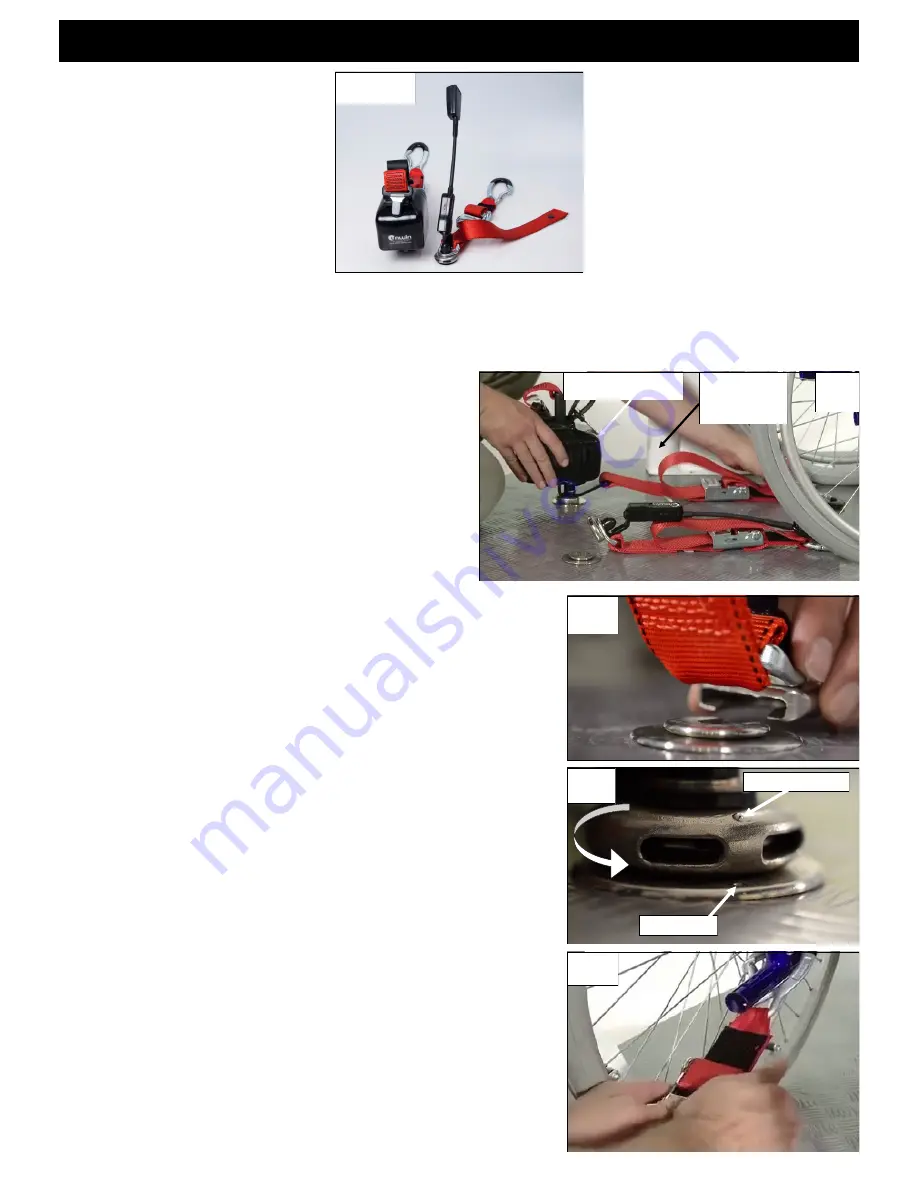
2. Place the combined rear Solo webbing restraint
behind the wheelchair.
It is acceptable to use the
restraint either for left hand or right hand use.
The double inertia reel should be fitted adjacent
to the 3
rd
point anchorage (Fig 27).
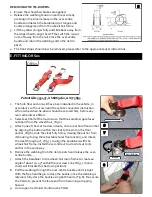
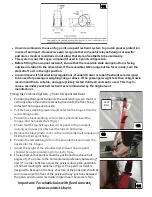
3. Attach one of the rear tie-down cleats, onto a rear Solo floor
anchor by aligning the button within the cleat to the slot on
the floor anchor, (Fig 28), slide the cleat fully home, (raising
the anchor from its housing if using the retractable Solar floor
anchor), and rotate the cleat through 90°, (Fig 29), to align the
karabiner with the wheelchair frame. Install the second rear tie
-down cleat to its anchor in the same way.
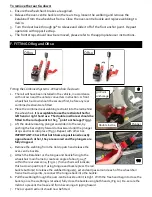
6. Remove the webbing from the Velcro patch and release the
over-centre buckle.
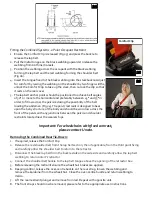
7. Attach the Karabiner to the wheelchair main frame to create
an angle of about 30- 45° within the rear view zone (Fig 31).
(Some chairs will indicate this tie down position).
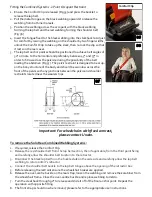
8. Pull the webbing through the over-centre buckle until it is
tight. With the free hand begin to close the buckle, once the
webbing is retained, fully close the buckle using both hands,
(Fig 30). Re-secure the Velcro to prevent the loose end from
becoming a tripping hazard.
9. The occupant restraint should now be fitted.
ORS02
Patent GB2355437, US6869260, AU775895
PROTRUSION
INDENT
29
28
Double Inertia
3rd Point
Anchorage
27
30


