1
17
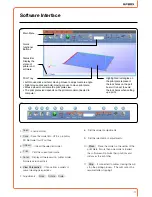
1. : Load a model.
2. : Save the model into .UP3, a propritory
3D file format for UP printers.
3. : Unload the selected model.
4. : Print the current print plate.
5. : Display software version, printer model,
firmware version and etc.
6. View Perspective
: Choose from a variety of
preset viewing perspectives.
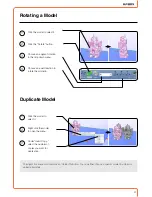
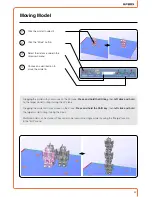
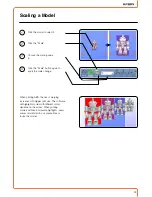
7. Adjustments : Move , Rotate , Scale .
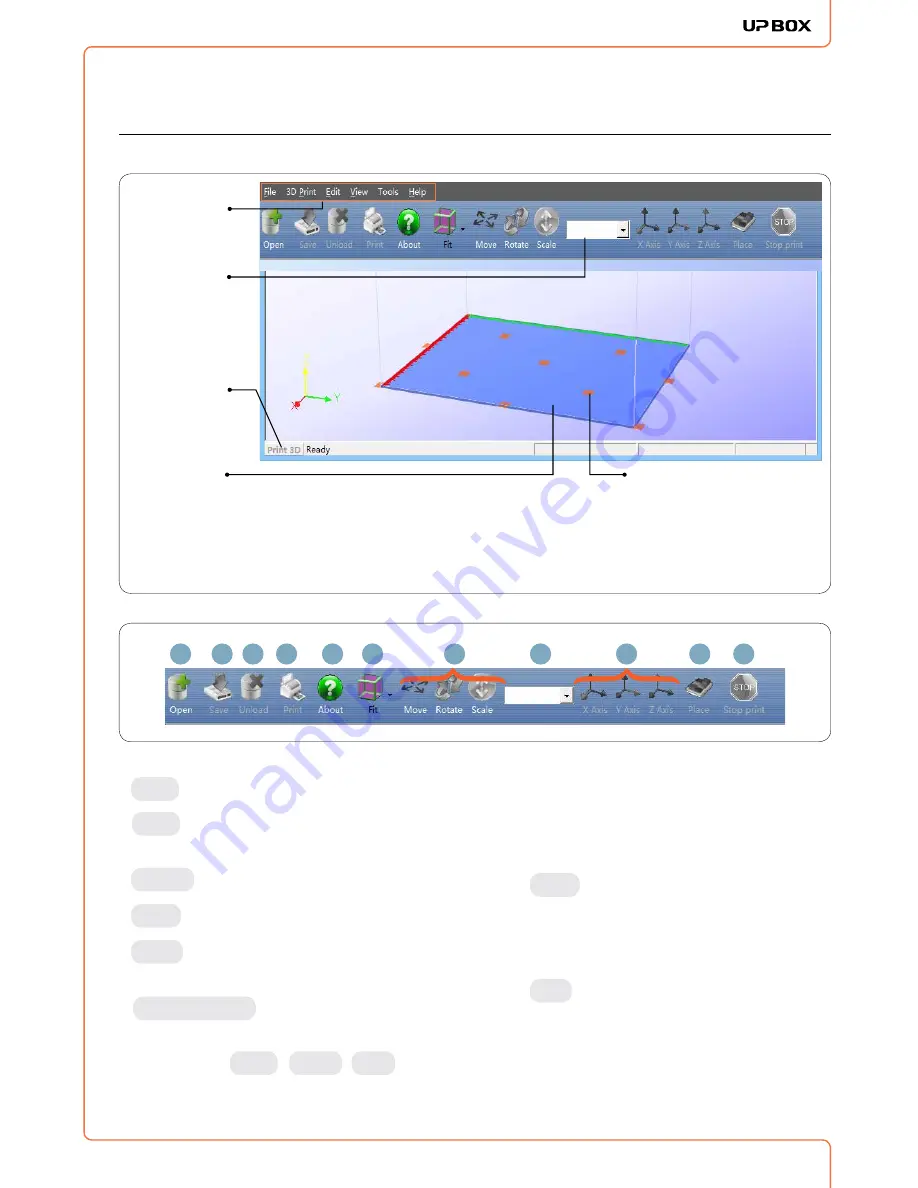
Software Interface
Main Menu
Quick
functional
Buttons
Status Bar
Display the
statsu of
printer and
software.
• Left mouse click and hold, moving mouse to adjust camera angle.
• Right mouse click and hold, moving mouse to move print plate.
• Mouse wheel could scale the print plate view.
• The print plate size depends on the printer model connected to
1
2 3
4
5
6
7
8
9
10
11
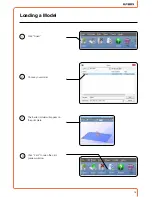
Open
Save
Unload
About
8. Set the value of adjustments.
9. Set the orientation of adjustments.
10.
Place
: Place the model on the center of the
print plate. If more than one model is loaded,
the software will optimize their positions and
distances to each other.
11.
Stop
: If connected to printer, clicking this will
stop the printing process. (The print cannot be
resumed after stopping!)
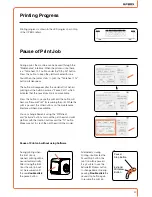
Print Tray
Hightlighted rectangles on
the print plate represent
the lock holes on the perf
board. It is best to avoid
the lock holes when setting
up a print.
computer.
Summary of Contents for BOX pp3dp
Page 1: ...1 USER MANUAL FOR UP BOX ...
Page 37: ...37 ...

