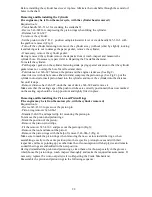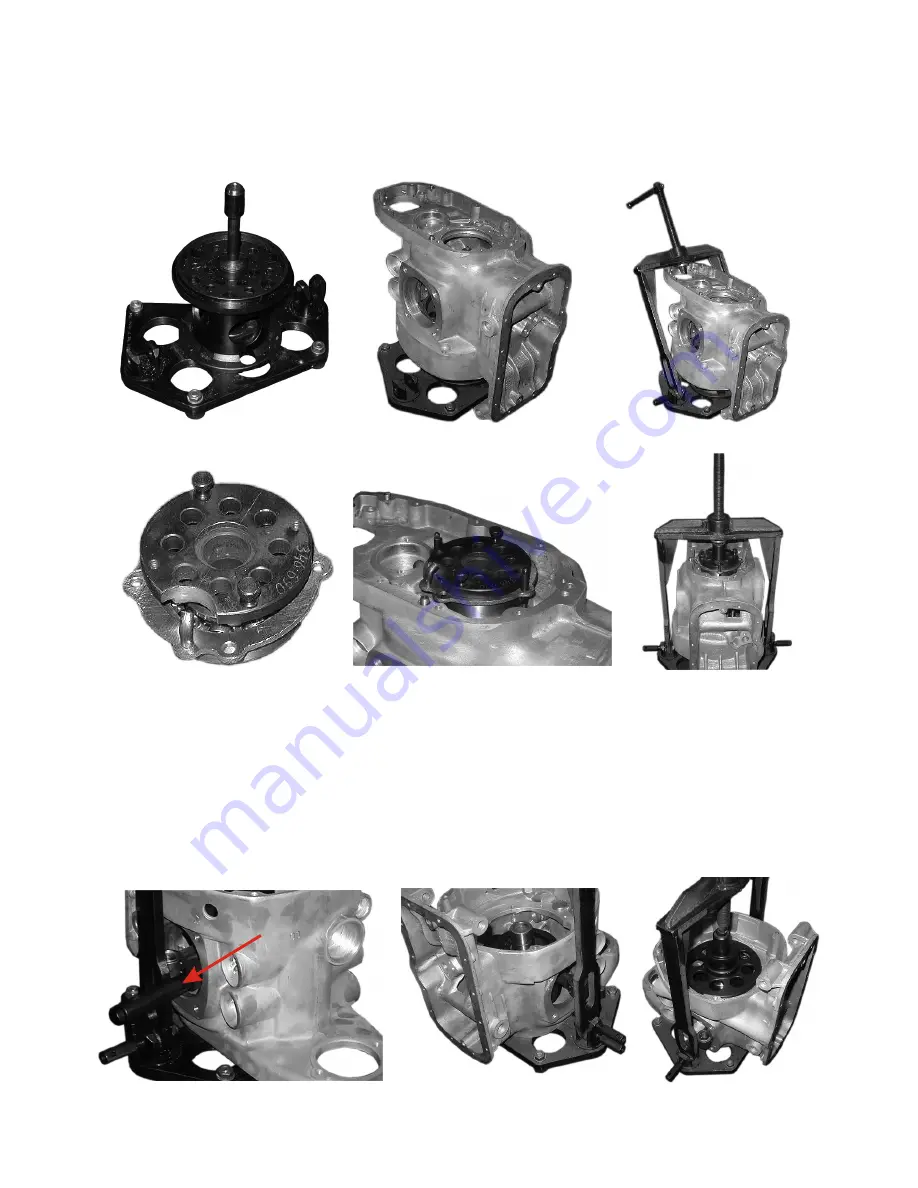
Fig.24
Fig.25
Fig.26
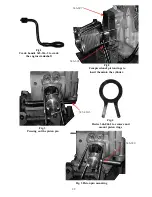
Fig.27
Fig.28
Fig.29
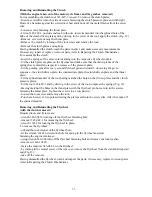
Fig.30
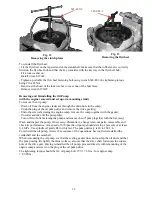
Fig.31
Fig.32
346-695
Having removed the crankshaft, clean the oil catchers from accumulated grit, also the mating
surfaces of the crankcase with the housings and covers, wash thoroughly and inspect all the parts,
make necessary measurements. Should wear or other discrepancies from the technical requirements
be revealed, replace the crankshaft.
Reinstall the crankshaft into the engine crankcase, observing the following sequence of operations:
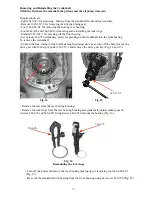
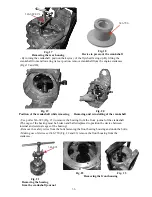
-Press in the front housing with bearing into the crankcase using hand press and tool kit 346-720
(Fig. 24 to 29)
- Screw in four bolts and lock them with wire
- When positioning the crankshaft in relation to the engine crankcases as shown in Fig. 20, see to
it that the keyway in the crankshaft is located on top, enter the connecting rods into the
crankcase, guiding them into the holes provided for the cylinders, and tilt the crankshaft into the
engine crankcase, as shown in Fig. 19;
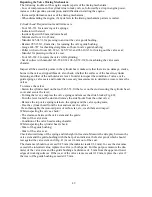
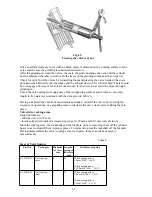
- Insert device 346-695 between journals and web on both sides (Fig. 30);
- Press in the crankshaft into the bearing of the front housing using hand press tool kit 346-720
(Fig. 31 and 32)
37
Summary of Contents for 750cc Series
Page 1: ...Repair Manual 750cc All Models www imz ural com ...
Page 2: ......
Page 71: ...1 2 3 4 5 6 7 8 Fig 66 Final drive 71 ...
Page 98: ...Fig 11 iring Diagram 9 W 98 ...

