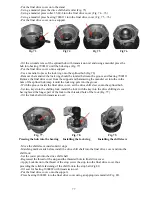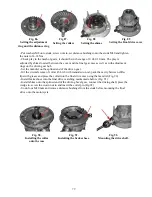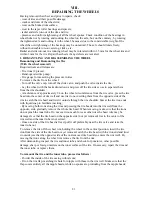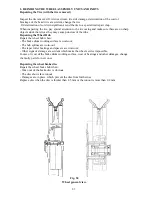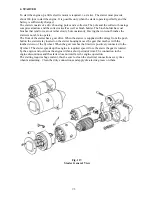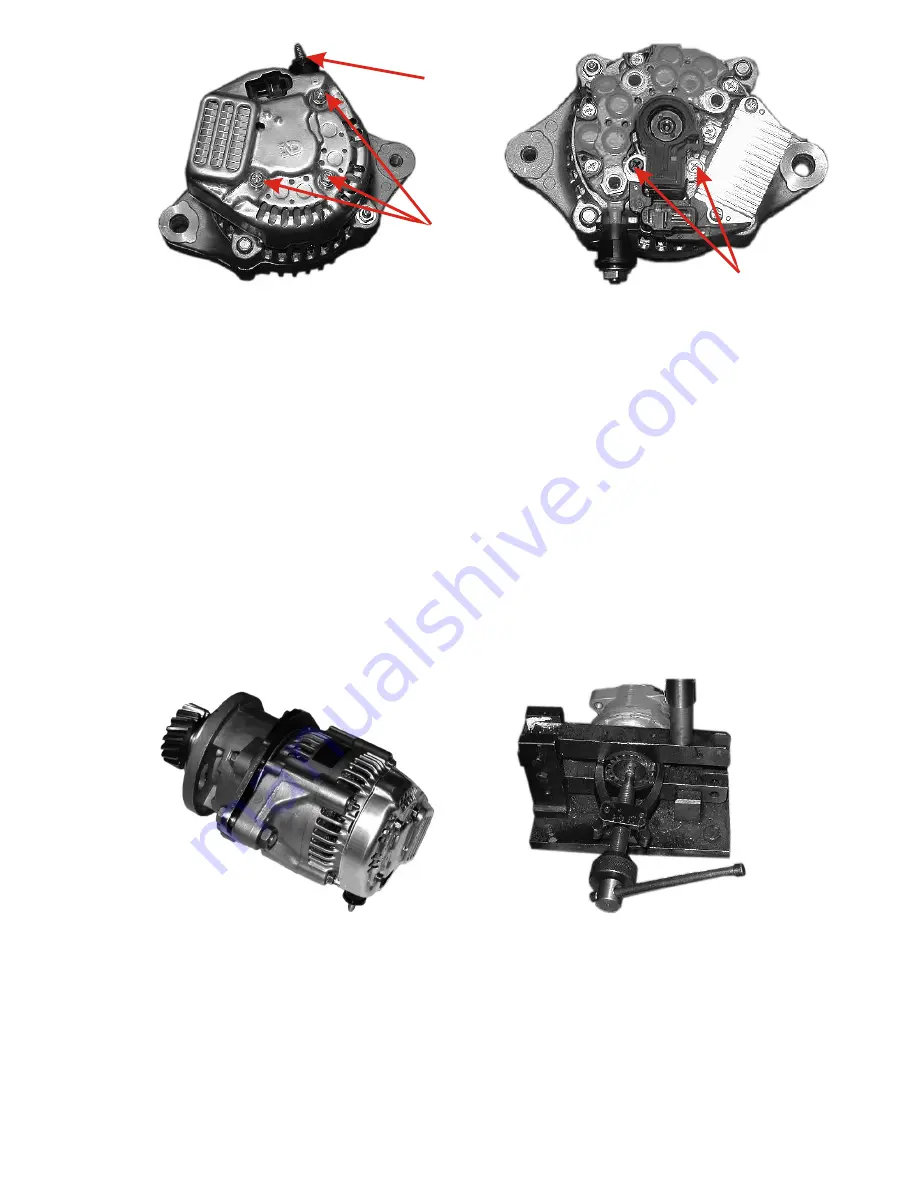
Fig.105
Fig.106
1
2
Disassembly and Assembly of the alternator drive
To disassemble the alternator:
- Fix the alternator gear with the drive
- Remove the cotter pin from the alternator nut and undo it.
- Press off the alternator gear from the shaft using and appropriate tool
- Remove the key from the alternator shaft
- Undo four nuts fastening the alternator to the drive and separate them
- Remove the packing ring form the casing
- Using a mandrel remove the drive shaft
- Undo three screws fastening the drive flange
- Using a mandrel press of the bearings and distance ring from the drive casing
- Remove the drive seal
- Remove the rubber damper from the casing
- Making use of wrench 346-709 undo the damper casing from the alternator shaft
- Remove the distance bushing from the alternator
Replace worn out or damaged parts preventing the alternator from further use.
Fig. 107.
Alternator with drive, general view
Fig. 108.
Removing the alternator gear
To assemble the alternator:
- Press bearings and distance ring into the alternator using the mandrel (Fig. 109)
- Set the packing ring on the drive housing (Fig. 100, Pos. 2)
- Set the flange and fasten it with three screws using a sealing stuff (Fig. 110, Pos. 2)
- Having packed the seal with an appropriate grease (ZIATIM 221 type) press it the seal in using
the mandrel (Fig. 111)
91
Summary of Contents for 750cc Series
Page 1: ...Repair Manual 750cc All Models www imz ural com ...
Page 2: ......
Page 71: ...1 2 3 4 5 6 7 8 Fig 66 Final drive 71 ...
Page 98: ...Fig 11 iring Diagram 9 W 98 ...

