3
Complete Control
MX-1400
Owner’s
Manual
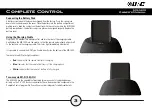
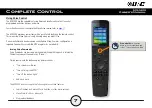
Connecting the Battery Pack
A
battery
is
included
in
the
box
when
shipped
from
the
factory.
Press
the
spring
lock
down
to
unlock
and
remove
the
cover.
Place
the
battery
into
the
battery
compartment,
making
sure
to
align
the
contacts
on
the
battery
with
the
contacts
within
the
MX-1400’s
battery
compartment.
The
battery
snaps
into
place
when
aligned
properly.
Replace
the
battery
cover.
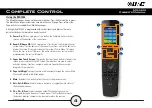
Using
the
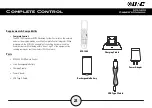
Charging
Cradle
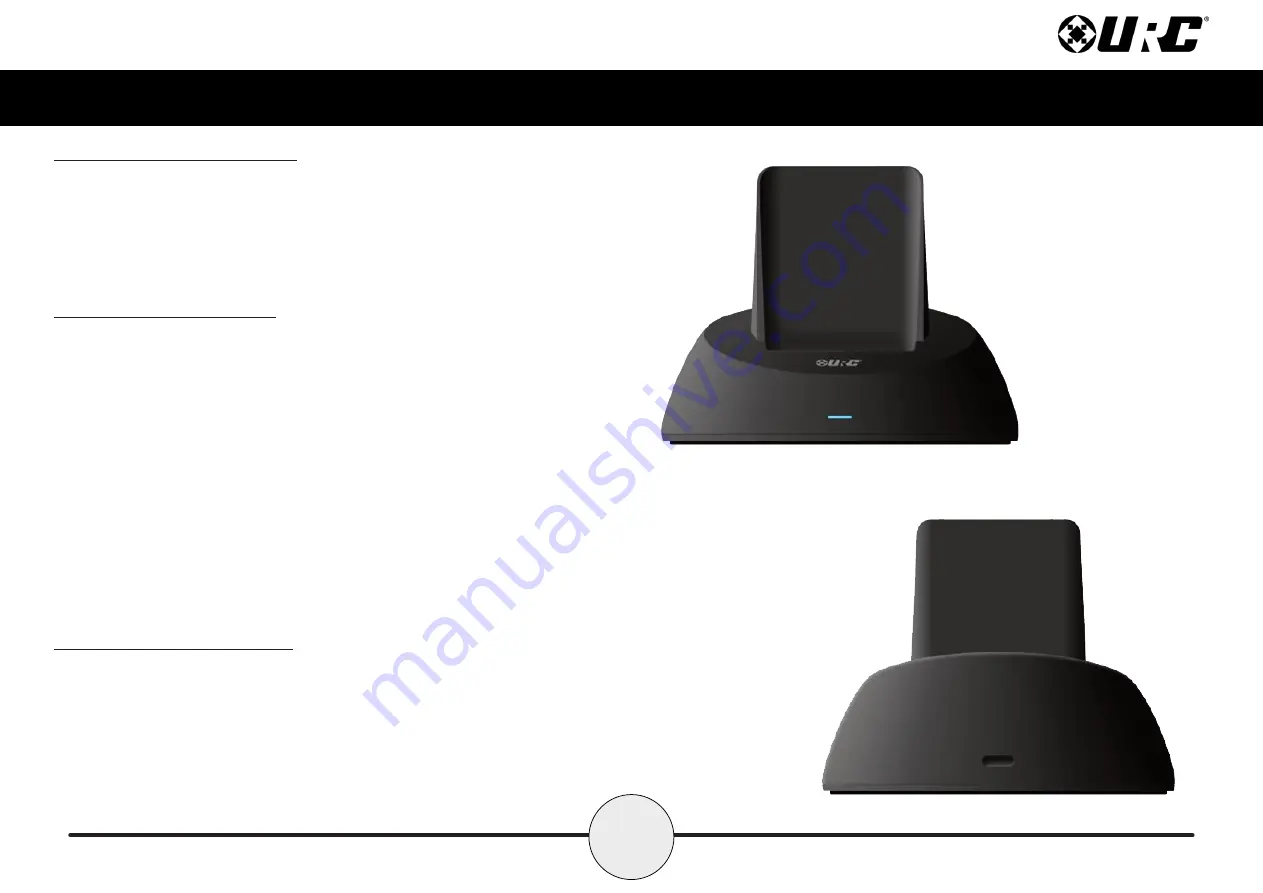
Plug
the
5V
DC
adapter
into
a
power
outlet
and
into
the
rear
of
the
charging
cradle.
Gently
place
the
MX-1400
into
the
cradle,
so
that
the
remote
automatically
aligns
itself
to
the
contacts
on
the
charging
cradle.
The
status
light
immediately
illuminates.
It
is
possible
to
connect
the
USB
Type
C
cable
directly
into
the
bottom
of
the
MX-1400.
There
are
three
(3)
Status
light
conditions:
•
Red:
Indicates the the remote’s battery is charging
•
Blue:
Indicates that the remote’s battery is off the charging dock
•
White:
Indicates that the remote’s battery is fully charged
Two-way via Wi-Fi (2.4 GHz)
The
MX-1400
has
the
capability
of
providing
two-way
control
of
supported
devices
directly
on
the
2.4”
LCD
touch-screen
display.
These
devices
must
be
configured
in
the
Complete
Control
program
file.
Consult
your
custom
integrator
for
additional
details.


