133
Comfortable General Button Layout:
In order to eliminate stressful finger stretching, the TRC-1280
incorporates its number keypad into its LCD touch screen programming. This allows for an extremely
comfortable general button layout centered around a sleek central 5-way control pad for navigating through
guide and menu options for popular source equipment as well.
Back Panel
Battery Installation:
Unlock the rear cover by pressing down on the spring lock at the top of the cover. Remove
the cover. For shipment from the factory, the battery is left out of the TRC-1280. Place the battery into the
battery compartment, making sure you align the contacts on the battery to the contacts on the TRC-1280. The
battery will snap into place when aligned properly. Replace the cover and snap it into place.
Using the Charging Base:
Plug the 6V DC adapter into a power outlet and into the back of the charging
base. Gently place the TRC-1280 into the cradle of the charging base. It automatically aligns itself to the
contacts on the charging base. The Status light should immediately light. Red indicates that it is charging. Blue
shows that it is fully charged. There is no harm in leaving the TRC-1280 on its charging base whenever it is not
in use.
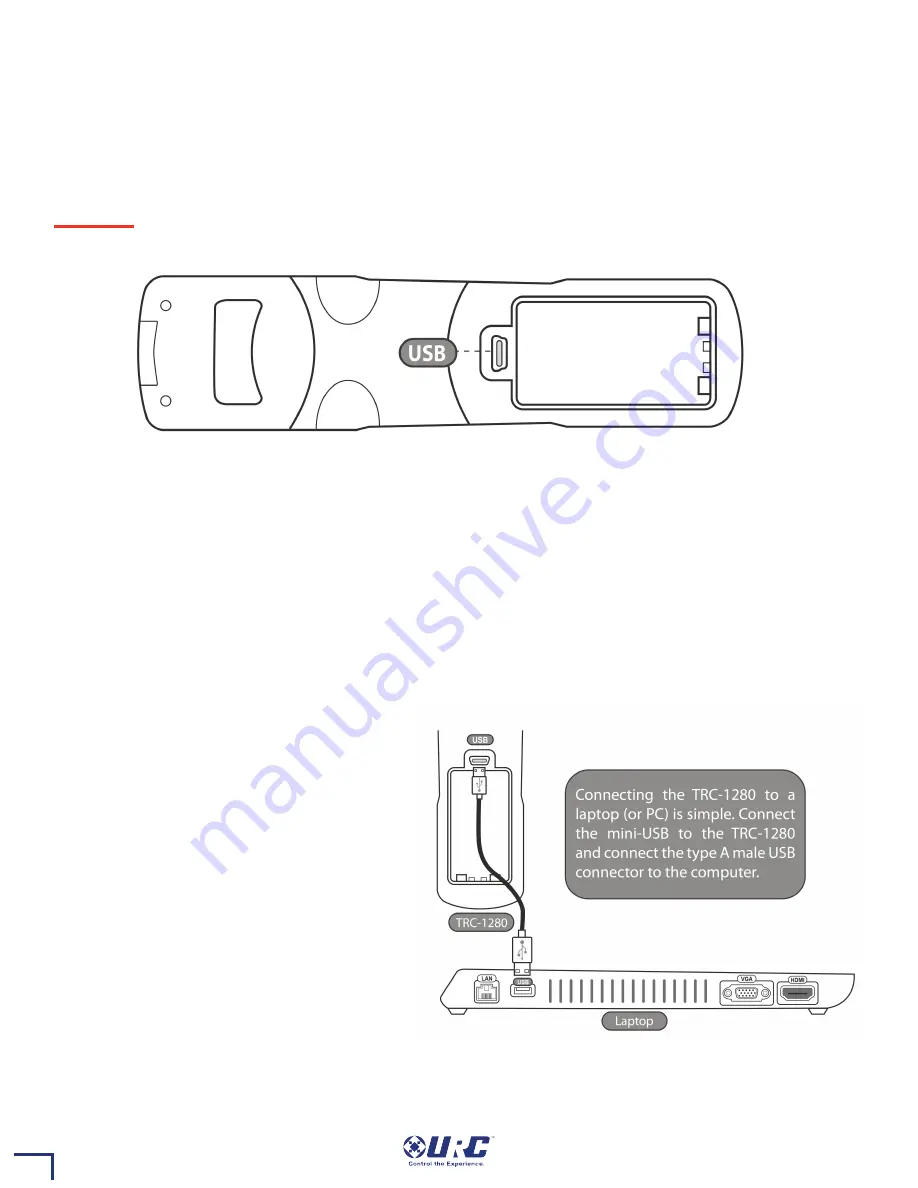
USB Port:
In order to transfer programming to
the TRC-1280, it is necessary to connect the unit
to a PC running our Accelerator software
application. Using the supplied cable, connect
the MINI-USB side to the TRC-1280 and the Type
A male USB connector to the computer. After
you download for the first time, you will then be
able to transfer programming to the TRC-1280
through the MRX-10, without having to
connecting to a PC. This feature is designed to
assist with faster, more efficient programming.
You can re-configure macros or add IR codes this
way, but firmware updates and changes to graphics require a USB connection when downloading.


