9
Step 4: Completion!
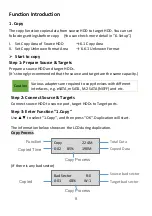
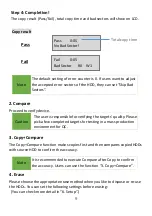
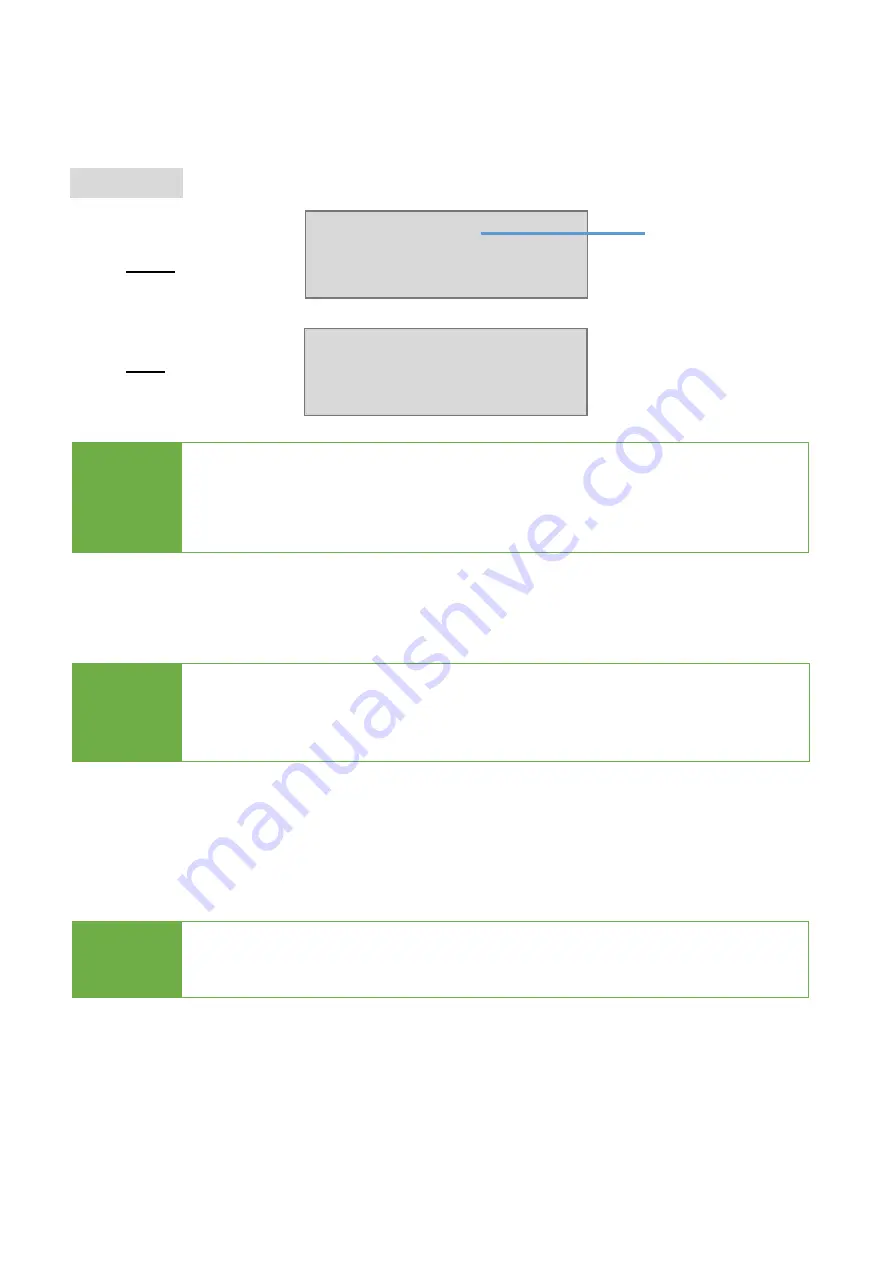
The copy result (Pass/Fail), total copy time and bad sectors will show on LCD.
Copy result
Pass
Fail
Note
The default setting of error counter is 0. If users want to adjust
the accepted error sectors of the HDD, they can set "Skip Bad
Sectors".
2. Compare
Proceed to verify device.
Caution
The user is responsible for verifying the targets’ quality. Please
pick a few completed targets for testing in a mass production
environment for QC.
3. Copy+Compare
The Copy+Compare function makes copies first and then compares copied HDDs
with source HDD to confirm the accuracy.
Note
It is recommended to execute Compare after Copy to confirm
the accuracy. Users c
an use the function “3. Copy+Compare”.
4. Erase
Please choose the appropriate erase method when you like to dispose or re-use
the HDDs. You can set the following settings before erasing:
(You can check more detail in ”6. Setup”.)
Pass 0:05
No Bad Sector!
Fail 0:05
Bad Sector R0 W1
Total copy time


