background image

16


Copies the whole source device, irrespective of content, format, partition, or empty space. 
This mode does not analyze the data.


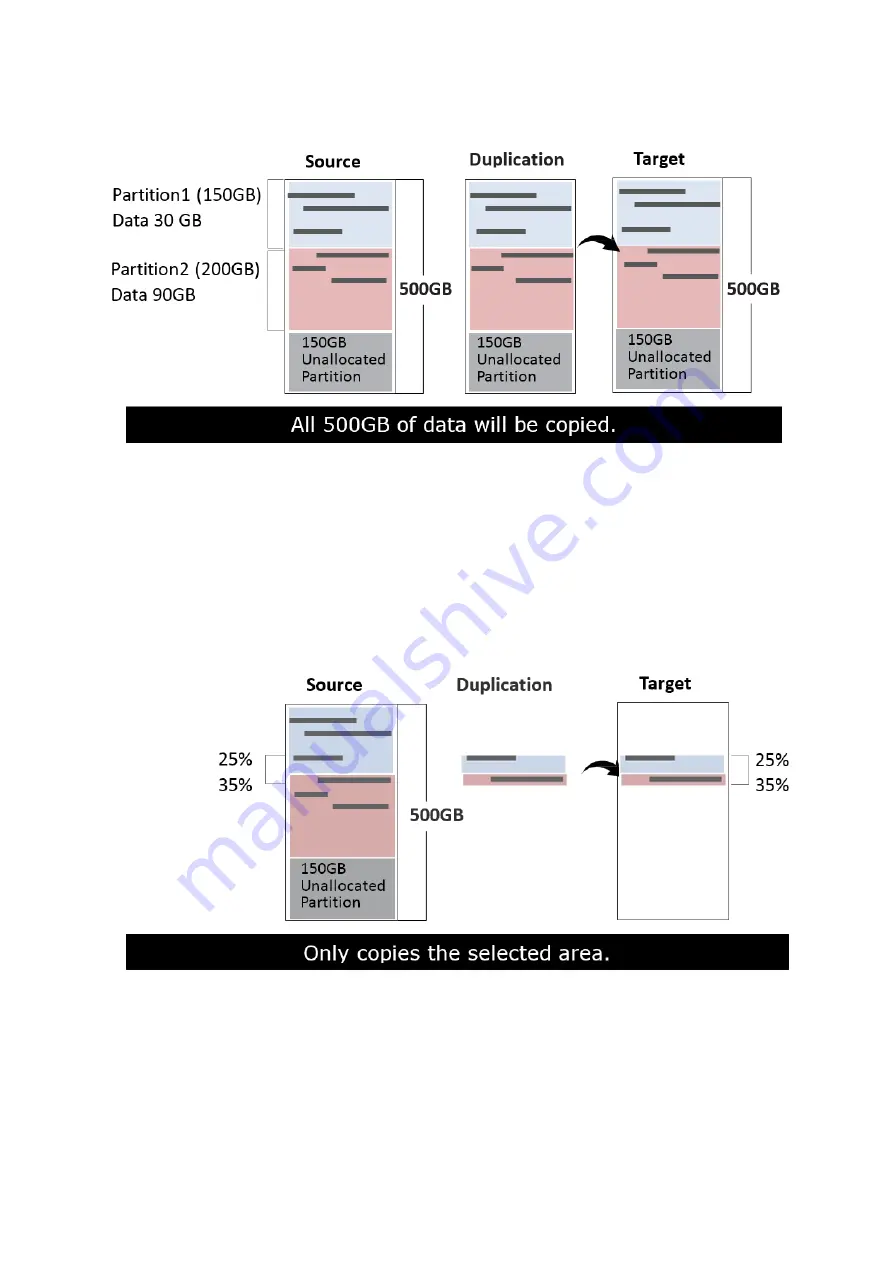
6.1.4 Percentage (%)


Select percentage of source capacity to copy.


Scroll to select "6.1.4 Percentage”, set the upper and lower %, then press "OK" to save the 
copy method.


6.2 Copy GPT Backup Area


Disabling this function makes the duplicator ignore the GPT backup area, and thus allows 
the duplicator to copy from a big capacity device to a small capacity device(s).


Summary of Contents for NVS200

Page 1: ...NVS200 PCIE SSD Duplicator User Manual v A 01 ...

Page 2: ... 2 Warranty 2 Piracy Statement 2 Before You Start 3 Notice Symbols 3 Product Overview 4 Functions Table 6 Functions Description 9 1 Copy 9 2 Compare 10 3 Copy Compare 10 4 Erase 10 5 Utility 11 6 Setup 14 Maintenance Guide 21 v A 01 2 ...

Page 3: ...operation of U Reach product and or software program or hardware issues can cause loss of data defective formatting or data loading U Reach will make efforts to resolve or repair any issues recognized by customer either within the warranty period or on a time and materials basis Specifications and features subject to change without notice or obligation Warranty U Reach provides a basic one year pa...

Page 4: ... for discharge Use product only in a clean dry dust free and ventilated area Liquids or foreign debris can severely damage your duplicator It is typical for the machine to heat up during operation While in use do not move the duplicator or remove SSDs Static electricity may cause duplication error Please pay attention to the duplicator s environment while operating equipment Purchasing electricity...

Page 5: ...4 Product Overview Front View Back View Source Port Control Buttons LCD Display Power Supply 12V 5A Adapter Power Switch SD Slot For Firmware Update ...

Page 6: ...Package Optional Duplicator 1 pcs Power Adapter 1 pcs Power Cord 1 pcs SATA Cable 22pin 6cm 1 pcs User Manual 1 pcs M 2 Socket Module Gloves 1 pair Pad 2 pcs mSATA Adapter 2 pcs IDE to SATA Adapter 2 pcs ...

Page 7: ...Erase Erases device s 7 times complying with DoD 5220 22 M ECE Standards 4 6 Secure Erase Erases the non loadable areas complying with NIST 800 88 Standards 4 7 Enhanced Secure Erase Erases devices that support this feature 5 Utility 5 1 Device Info Displays basic information such as device model name capacity etc 5 2 System Update 5 2 1 Update BIOS Updates system firmware through the rear SD port...

Page 8: ...PA data but keeps target device s original HPA setting Clear Target HPA Does not copy HPA data and clears target device s HPA setting Setting Target HPA Copies HPA setting from source device to target Copy and Setting Copies HPA setting and data from source device to target 6 4 Skip Bad Sectors Skips source bad sectors 6 5 Erase Source Port Allows user to erase the source port or not 6 6 Unknown F...

Page 9: ...lerance Sets the capacity tolerance range between the source and target The default setting is No limit 6 11 Clean SSD Before Copy No The default setting is No Yes 6 12 Restore Defaults Reinstates manufacturer settings ...

Page 10: ...ter duplication completes Note 1 Recommendation Target device s capacity must be equal to or larger than the source device capacity 2 The system accepts only one source and one target for each operation If both M 2 and SATA port have device it will detect SATA port first Note The number of working connected targets will be displayed on LCD Press OK to start Caution Press ESC for 5 seconds to stop ...

Page 11: ...er is responsible for verification of targets quality Testing a few completed targets in a mass production environment for quality control is recommended 4 1 Quick Erase This function will erase the index table from the connected device s Scroll to select 4 1 Quick Erase then press OK to start the erasing process 4 2 Full Erase This function will erase all data per NIST 800 88 Standards on the con...

Page 12: ...Erase This function erases the non loadable areas complying with NIST 800 88 Standards Scroll to select 4 6 Secure Erase then press OK to start the erasing process 4 7 Enhanced Secure Erase This function erases devices that supports this feature Scroll to select 4 7 Enhanced Secure Erase then press OK to start the erasing process 5 Utility This menu will reveal submenus related to device informati...

Page 13: ...process Through Source Port Step 1 Prepare a device for update Connect a device to the source port Scroll to select Create BIOS Format then press OK to start the format process This will format the device to a 2GB FAT32 Partition Step2 Download Firmware Connect this device to PC Download the latest firmware provided by U Reach technical support unzip the BIOS firmware then save it to the root dire...

Page 14: ...eed of the selected device The device s original data will not be modified after checking Scroll to select 5 4 Read Speed then press OK to select the device and then press OK to proceed 5 5 Write Speed This function will calculate the write speed of the selected device The device s original data will be modified after checking Scroll to select 5 5 Write Speed then press OK to select the device and...

Page 15: ...s then press OK to save the copy method Allows user to copy source device s System and Files instead of the entire device The system will analyze the source device and identify the data area to copy If the source device s data is within the target device s capacity the copy will be processed FAT16 32 64 NTFS EXT2 EXT3 EXT4 lvm and HFS HFS HFSX are supported in this copy mode 100GB 250GB 500GB 60GB...

Page 16: ...ttings Scroll to select 6 1 2 All Partitions then press OK to save the copy method The target device s capacity must be equal to or larger than the source device s capacity 6 1 3 Whole Device Copies all source data bit by bit Scroll to select 6 1 3 Whole Device then press OK to save the copy method ...

Page 17: ...ntage Select percentage of source capacity to copy Scroll to select 6 1 4 Percentage set the upper and lower then press OK to save the copy method 6 2 Copy GPT Backup Area Disabling this function makes the duplicator ignore the GPT backup area and thus allows the duplicator to copy from a big capacity device to a small capacity device s ...

Page 18: ...ich users can select Scroll to select 6 3 Copy HPA Area Do Not Copy HPA then press OK view submenu settings Keep Target HPA Does not copy HPA data but keeps target device s original HPA setting Scroll to select Keep Target HPA then press OK to save this setting Clear Target HPA Does not copy HPA data and clears target device s HPA setting Scroll to select Clear Target HPA then press OK to save thi...

Page 19: ...ss OK Then scroll through to select one of two settings Disabled Source port will be unable to erase Scroll to select 6 5 Erase Source Port Disabled then press OK to save this setting Enabled Source port will be able to erase Scroll to select 6 5 Erase Source Port Enabled then press OK to save this setting 6 6 Unknown Format This function only works with 6 1 Copy Mode System and Files Scroll to se...

Page 20: ...acter written in a set of area Scroll to select 6 7 Erase Pattern Big Random Data then press OK to save this setting 6 8 Clear HPA at Erase Sets to clear HPA setting during erase Scroll to select 6 8 Clear HPA at Erase then press OK to save this setting Clear HPA Setting Clears HPA setting and data during erase Scroll to select 6 8 Clear HPA at Erase Clear HPA Setting then press OK to save this se...

Page 21: ...capacity is outside the tolerance range the copy will fail 6 11 Clean SSD Before Copy Sets to clear SSD before copy function The default setting is No 6 12 Restore Defaults Restores all setting to manufacture defaults Scroll to select 6 12 Restore Defaults then press OK to restore settings back to manufacturer defaults ...

Page 22: ...on For your safety please turn off the power before inspecting or replacing the socket Remove the faceplate screws Remove the cover plate Caution Please use extreme caution while using a screwdriver to remove the screws as it can easily slip and damage the surrounding area ...

Page 23: ...22 Replace the socket s Replace and secure the cover plate ...

Reviews: