30
DS1061-015B
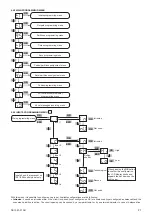
The basic message is played before all the configured messages sent after an event has occurred.
Possible.messages.are.the.following:
.
.
.
No. Message
Event that activates the message Max. length
Customizable Customizable vocal message
(factory setting)
1
Basic.message
15s
X
“Mister.X,Y’s.house,.X,Y.street”
Robbery.alarm
5s
X
“Robbery.alarm”
3
Intrusion.alarm
Intrusion.and.tamper
5s
X
“Alarm”
4
Technological.alarm
5s
X
“Technological.alarm”
5
30V.mains.fail
5s
X
“Mains.fail”
6
30V.mains.return
5s
X
“Mains.return”
7
Failure.alarm
5s
X
“Failure.alarm”
8
Rescue request
5s
X
“Rescue request”
9
System.total.arming
10
System.total.disarming
11
Partition.A.active
1
Partition.B.active
13
Partition.C.active
14
Partition.D.active
15
Mains.present
16
no.mains
17
Charged.battery
5s
X
“Charged.battery”
18
Low.battery
5s
X
“Low.battery”
19
Code.entering
0
Command.executed
How to record a message
To.record.a.message,.follow.the.instructions.below:.
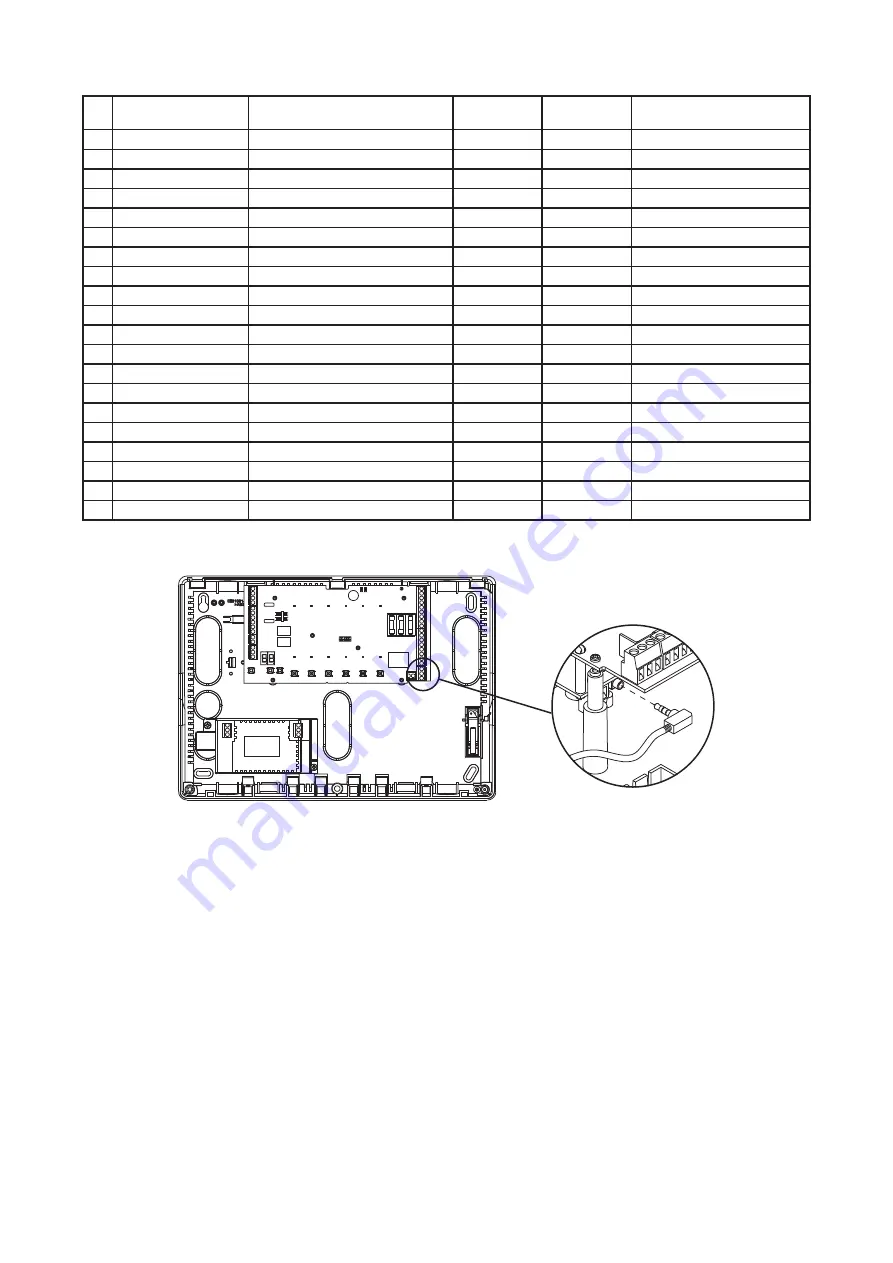
1.. Connect.the.provided.earphone.with.microphone.to.the.speech.synthesis.card..
Figure 29 – Connection of earphone to speech synthesis card
.. Scroll.the.programming.menu.until.the.memory.location.for.the.kind.of.message.to.customize.is.reached..
3.. Press.
OK
button to start recording; the LCD display starts blinking.
4. Pronounce clearly and distinctly the message to be recorded. When the available time is elapsed, the LCD display stops blinking and
recording.is.interrupted..
5.. If.recording.is.not.satisfactory,.it.is.possible.to.do.it.again,.by.repeating.the.procedure.from.step.3.
How to play a message
To.play.a.message,.follow.the.instructions.below:.
1.. Connect.the.provided.earphone.with.microphone.to.the.speech.synthesis.card..
.. Scroll.the.programming.menu.until.the.memory.location.for.the.kind.of.message.to.customize.is.reached..
3.. Press.
OK
.button.to.start.playback.
5.4.13 KEYPAD AUXILIARY INPUTS PROGRAMMING
By default the input is configured as “contact”, for example for a magnetic contact on a door or an infrared detector, but it can also be configured
to.connect.a.rolling.shutter.detector.
How to set the auxiliary input for the contact
1.. Disarm.the.system..
.. Put.the.keypad.rotary.switch.on.“F”..
3.. Press.twice.the.control.panel.“
OK
” button; a confirmation beep will be emitted.
4. Put back again the keypad rotary switch on its original address (position “0”, “1”, “2” or “3”).


