


13
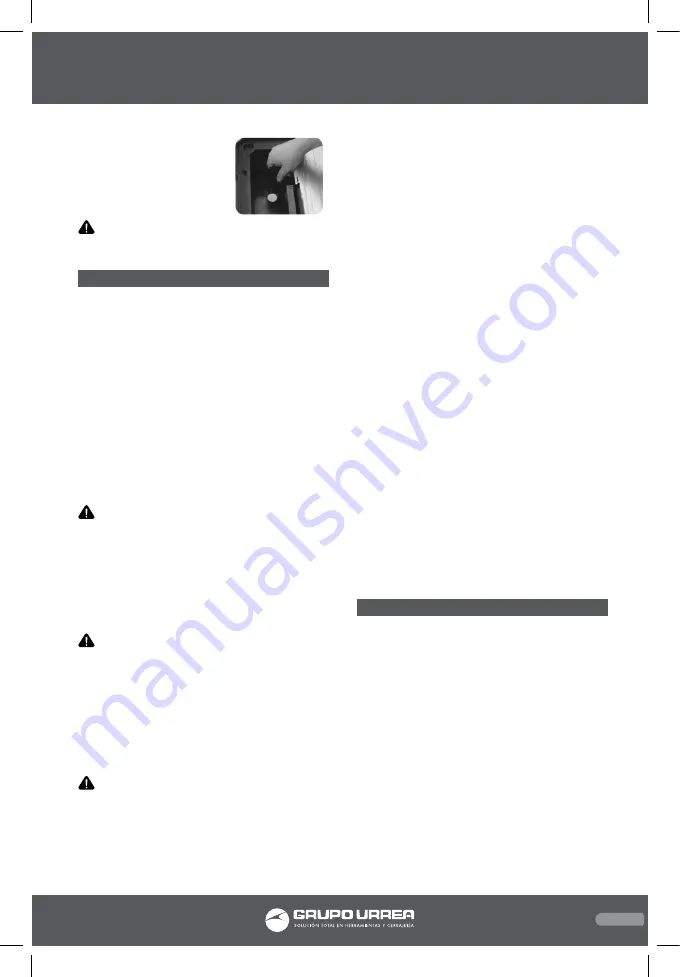
When you have finished cut-
ting, remove the plug inside
the tank to drain the water
(Fig.12).
WARNING: Do not add chemicals or deter-
gents to the water
OPERATION INSTRUCTIONS
This tile cutter shall be used only to cut tiles to
a required size or shape. It shall not be used
to cut inflammable, explosive or toxic materi-
als. Other uses for the machine will lead to the
damage of the machine and a series of dangers
to the operator.
This appliance is for private and household use,
not for professional or industrial ones. Only
identical accessories as the ones provided with
the tile cutter are authorised. Never use the
appliance in the rain or other wet conditions.
OPERATION
Put the tile cutter on a clean, stable and flat
surface.
WARNING: Before switching the tile cut-
ter on, make sure that you have read and
understood all of the safety instructions. Make
sure also that the machine has been correctly
assembled and adjusted. Make sure that the
mains is disconnected from the supply when
the tile cutter is not being used, or adjustments
are being made.
WARNING: This machine must be supplied
through a residual current device (RCD). Plug
the mains cable into the mains supply.
· Press the green switch marked ‘I’. The ma-
chine will now start. Always allow the disc to
reach full speed before performing any cutting
operations.
· To switch off the machine, push the red switch
marked 0. The tile cutter will now stop.
WARNING: The disc will continue to rotate
for a few seconds after the machine has been
switched off. Wait for the disc to stop before
removing the workpiece, or making any ad-
justments.
Stop the machine immediately if there is un-
due vibration or some other fault. If this situa-
tion continues, check the machine to find the
origin of the fault.
MAKING A STRAIGHT CUT
Adjust the parallel guide to the desired width.
Use the securing knob to loosen or adjust
the guide. Position the tile firmly against the
parallel guide and pass through the blade in a
smooth action.
Hold the edges of the tile and press down
firmly to prevent the tile lifting during the cut.
MAKING A MITRE OR DIAGONAL CUT
Follow the same procedure for a straight cut
but use the mitre cutting guide in conjunc-
tion with the parallel guide. The mitre cutting
guide simply clips onto the parallel guide.
Make sure that the tile is held firmly in the
guide before making the cut.
CUTTING AN ANGLE OR BEVEL
Use the 45° vertical fence if you wish to cut
an angle or bevel on the tile edge.Lift the 45°
vertical fence inserting the plastic tabs into the
corresponding holes on the table. Then make
the cut as before.
Internal or external bevel cuts can be made by
turning the tile face up or down (internal – eg.
wall corner; external – eg. window reveal).
MAINTENANCE
Ensure that appliance is disconnected from
supply before installation, before cleaning and
maintenance operations.
Apart from the table insert and diamond discs,
there are no other user serviceable parts inside
this tile cutter.
Refer to qualified service personnel if internal
maintenance is required. Any worn, or dam-
aged parts should be replaced immediately by
qualified personnel.
Keep discs in good condition. Poor condition or
worn discs can increase the noise level emitted.
Do not allow dust to accumulate inside, or on
the product. After use, clean all excess dust
from the table and the area around the table.
Fig.12
E N G L I S H •
User’s manual
CC707 manual.indd 13
28/05/15 15:44


