E N G L I S H
40
WITH ANY CIRCUIT OR COMPONENT WHEN
THE TEST LEADS ARE PLUGGED INTO THE
CURRENT TERMINALS.
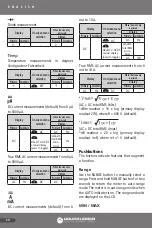
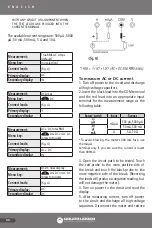
The available current ranges are: 500 μA, 5000
μA, 50 mA, 500 mA, 5 A and 10 A.
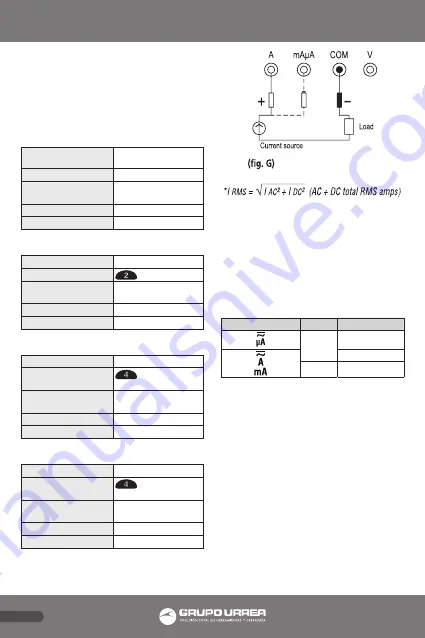
Measurement:
True RMS AC Amps
(default)
Menu key:
(no selection)
Connect leads:
(fig. G)
Primary display:
AC
Secondary display:
Hz
Measurement:
DC Amps
Menu key:
DC
Connect leads:
(fig. G)
Primary display:
°F
Secondary display:
-
Measurement:
AC + DC total RMS
Menu key:
AC+DC or AC DC
(press to toggle)
Connect leads:
(fig. G)
Primary display:
AC + DC
Secondary display:
Hz
Measurement:
AC DC dual display
Menu key:
AC+DC or AC DC
(press to toggle)
Connect leads:
(fig. G)
Primary display:
AC
Secondary display:
DC
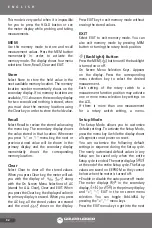
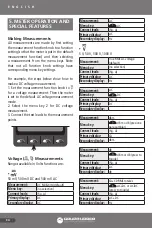
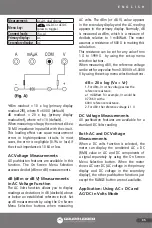
To measure AC or DC current
1. Turn off power to the circuit and discharge
all high-voltage capacitors.
2. Insert the black lead into the COM terminal
and the red lead into an appropriate input
terminal for the measurement range as the
following table:
Rotary switch
Input
Ranges
mAμA
500 μA, 5000 μA
50 mA, 500 mA
A
5 A, 10 A
*To avoid blowing the meter’s 440 mA fuse, use
the mAμA
terminal only if you are sure the current is lower
than 400mA.
3. Open the circuit path to be tested. Touch
the red probe to the more positive side of
the break and touch the black probe to the
more negative side of the break. (Reversing
the leads will produce a negative reading, but
will not damage the meter).
4. Turn on power to the circuit and read the
display.
5. After measuring current, turn off power
to the circuit and discharge all high-voltage
capacitors. Disconnect the meter and restore
Summary of Contents for UD87
Page 46: ...46 NOTAS NOTES...
Page 47: ...47 NOTAS NOTES...

