E N G L I S H
67
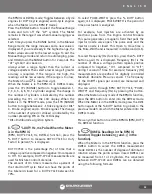
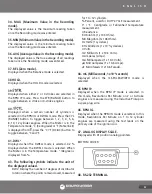
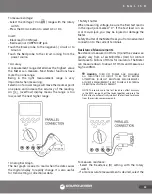
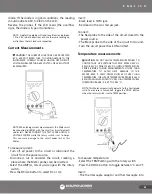
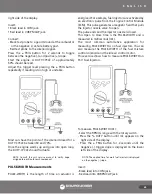
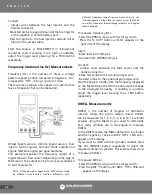
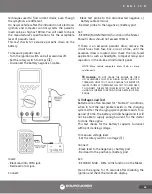
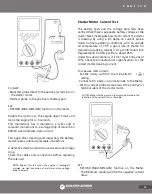
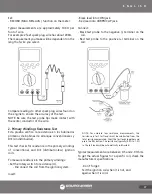
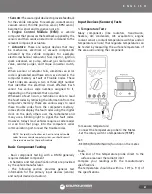
Insert:
- Black lead into COM jack.
- Red lead into VΩRPM CAP jack.
Connect:
- Red test probe to a good Ground or the negative (-)
vehicle battery post.
- Black test probe to the wire that connects to the
breaker points.
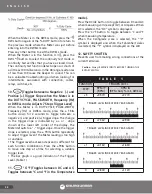
Press the CYL (RANGE) button repeatedly to select the
required number of cylinders.
Start the engine and observe the reading.
Adjust trigger level pressing the ± TRIG button
repeatedly, if the reading is too high or unstable.
5. BASIC AUTOMOTIVE DIAGNOSTIC
TESTING
A systematic series of tests that check the vehicle
electrical system should be performed before testing
individual automotive components.
The following series of tests check primary areas,
that are responsible for the majority of the electrical
problems found in an automobile. Perform these
basic tests first, even if a vehicle has a fault or trouble
code set in the on-board computer. A component
malfunction detected by the onboard computer can
be caused by a basic Ground problem in the electrical
system. If a poor Ground caused the component
failure, the problem will not be fixed by simply
replacing the failed component.
These basic diagnostic tests begin by checking the
main source of power and the chassis Ground circuit
connections.
Ground circuits are one of the least understood but
potentially most troublesome areas of automotive
electronics.
One of the most frustrating electrical problems you
will encounter in an automobile is a high-resistance
Ground. This can create some very strange symptoms
that seem to be unrelated with the cause. The
symptoms can include problems with turn signals,
lights that stay dim, the wrong lights turning on,
transmission shifting problems, gauges that change
when certain accessories are operated, or even lights
that will not turn on at all.
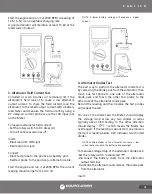
You can find a bad Ground by checking the voltage
between the component’s Ground wire and a clean
chassis Ground or the negative vehicle battery
terminal. An excessive voltage drop in a Ground circuit
affects the entire electrical circuit. This is why it is so
important to make sure the basic circuits are in good
shape before checking trouble codes in the onboard
computer and individual components.
BATTERY TESTS
1. Surface Discharge Test
This test checks for a low current discharge across the
battery case. Dirt, moisture and corrosion are causes
of surface discharge. Clean the battery with a baking
soda and water solution to prevent surface discharge,
but do not allow the solution to get into the battery.
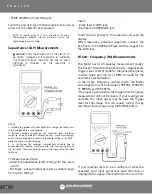
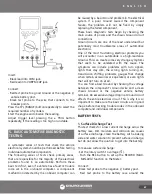
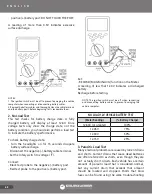
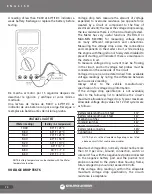
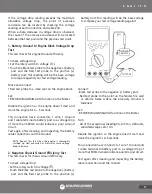
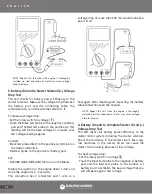
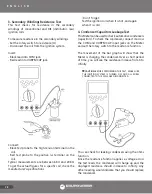
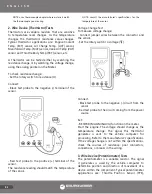
To measure surface discharge:
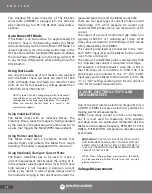
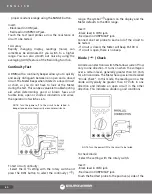
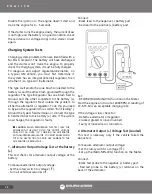
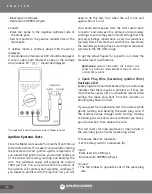
- Set the rotary switch to voltage ( ).
- Push the REC button to set up the RECORD (MAX-
MIN-AVG) function on the Meter.
Connect:
- Black test probe to the negative (-) battery post.
- Red test probe to the battery case around the
Summary of Contents for UD88
Page 94: ...94 NOTAS NOTES ...
Page 95: ...95 NOTAS NOTES ...

