UZ80 Flysky version bind procedure:
(Receiver mode "A7105_FLYSKY_2A" and choose
"AFHDS2A" for your radio transmitter
Press and hold the bind button for 1 second ,then plug
USB, the Red LED at the bottom of the
fl
ight controller will
blinking
fast , this indicate the receiver is in bind mode.
Make your Flysky transmitter get into bind mode . If bind
is successful the red led will getting to be solid.
UZ80 Frsky version bind procedure:
(Receiver mode "Frsky_D" and choose "Frsky D8" for your
radio transmitter)
Plug USB and then press the bind button for 1 second ,the
Red LED on the top of the
fl
ight controller will getting to be solid , this indicate the
receiver is
in bind mode. Or Plug USB and then connect beta
fl
ight
con
fi
gurator. Go to CLI command then enter "frsky_bind",
the receiver would get into bind mode too. Make your Frsky
transmitter get into bind mode . If bind is successful the red
LED will starting to blink. The red LED wouldn
’
t blinking
when binding with some new ACCESS
fi
rmware frsky radio ,
but the bind is actual successful , need to go to CLI
command and enter
“
save
”
to
fi
nish the binding .
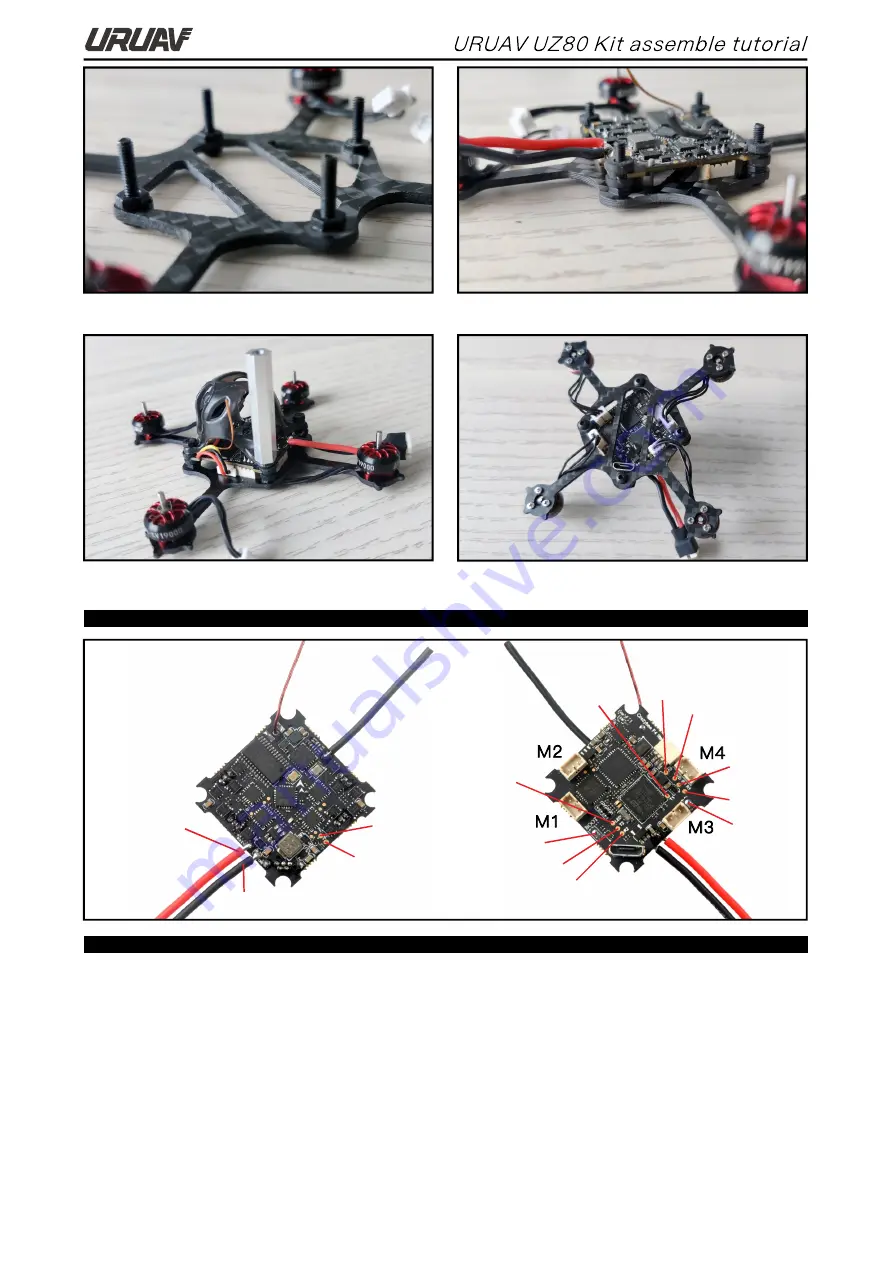
5.Make M2x10 screws through the frame, and then use M2 nylon
nuts to
fi
x
6.Put the rubber damping ball on the M2x10 screw to install the
fl
ight
controller
Flight controller connection diagram
7.Insert the wire plug of the camera to the socket of the
fl
ight controller
and then use M2 Nylon nut to
fi
xed the canopy
8.Insert the wire plug of the motor to the
fl
ight controller
Bind procedure
BUZ-
+5V
BAT+
- .
3V 4 35V
GND
LED STRIP
_
T 2
X
R 2
X
BOOT
+5V
GND
I 1
R
R 1
X
BIND
T 1
X


