20
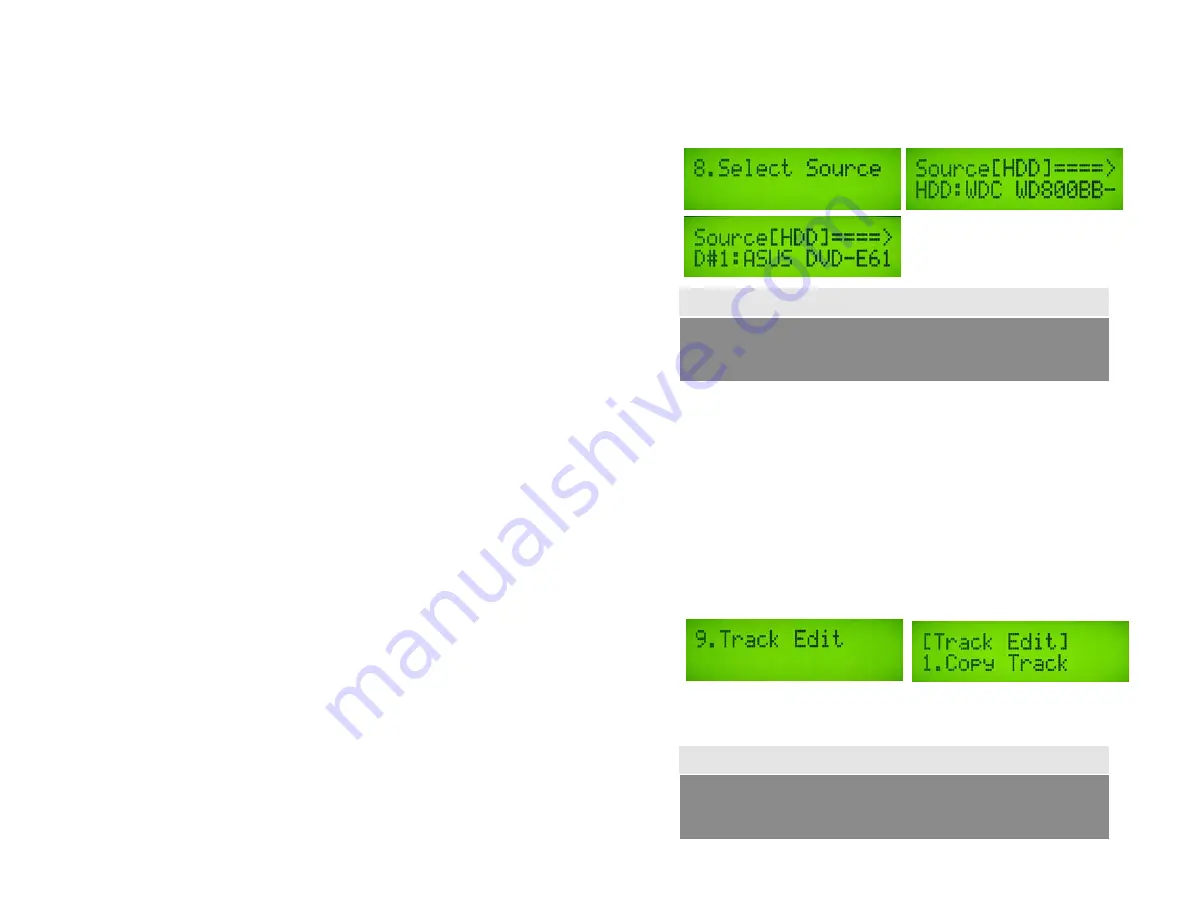
8. SELECT SOURCE
This function is to set the Master Reading Source as Optical Drive or Hard Disk Drive.
a.
Move to 8. Select Source and press ENT.
Press
,
to select HDD or Optical Drive with assigned number as Reading Source.
Note
9. TRACK EDIT
This menu will let you select audio tracks from various audio CDs and combine them
into one customized Audio CD.
9.1 Select and Copy Track:
a. Move
,
to 9.Audio Track Edit menu.
b.
Insert an Audio CD with your favorite tacks in the Reading drive and insert ONLY
ONE Blank CD-R disc into one of the writers.
c.
Once both the audio CD and blank CD-R are recognized, you will see the message of
“ready to press OK” on duplicator LCD screen.
b. Navigate ,
to the track number that you would like to select, and then press ENT
to confirm your selection. Continue your selection with the same activity. You will see a
letter of “ a, b, c, d,….” shown on top of each selected track.
d.
Once you finish selecting the tracks you want to copy, you can press
to move cursor
to the end of the “OK” display and press ENT to confirm.
e.
Once you confirm your selection, you will see “Copying Audio Tracks…”
Note
Each Optical Drive is assigned a Drive # according to their position. If
there is no HDD installed, then Drive #1 is the Reading Source.
Once you finish copying audio tracks, you NEED to perform “9.2 Close
Disc”, otherwise your audio CD will NOT be able to play in a CD player.


