3
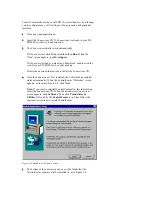
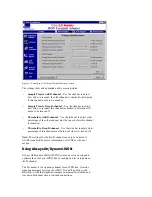
At the bottom of the “ISDN Line” screen, click Enable AO/DI
(Always On/Dynamic ISDN) to select it. A check mark appears in
the box next to the item when it is selected.
4
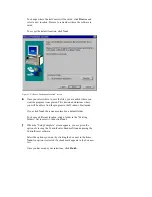
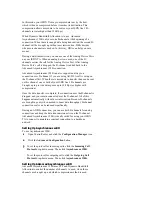
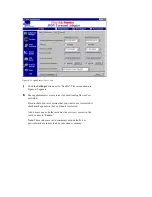
Click the AO/DI Settings button. The screen shown in Figure 5-4
appears.
Figure 5-4 AO/DI settings screen
5
When you order AO/DI service, you will have to select a long
distance packet (X.25) carrier for your D-channel.
You may be given a long distance carrier code for this service. If
you need to set it, type the four-digit number in the “Long Distance
Packet Carrier” text box in the “Network Settings” section.
Note: This code may be set automatically by the telephone
company switch that your ISDN line uses. Also, you will not need
to enter any code if your service provider or other online service is
in your calling area. For more information, talk to your phone
company’s ISDN representative when you order your line.
6
When you order your ISDN line with AO/DI service, you are given
a third telephone number that is specifically for your D-channel’s
X.25 connection.
Type that number, provided by your phone company, in the
“Packet Telephone Number (DN)” text box.
The Terminal Endpoint Identifier (TEI) for your D-channel’s X.25
connection is set to 21 by default. Do not change this number,
unless you are instructed to do so by your phone company or a
3Com Customer Service representative.

