www.uscutter.com
425.481.3555
24
Contour Cutting
1
Calibrating the cutter
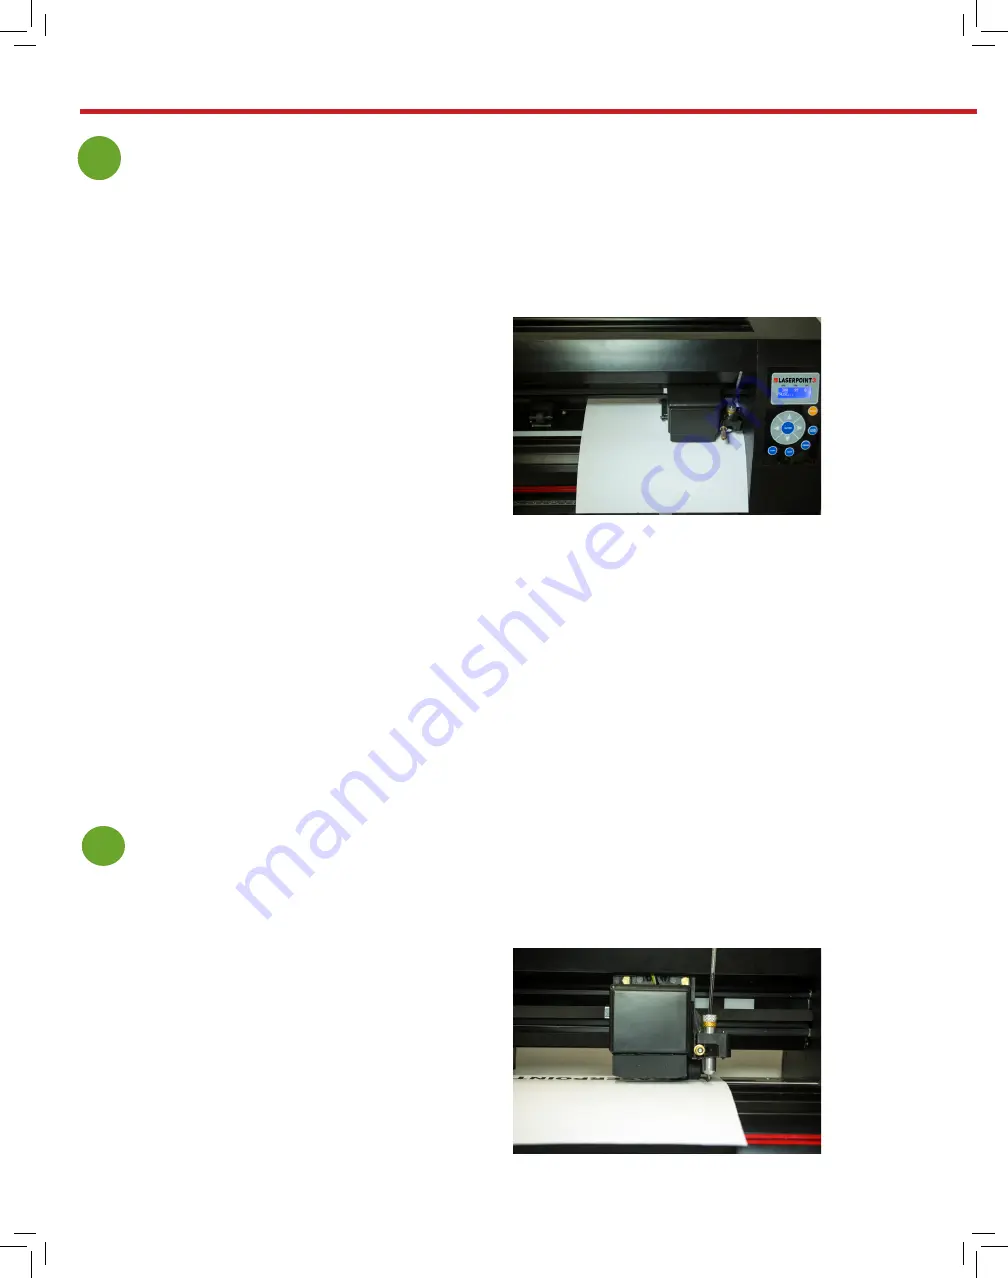
1. Load a blank piece of paper into the cutter
and have the pen tool loaded into the carriage
arm.
2. Turn the machine on while holding down
the right arrow key on the cutter.
3. Release your finger from the right arrow
key once the screen on the cutter says
“Welcome...”
4. The screen should say “move to blank”. Use
the arrow keys on the cutter to move the pen
to the center of the piece of paper and press
the origin button.
5. Press the enter key on the cutter. The cutter
should draw and scan an “L” shape.
6. The screen of the cutter will display
“success” if the calibration happens properly.
7. Press the enter button. You have now
successfully performed an on-machine
calibration of your Laserpoint 3!
(see link to video on page 25)
2
Printing your image
This section applies when contour cutting:
Load your image into the VinylMaster software. Make
sure your art is centered and the size of the cutting
mat in your software is the same size as the media
you are going to be using. Press Shift+Alt+F to start
the Contour Cutting Wizard. Select your printer and
make sure you have checked the box that says “Print
Registration Marks”. Press “OK” to send the job to your
printer. You should now have your printed image with
four corner alignment marks. Place media in cutter as
shown so that the blade would come down just outside
the alignment mark. Set your origin point on the cutter
here (just outside the alignment mark).


