Page 67
•
If an auditorium is manually added, click “Change” under Communications Settings to set
the IP address of the JSD-‐60 in this auditorium.
•
Press “OK” to exit Comm Settings and OK to exit Auditoriums.
Once groups and auditoriums are defined, the GUI shows a summary view of each JSD-‐60 on
the network. The summary view includes the selected format, the fader level, and
communications settings. Clicking on the summary view box brings up the detailed view of that
particular JSD-‐60 where all controls are available.
Manually Adding Groups
The group is a collection of JSD-‐60s, one in each auditorium.
•
Click the “Groups” button at the top of the screen.
•
Click “Add”. You will be prompted to enter the name of
the new group.
•
Click “OK” when you have finished adding groups.
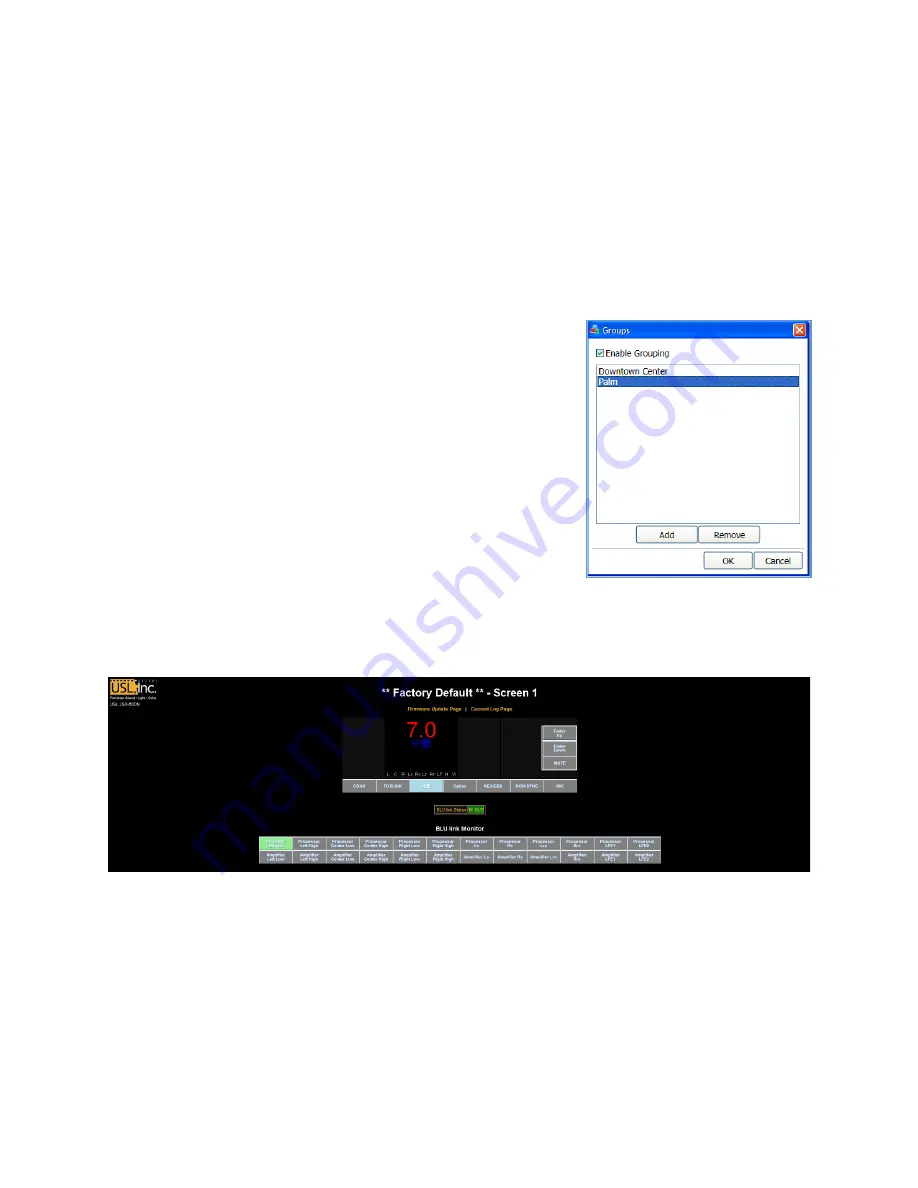
JSD-‐60 Web Interface
The JSD-‐60 includes a web server. The web server can be used
to control the JSD-‐60, view the current status of the JSD-‐60,
view the log, and upload new firmware.
The status page shows the current fader level, the current
format, a bar graph showing the audio output levels,
auditorium information and network information. It also has buttons to select input format,
adjust fader level, and mute or unmute the system.
The log page shows the JSD-‐60 system log. A portion of a typical log page is shown below. Note
that three time zones are listed: UTC Time, GUI Time, and JSD Time. JSD Time and GUI time
make adjustments for daylight saving time based on whether daylight saving time is currently in
effect at the GUI location. Since the observation of daylight saving time varies, there is no
guarantee that this setting will also be correct at the JSD-‐60 location. Clicking the time zone
abbreviation at the top of the JSD time column will reload the log page toggling whether
daylight saving time is used in the JSD time column. Click this as necessary for proper display of
the time at the JSD-‐60.


