Sending Functions
OPERATION GUIDE
5-17
5
Adjusting Density
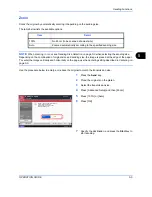
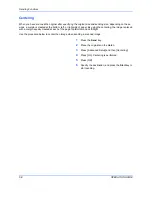
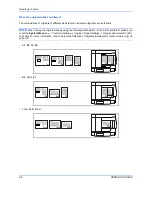
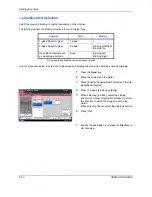
Use the procedure below to adjust the density when scanning the originals.
The table below shows the available settings.
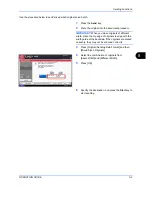
The procedure for adjusting the density is explained below.
1
Press the
Send
key.
2
Place the originals on the platen.
3
Press [Color/Image Quality] and then [Density].
4
When selecting manual density adjustment, press
[-3] to [+3] (
Lighter - Darker
) to adjust density.
When selecting auto density adjustment, press
[Auto].
5
Press [OK].
6
Specify the destination, and press the
Start
key to
start sending.
Item
Detail
Manual
Adjust density using 7 or 13 levels.
Auto
Optimum density is selected according to the density of the original.
Darker
Density
Auto
Normal
Lighter
Cancel
OK
Add Shortcut
Status
08/08/2009 10:10
Preview
Original
Zoom
Paper
100%
---
:
:
:
---
Place original.
Place original.
Ready to send.
Destination
0
+1
+2
+3
-1
-2
-3
-2.5
-1.5
-0.5
+0.5
+1.5
+2.5
Summary of Contents for CD 1242
Page 1: ...INSTRUCTION HANDBOOK digital multifunctional system CD 1242 1252 ...
Page 20: ...xviii OPERATION GUIDE ...
Page 70: ...Preparation before Use 2 34 OPERATION GUIDE ...
Page 158: ...Copying Functions 4 38 OPERATION GUIDE ...
Page 308: ...Default Setting System Menu 8 78 OPERATION GUIDE ...
Page 322: ...Maintenance 9 14 OPERATION GUIDE ...
Page 352: ...Troubleshooting 10 30 OPERATION GUIDE ...
Page 380: ...Management 11 28 OPERATION GUIDE ...
Page 383: ...OPERATION GUIDE Appendix 3 DP Key Counter FAX Kit Expansion Memory ...
Page 412: ...Appendix 32 OPERATION GUIDE ...
Page 420: ...Index Index 8 OPERATION GUIDE ...
Page 422: ...MEMO ...
Page 423: ...MEMO ...
Page 424: ...UTAX GmbH Ohechaussee 235 22848 Norderstedt Germany ...


