Section 6 OTHER CONVENIENT FUNCTIONS
6-78
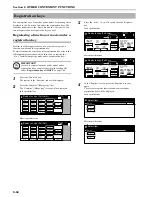
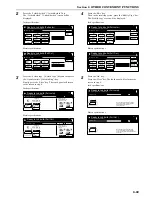
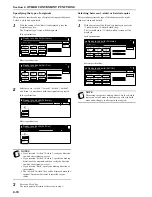
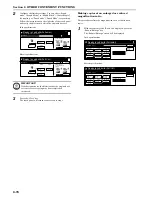
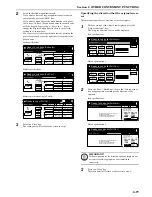
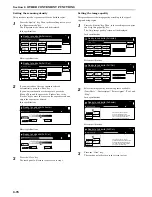
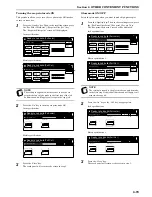
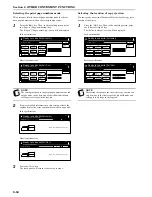
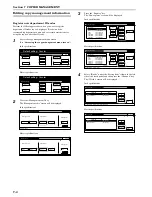
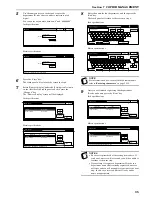
Setting the scanning density
This procedure sets the copy exposure for the finished copies.
1
Press the “Quality” key. Then, in the resulting screen, press
the “Exposure mode” key.
The “Exposure mode” screen will be displayed.
Inch specifications
Metric specifications
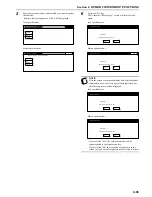
2
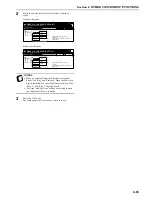
If you want to have the copy exposure selected
automatically, press the “Auto” key.
If you want to manually set the exposure, press the
“Manual” key and then press the “Lighter” key or the
“Darker” key to move the cursor on the exposure scale and
adjust the exposure as desired.
Inch specifications
Metric specifications
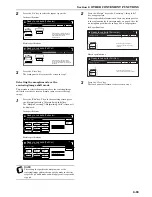
3
Press the “Close” key.
The touch panel will return to the screen in step 1.
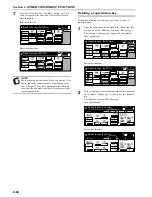
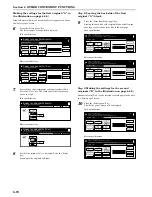
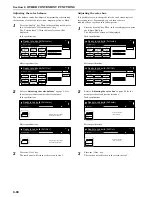
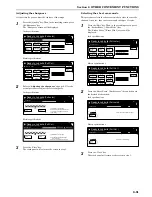
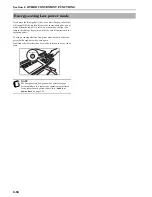
Setting the image quality
This procedure sets the image quality according to the type of
originals being copied.
1
Press the “Quality” key. Then, in the resulting screen, press
the “Orig. image quality” key.
The “Orig. image quality” screen will be displayed.
Inch specifications
Metric specifications
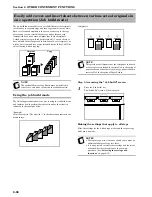
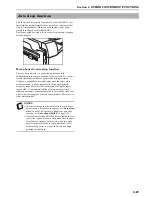
2
Select the image quality from among those available:
“Text+Photo”, “Photo original”, “Print original”, “Text” and
“Map”.
Inch specifications
Metric specifications
3
Press the “Close” key.
The touch panel will return to the screen in step 1.
Ready to Job build.(Full-color)
Place originals then press Start key.
set
End
Job Build - Step 1
Text + Photo
Density 4
Off
Off
Off
Off
Exposure
mode
Orig.image
quality
Eco Print
GlossPrint
Adjust Hue
Sharp
-ness
Color
balance
Insert
page
1 sided copy-Left
Finished page #: 0
Basic
Quality
Edit
Ready to Job build.(Full Col.)
Set original. Press Start key.
set
End
Job Build - Step 1
Text + Photo
Density 4
Off
Off
Off
Off
Exposure
mode
Image
quality
Eco print
Glos. pri.
Adjust Hue
Sharp
-ness
Colour
balance
Insert
blank page
1-sided Copy-Left
Finished page #: 0
Basic
Quality
Edit
Ready to Job build.(Full-color)
set
Back
Exposure mode
Close
Place originals then press Start key.
Manual
Lighter
Darker
Auto
Ready to Job build.(Full Col.)
set
Back
Exposure mode
Close
Set original. Press Start key.
Manual
Lighter
Darker
Auto
Ready to Job build.(Full-color)
Place originals then press Start key.
set
End
Job Build - Step 1
Text + Photo
Density 4
Off
Off
Off
Off
Exposure
mode
Orig.image
quality
Eco Print
GlossPrint
Adjust Hue
Sharp
-ness
Color
balance
Insert
page
1 sided copy-Left
Finished page #: 0
Basic
Quality
Edit
Ready to Job build.(Full Col.)
Set original. Press Start key.
set
End
Job Build - Step 1
Text + Photo
Density 4
Off
Off
Off
Off
Exposure
mode
Image
quality
Eco print
Glos. pri.
Adjust Hue
Sharp
-ness
Colour
balance
Insert
blank page
1-sided Copy-Left
Finished page #: 0
Basic
Quality
Edit
Ready to Job build.(Full-color)
set
Back
Orig.image quality
Close
Place originals then press Start key.
Text+Photo:Text+Photo original.
Photo: For photographic prints
Print: For book and magazine images
Text: For text, pencil,or fine lines
Map: For maps or pencil illustration
Text
Map
original
Photo
original
Text + Photo
Ready to Job build.(Full Col.)
set
Back
Image quality orig.
Close
Set original. Press Start key.
Text+Photo:Text+Photo original.
Photo:Adds dimensional effect to photo.
Print:Adds dimensional effect to print.
Text :Clear copy of pencil & fine lines.
Map :Clear copy of fine lines.
Text
Map
original
Photo
original
Text + Photo
Summary of Contents for CDC 1526
Page 48: ...Section 5 COLOR COPY SETTINGS 5 8 ...
Page 64: ...Section 6 OTHER CONVENIENT FUNCTIONS 6 16 6 Press the Start key Copying will start ...
Page 136: ...Section 6 OTHER CONVENIENT FUNCTIONS 6 88 ...
Page 254: ...Section 7 COPIER MANAGEMENT 7 118 ...
Page 290: ...Section 9 TROUBLESHOOTING 9 20 ...

