2GL/2FV/2FW
1-5-21
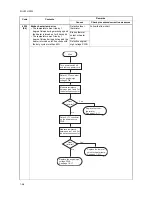
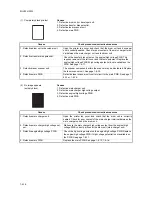
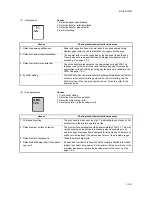
(7) Unsharpness.
Causes
1. Defective paper specifications.
2. Defective transfer roller installation.
3. Defective transfer bias potential.
4. EcoPrint setting.
Causes
Check procedures/corrective measures
1. Defective paper specifications.
Paper with rugged surface or dump tends to cause unsharp printing.
Replace paper with the one that satisfies the paper specifications.
2. Defective transfer roller installation.
The transfer roller must be supported by the bushes at the both ends.
Clean the bush to remove oil and debris. Replace the transfer roller if
necessary. See page 1-6-5.
3. Defective transfer bias potential.
Check the transfer bias output on the engine/high voltage PWB. This
requires removal of the left cover and the test equipment. Replace the
engine/high voltage PWB if high voltage potential is not available on the
PWB. See page 1-6-17.
4. EcoPrint setting.
The EcoPrint mode can provides faint, unsharp printing because it acts to
conserve toner for draft printing purpose. For normal printing, turn the
EcoPrint mode off by using the operator panel. For details refer to the
operation guide.
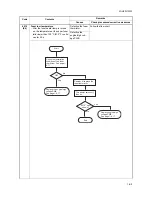
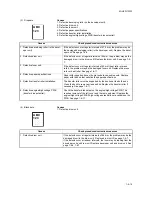
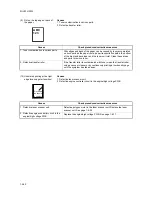
(8) Gray background.
Causes
1. Print density setting.
2. Defective drum surface potential.
3. Defective main charger grid.
4. Developing roller (in the developer unit).
Causes
Check procedures/corrective measures
1. Print density setting.
The print density may be set too high. Try adjusting the print density. For
details refer to the printer's operation guide.
2. Defective drum surface potential.
The drum surface potential should be approximately 470±15 V. This may
vary depending on production lots. Measurement is possible only by
using the jig and tool specifically designed for this purpose. The drum unit
will have to be replaced if it bears values far out of the allowable range.
3. Defective main charger grid.
Clean the main charger grid.
4. Defective developing roller (in the devel-
oper unit).
If a developer unit which is known to work normally is available for check,
replace the current developer unit in the printer with the normal one. If the
symptom disappears, replace the developer unit with a new one. See
page 1-6-6.
ABC
123
Summary of Contents for LP 3118
Page 1: ...Service Manual Printer LP 3118 22 02 2005 ...
Page 2: ...Service Manual Printer LP 4118 22 02 2005 ...
Page 7: ...This page is intentionally left blank ...
Page 19: ...2GL 2FV 2FW 1 1 10 This page is intentionally left blank ...
Page 21: ...2GL 2FV 2FW 1 2 2 This page is intentionally left blank ...
Page 29: ...2GL 2FV 2FW 1 3 8 This page is intentionally left blank ...
Page 41: ...2GL 2FV 2FW 1 4 12 This page is intentionally left blank ...
Page 65: ...2GL 2FV 2FW 1 5 24 This page is intentionally left blank ...
Page 95: ...2GL 2FV 2FW 1 7 6 This page is intentionally left blank ...
Page 125: ...2GL 2FV 2FW 2 4 6 This page is intentionally left blank ...
Page 126: ......


