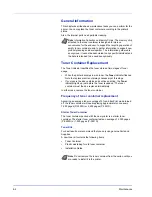
Maintenance
4-7
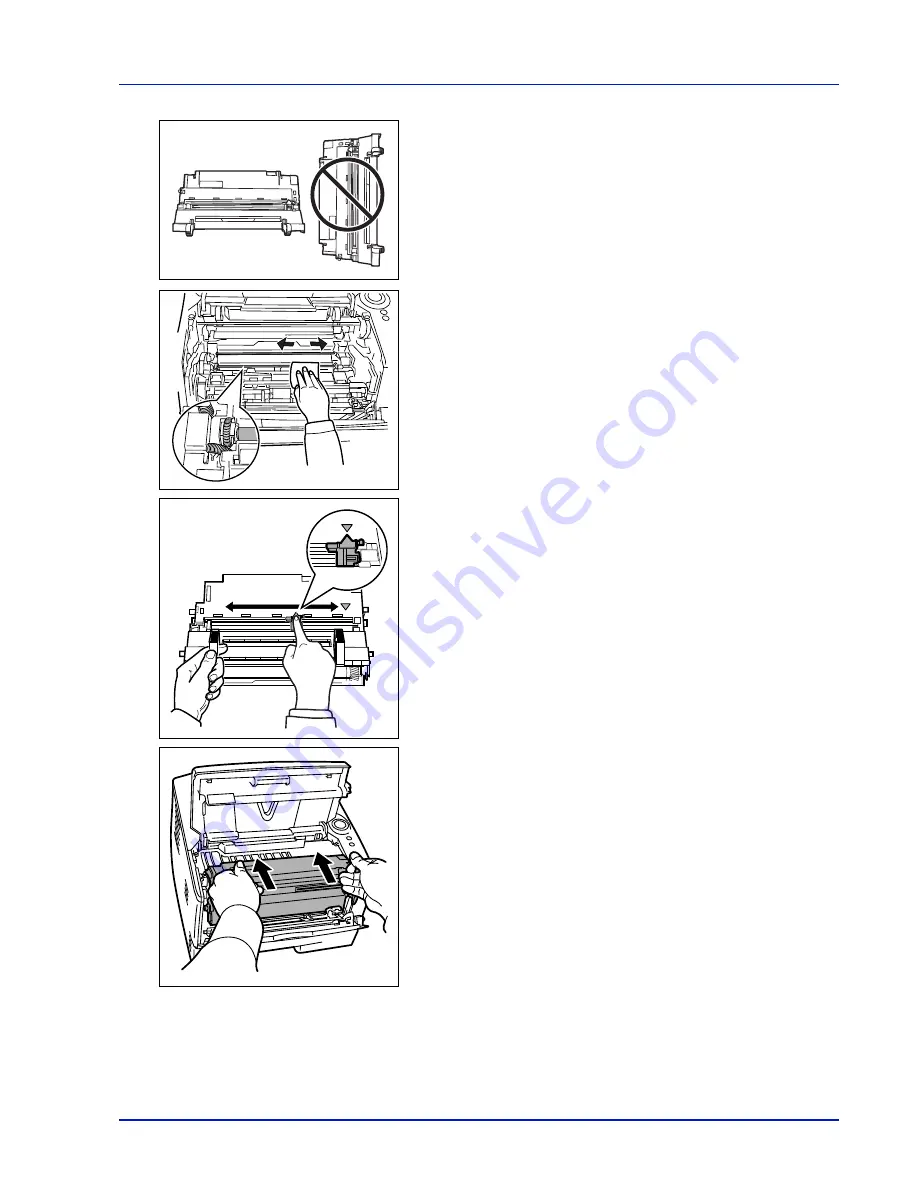
4
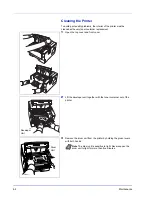
Place the drum unit flat on a clean, level surface.
5
Use a clean, lint free cloth to clean dust and dirt away from the metal
registration roller.
6
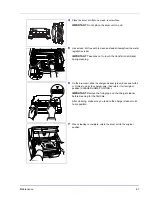
On the drum unit, slide the charger cleaner (green) back and forth 2
or 3 times to clean the charger wire, then return it to its original
position (CLEANER HOME POSITION ).
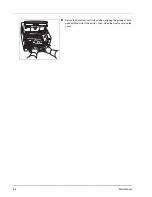
7
When cleaning is complete, return the drum unit to the original
position.
IMPORTANT
Do not place the drum unit on end.
IMPORTANT
Take care not to touch the transfer roller (black)
during cleaning.
IMPORTANT
Remove the fixing tape on the charger cleaner
before cleaning for the first time.
After cleaning, make sure you restore the charger cleaner to its
home position.
Summary of Contents for P-3520D
Page 1: ...USER MANUAL P 3520D P 3521D Print A4 LASER PRINTER B W ...
Page 4: ...ii ...
Page 42: ...2 16 Loading Paper ...
Page 60: ...3 18 Connecting and Printing ...
Page 70: ...4 10 Maintenance ...
Page 88: ...5 18 Troubleshooting ...
Page 96: ...6 8 Option ...
Page 104: ...Index 4 ...
Page 105: ......

